Torsen differential installation
Car show
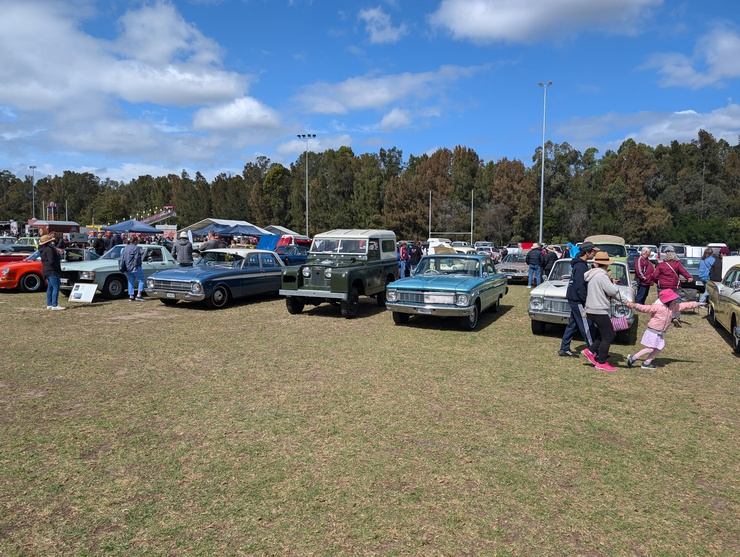
Starting this post with a diversion: I’ve been using the Series II at least once a week, and it’s been working great. For example, here’s a picture from a car show I attended. I didn’t mean to enter it, I just wanted to go look at other cars. But the people directing traffic sent me to the exhibition area, which had the nice side-effect that I didn’t have to pay for entry. It doesn’t fit in that well with the polished-up sedans and sports cars, but oh well.
Diff rebuild
The differential rebuild was sitting for a while after I got it apart, since I didn’t really know whether I wanted to rebuild it back to factory spec or put some sort of air locker in.
I ended up going for neither option, and went with a Detroit Truetrac differential, which is a Torsen unit. I went this way for a few reasons. One is that I don’t have to worry about wiring up a compressor and switch, routing air lines, and running the air line into the differential casing (which would require drilling a hole in it). I don’t mind making reversible changes to the vehicle, but a hole in the differential housing is not in that category.
There’s a tonne of information elsewhere on the internet about Torsens vs locking differentials. My two cents is: a Torsen is better in some situations where you don’t want a locker, like a side slope, or snow. The main downside is that when a wheel is in the air, the wheel on the ground gets no torque. But in that situation, you can gently apply the brakes and get some torque to the wheel on the ground.
The second advantage is that it’s passive, so I don’t have to remember to switch it on. This is nice off-road – one less thing to think about – but it’s also nice on-road, where I often spin up the inside rear tyre in the wet. The skinny 6.00x16 bar-tread tyres aren’t much good in these conditions, and a Torsen diff would help with traction.
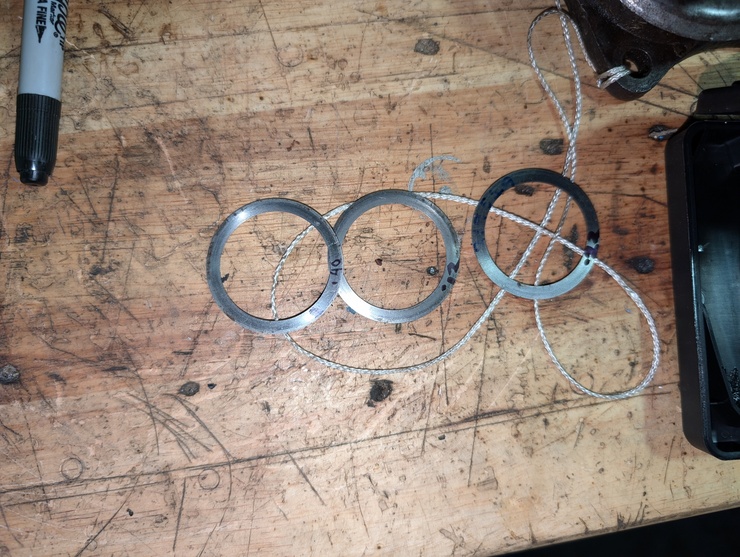
Once I’d made that decision I got on with the rebuild. I had the pinion depth set (see my previous blog post on this topic), so the next step was to get the pinion bearing preload sorted out. This took quite a while, since the combination of shims I’d ordered and shims I removed during disassembly didn’t get me to the right preload.
I ended up making a small jig with a mirror and a wooden block to polish down one of the shims (using the mirror as a very flat surface) to get it to the right thickness. You can see the nylon string I was using to measure the turning resistance. The workshop manual says there should be between seven and twelve pounds of resistance when measured on a spring balance, but then mis-converts it to “between 3.2 and 4.5kg” – I believe the latter figure should be 5.4kg, assuming the imperial value is canonical.
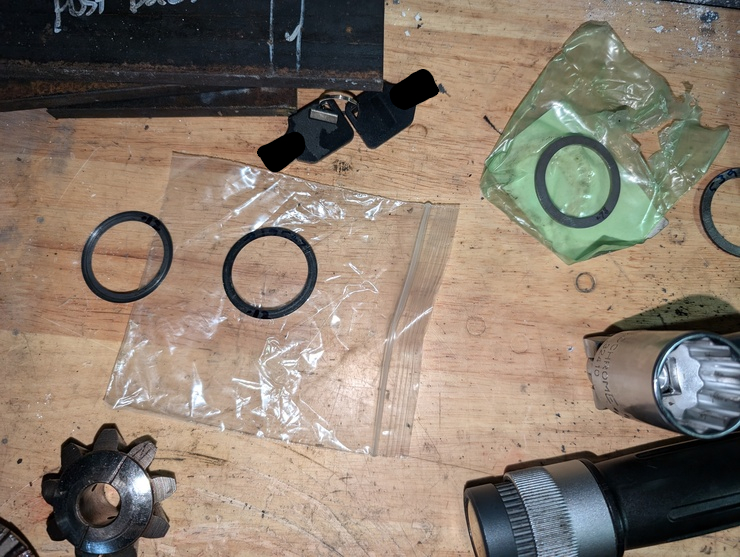
Once I’d got the pinion depth and preload correct, it was time to install the Torsen unit. This replaces the spider gears and associated casing. Unfortunately, I was unable to source the “correct” part for my vehicle, which is Detroit Truetrac part number 910A460 for the rear and 910A461 for the front. However, part number 910A400 is compatible with the 10-spline axles.
That part (910A400) has a few differences. The first is that it’s meant for the 3.54:1 differential instead of my 4.7:1. The main difference between the two is the pinion offset, which is fixable using a spacer ring sold by Ashcroft Transmissions.
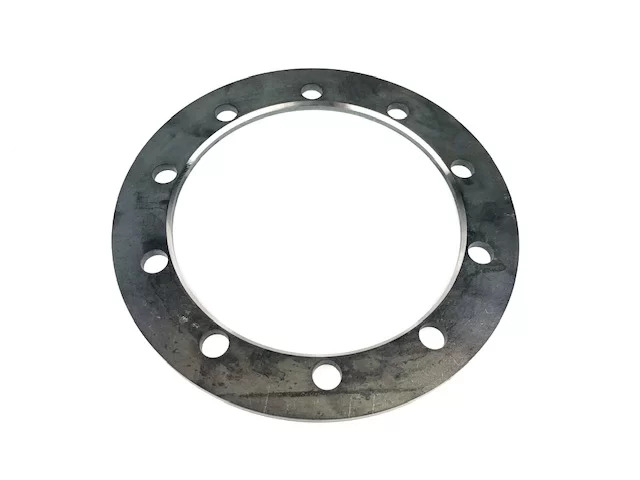
Adding this spacer ring makes the ring gear “thicker” than it originally was, so I used some 1-3/8” bolts to secure the ring gear to the carrier (instead of the 1-1/4” bolts that were originally used). I don’t think this was strictly necessary in hindsight - the original bolts sat basically flush when installed (instead of having a few threads proud) so there was adequate contact even if it wasn’t up to a machinist’s standards. And the locking tabs make it impossible for them to walk back out. The torque spec isn’t excessively high, either (48Nm).
The other issue is that the 3.54 Truetrac uses metric bearings rather than the imperial-sized bearings used on the 4.7 differentials. Ashcroft has something for this, too – a pair of adaptors that can be used to fit metric bearings into the 4.7 differential bearing caps.
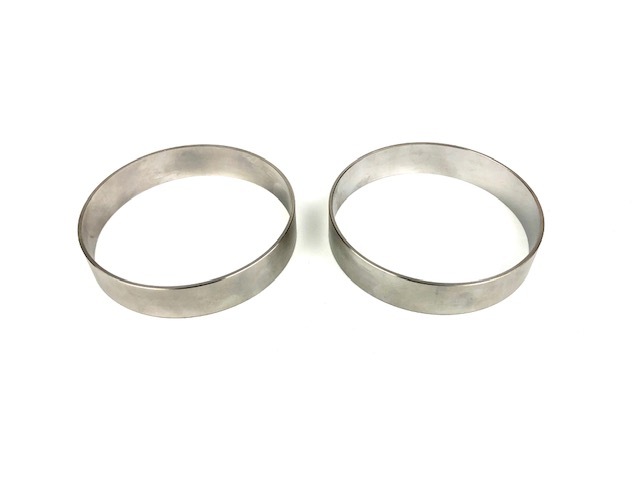
So you press the bearing race into these adaptors, then continue building the differential as normal.
Finally, there was another problem that possibly didn’t need to be solved. The “correct” Truetracs came in a front and rear version, whereas the 3.54 Truetrac is only available as a rear. My understanding is that the rear units can be used in the front, but they’ll be running “backwards” and the thrust forces from the worm gears will be towards the centre of the diff rather than the end caps. There’s also some debate about whether the amount of preload in a front Torsen is different, but that’s not something you can change so I ignored it.
Happily, there are guides out there on reversing Truetrac differential directions, including this one. I followed this, and, with the combination of the spacer ring and bearing adaptors, had a differential ready to go.
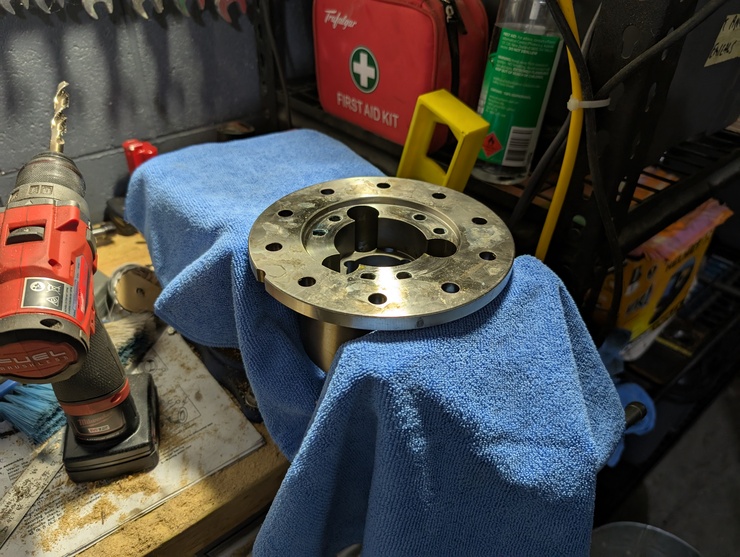
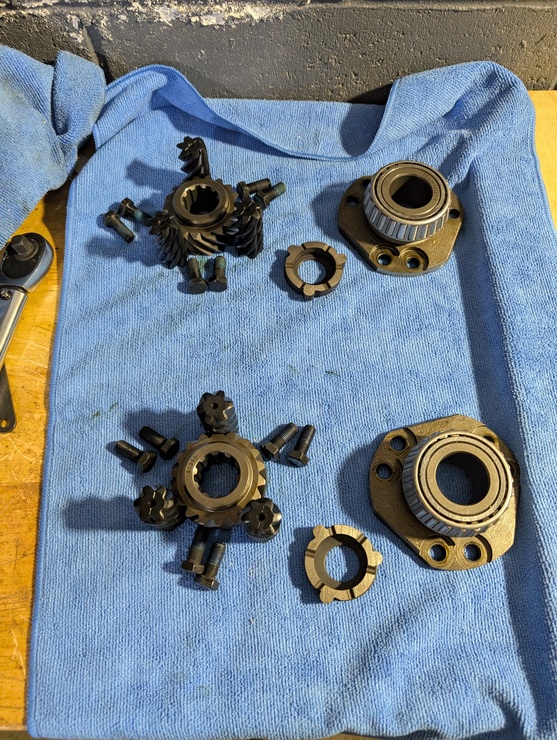
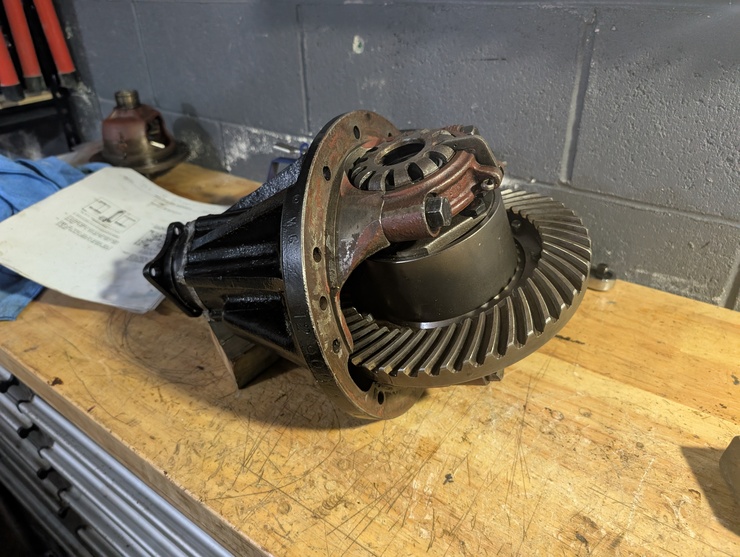
The only thing left now was to measure the crown wheel run-out, get the backlash between the ring and pinion gears correct, engage the locking tabs, and do up the bearing cap locking wires.
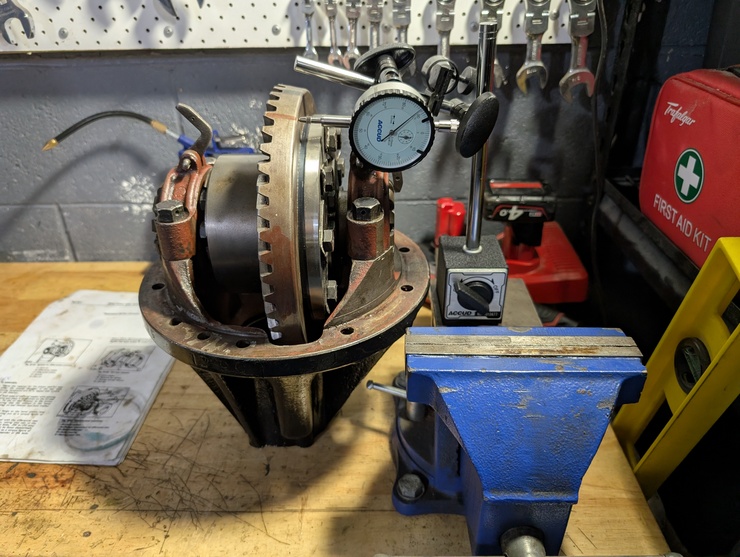
The locking wires in this picture are a little messy - they were my first attempt, I cut them back off and re-did them (as you’ll read below).
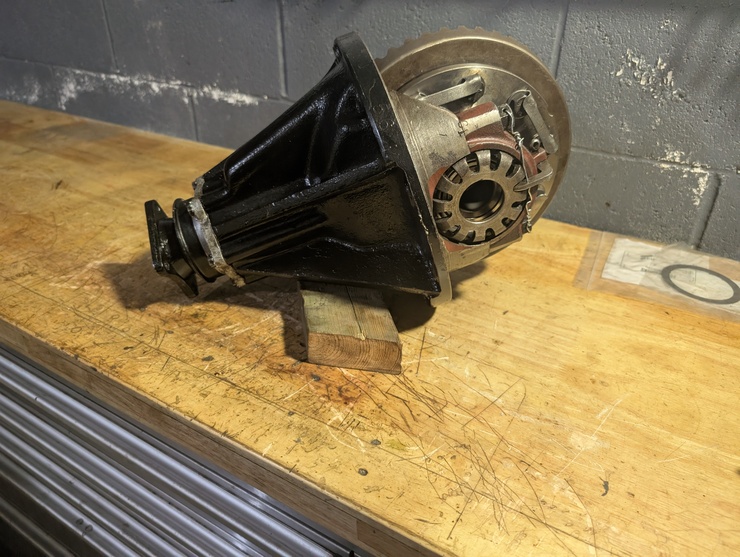
After I was happy with the differential on the bench, it was installation time. I wanted to re-seal the swivel housings anyway, both of which had developed a slow leak out of the bottom swivel pins (surprisingly, the large circular seal that runs on the inner swivel ball was fine). So I removed the halfshafts from the existing differential by opening the swivel housings and removing the front halfshafts. Normally, this is the long way to do it.
Anyway, with the Torsen differential installed, I had a problem. The manual that comes with the Torsen unit says that with the input shaft locked, it should be possible to spin one front wheel, and have the other wheel turn the opposite direction. However, the entire unit was locked solid, almost like something was seized up internally.
After sleeping on it (the installation process had been quite a lot of work) I decided that there was a fair chance I’d messed up the reversal process, and that I should remove the differential to see what was happening. So I took the diff centre back out, and disassembled it on the bench to get at the Torsen unit again.
It did seem seized - turning one of the axle splines didn’t make the other turn the opposite direction. So I started disassembling the Torsen unit itself (again), when I noticed that with the end caps off, there was no preload and I got the desired behaviour. So that’s a lesson for new players - the Eaton manual for the Truetracs does not consider that the preload in the Torsen unit might prevent the test from working.
So, an hour after pulling the rebuilt diff out, it went back in again. There wasn’t any change in behaviour but I decided to just test drive it and see what happens. Lo and behold, it worked great! It was much quieter than the old front differential, although I think the preload has a small effect on steering - I find myself having to make small adjustments around centre a bit more often. Perhaps I’m imagining it, and perhaps it’ll go away as the differential wears in.
I’m a happy camper with the Truetrac, and I’ve ordered a unit for the rear. I’ve disassembled the old front differential and figured out why it was noisy - the backlash is 1mm instead of the factory-spec 0.2mm, and the pinion preload is nowhere near high enough. But the gears are in good shape, and it’ll serve fine after being rebuilt.
One side-effect of the front-end work was that I got a chance to re-seal the swivel balls, differential housing, and differential drain plug. I’m happy to report that these are no longer leaking. The RTV I’ve found to work best is JB Weld Ultimate Black, which I put on the shims for the bottom swivel pins, the gasket between the differential and the axle casing, and I’m also using it as a thread sealant for the differential drain plug and the bolts for bottom swivel pins. So far so good.