Series II continued maintenance
Nothing too exciting to write about for this blog post. The issues in the last blog post are all resolved, and the car’s been working well.
Solex carburettor reinstalled
I ended up purchasing a rebuilt Solex carburettor from the US, since I wasn’t sure my old one would be in a state where it could be rebuilt. I also got a rebuilt Zenith just as a spare, but I prefer the Solex since it’s easier to tune, apparently works better off-road, and is period correct for the car.
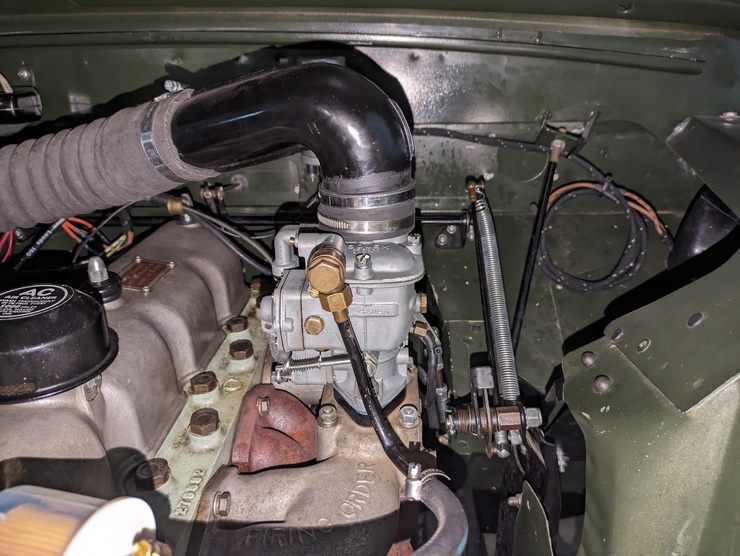
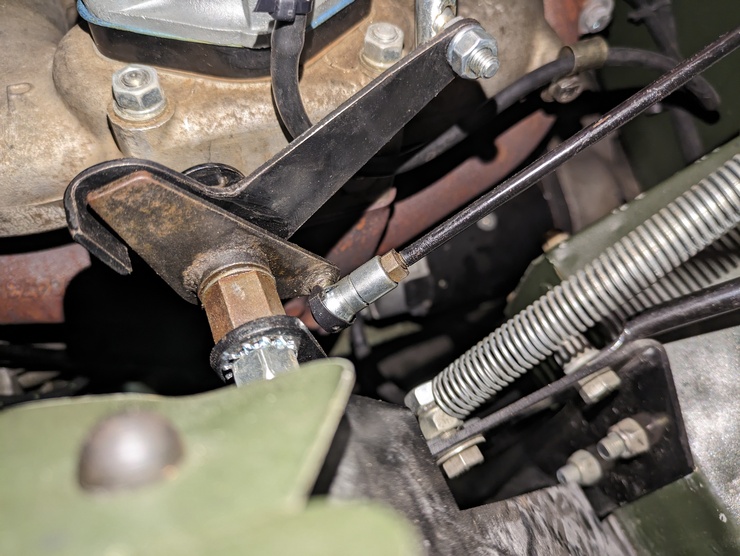
Instead of cutting/welding the relay lever to refit the Solex, I bought a second relay lever, so now I have parts on hand to use either a Solex or a Zenith. I also took the opportunity to replace the crappy Britpart plastic ball joint sockets with some higher quality metal items. I sourced these from Dingocroft, but searching for “2BA ball joint” led to plenty of options. That’s something I’ve been learning - if a part is generic, like a ball joint, search for the generic part rather than using Land Rover part numbers.
I’ve been doing longer drives with the new Solex since it’s been running so well, but on a very hot day I noticed that the oil pressure light was flickering at idle. I wasn’t too worried since it developed good oil pressure at higher RPM, but I still wanted to fix it.
The issue turned out to be the engine idle speed dropping too low at higher temperatures. From stone cold I measured it at about 650 RPM, and then after getting it up to about 60°C on a drive, measured it again and got 320 RPM. I adjusted it back up to 500 RPM per the workshop manual, but I’ll have to wait for another hot day to try again (I started having problems at 90°C).
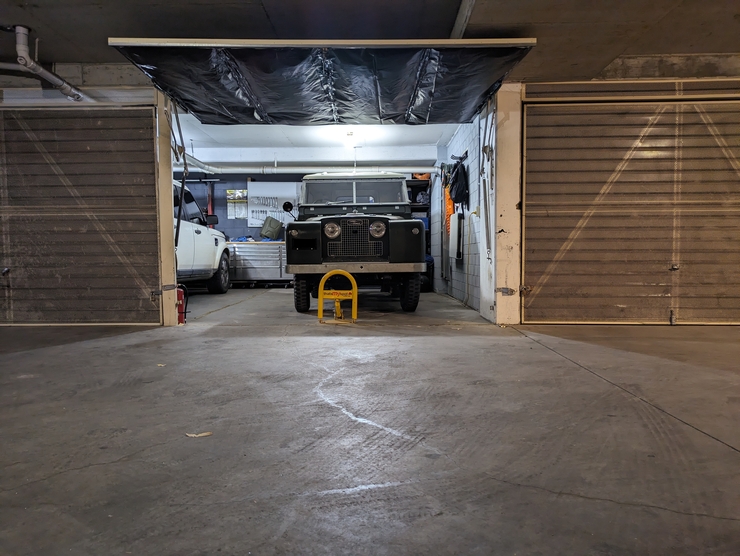
Springs levelled
This is another job mentioned in the previous blog post that I’ve since completed, with the modified springs installed the vehicle now sits much more level.
Transfer case oil leak
There has been a slow oil leak from the bottom of the transfer case since rebuilding it, but it recently got worse and I finally decided to do something about it. I initially thought the leak was from the sump gasket, which is a notorious leak spot. I tried various permutations of Permatex sealants, but nothing was working right until I tried JB Weld Ultimate Black.
This helped a lot, but didn’t reduce the leak to zero. I did a little more diagnosis and found that there was a second slow leak around the area of the seal between the speedometer drive housing and the transmission brake backing plate. So I disassembled this and found that the seal for the output flange had worn a slight groove in the flange (some time before the rebuild). At the time of assembly I didn’t think this was enough to cause a leak, but I was wrong.
I found a Speedi-Sleeve of the appropriate size (part number 99162). After installing that and renewing the seals in that area for good measure, I no longer have a transfer case oil leak.
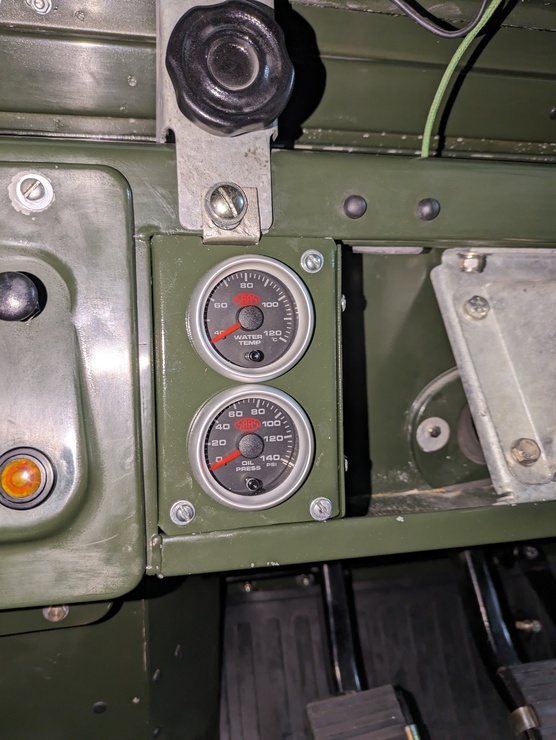
Oil pressure and water temperature gauges added
For my own peace of mind on longer trips, I’ve installed aftermarket gauges for oil pressure and coolant temperature. They’re installed in a way that can easily be reversed, although it did necessitate converting the vehicle to negative earth.
Besides the battery (obviously), there are only three polarity-sensitive parts in the vehicle:
- The ammeter (fixed by swapping the connections)
- The ignition coil (again, swapping the connections fixed this)
- The generator (fixed by “re-flashing” with battery voltage across the field coils)
I made up a custom bracket for the cabin installation, although I also needed a T-piece with weird threads in order for the original oil pressure warning light to work at the same time as the gauge.
Small radiator leak
I noticed a small, pinhole leak after a longer drive. I considered trying to solder it up from the outside with the radiator in situ, but I decided to remove the radiator and have it gone over professionally.
I’m glad I did that - turns out the last place did a rough job in a couple of spots, so it’s all been silver soldered and pressure tested again. Interestingly the drain tap failed the pressure test, so I’m just using a bolt. This has been working great since, even on a hot day in traffic after a highway run.
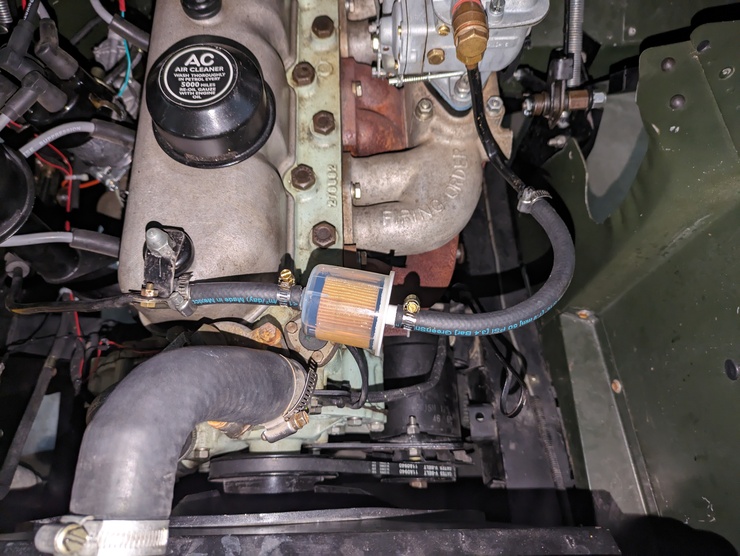
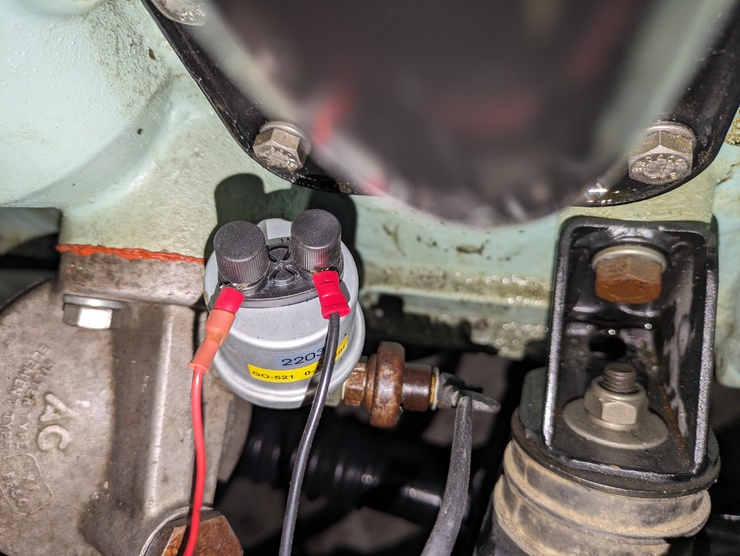
Coil moved back to bulkhead
This wasn’t a functional thing, but I never really liked how the engine bay looked with the ignition coil mounted on the valve cover. So I got a longer HT lead from the coil to the distributor, and now the coil is back where it should be.
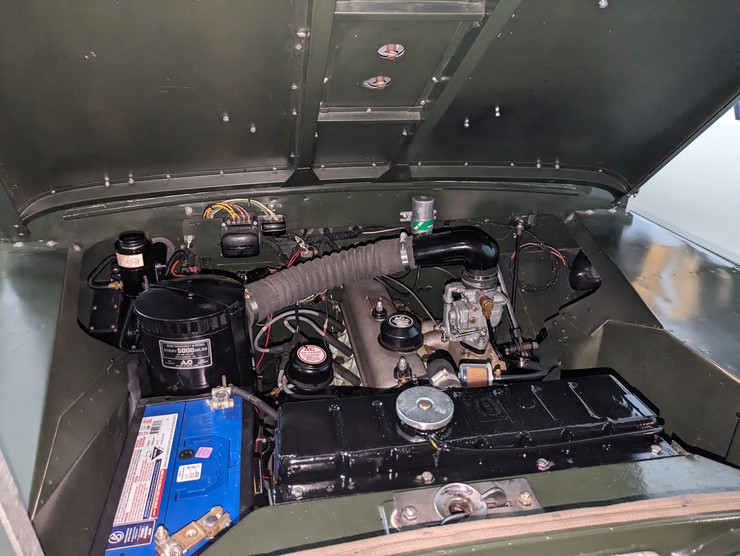
I also installed an inline fuel filter - it’s not necessary since there are already gauze filters in the fuel pickup, pump, and carburettor inlet elbow. But it’s nice to see what’s going on.