Series II maintenance and repairs
It’s been smooth sailing (hence the lack of recent blog posts), but there’s been some work recently (and upcoming) that’s worth writing about.
Carburettor issue
After taking the Series II to its annual safety inspection, I drove it home but noticed it was running very rich and stalling when stopped on a hill, or on the recoil from pulling up at traffic lights - in effect, whenever there were some G-forces towards the back of the vehicle.
I initially thought that the inspection place had touched the carburettor tuning - which they wouldn’t need to do for a safety inspection - but after a couple more test drives and some basic diagnostics, I’m pretty sure it’s the crappy Britpart carburettor. It’s meant to be a copy of a Zenith, but given the trouble I’ve had with these (this is now the second Britpart carburettor to fail on me) I think they’re just poorly manufactured.
It’s still driveable, but pretty annoying, and I suspect it happening at the same time as the safety inspection is just a coincidence.
My plan now is to dig up the old Solex from the storage box and have that properly refurbished - there’s a place in the US that does a nice job, and I’ve heard good things about a guy in Queensland. Not sure which way I’ll go just yet.
Driver’s side springs
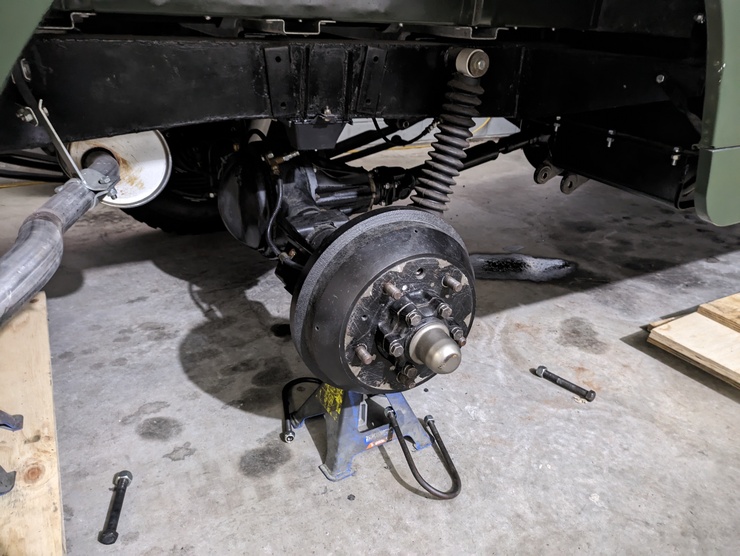
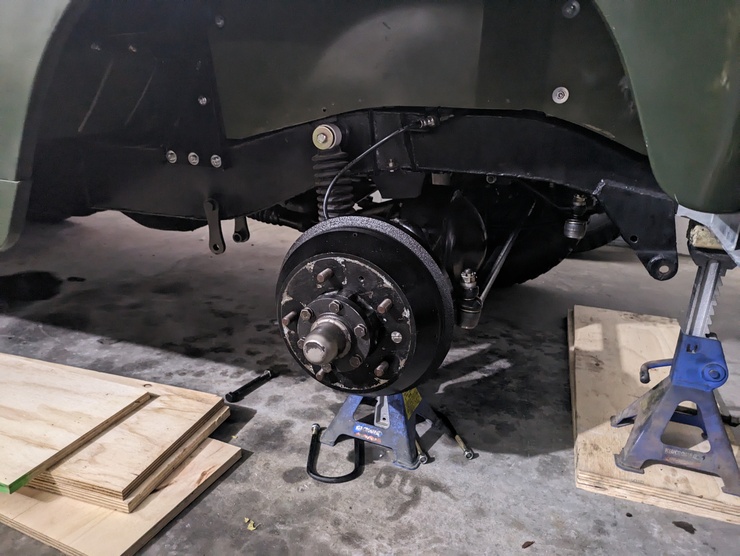
This is a very minor gripe, but the aftermarket parabolic springs were the same for both the left and right hand side of the vehicle, unlike the original leaf springs which were a bit stiffer/taller on the driver’s side. That’s because the fuel tank and the driver are on that side, so if you use the same springs on both sides, it lists by about 25mm with a full tank of fuel and no driver.
This didn’t especially bother me, but it was visible and to be honest I was getting a little tired of explaining the spring situation to people, so I’ve taken them out to have both the front and rear springs on the driver’s side raised by 20mm. That way the driver’s side will sit a little high with no driver (but much closer to level than it is now) and a little low with a driver but no passenger. The idea is that, on average, it’s closer to “correct” more of the time.
Differentials
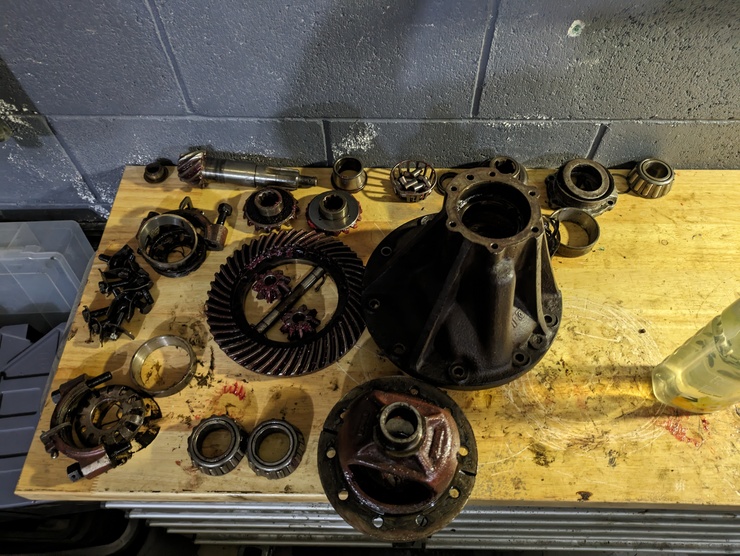
The differentials were one of the few parts I didn’t fully rebuild when I restored the vehicle, since they were (and are) fine. But I was still curious about what was involved, so when the opportunity came up to purchase another early Series II 4.7:1 differential for not much money, I bought it with the intent of rebuilding it, swapping it into the vehicle, then rebuilding the one that came out of the vehicle, and swapping that onto the other axle (the front and rear differentials are identical).
This would get me freshly-rebuilt differentials with no downtime, and a third differential that I could play with - for example, checking whether ARB air lockers for the 3.54 differential can be made to fit on the 4.7.
I’ve got it fully apart without the special tools, but unfortunately I damaged a couple of shims while removing a bearing (I didn’t realise they were packed in together) so I’m waiting on replacement shims from the UK. It’s not a big deal - the shims are cheap, and this is a spare differential, so there’s no time pressure.
Looking at another Land Rover
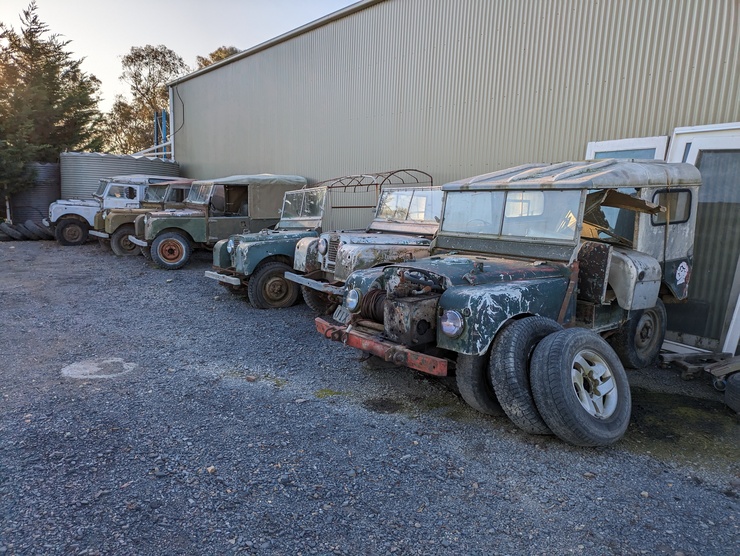
I was considering buying another project Land Rover recently. It was a Series I 80”, lights behind the grille. This is an iconic model, and makes even my Series II look enormous. After seeing it in persion, I decided not to take it on - the chassis would’ve needed more work than I could do in my garage, the bodywork was a mess (one of the most expensive bits of a restoration, unless you simply replace entire panels), the levers and ring pull for the gearbox and transfer case were jammed, and the gearbox wouldn’t turn at all.
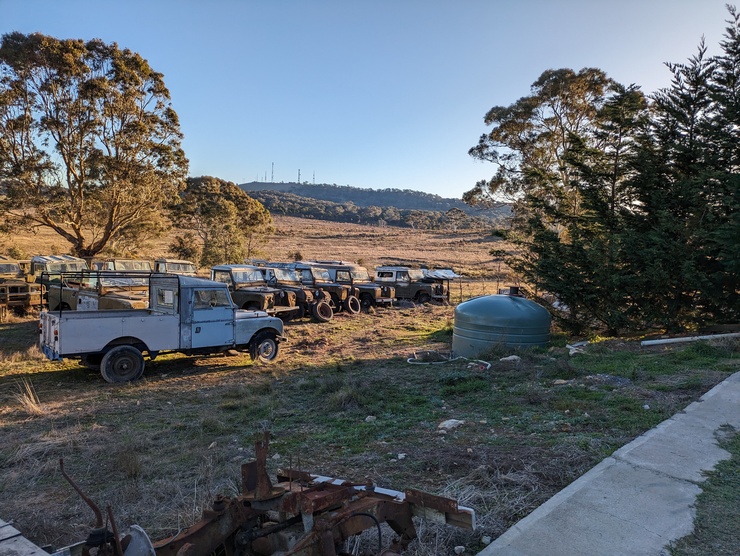
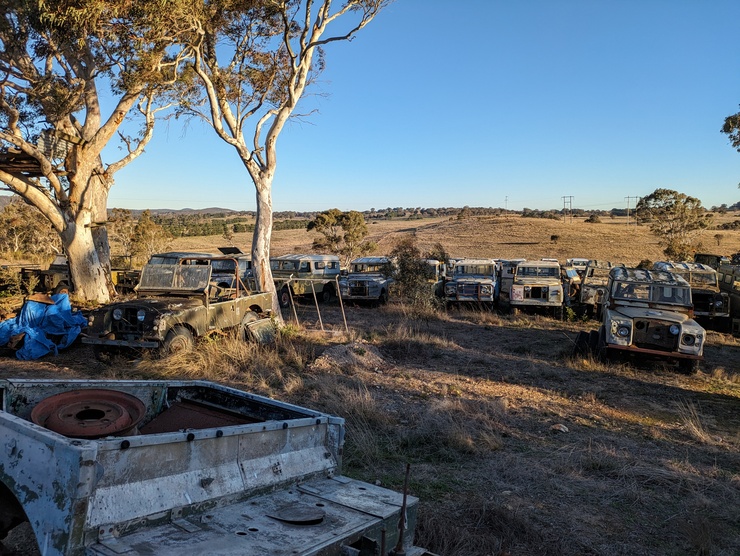
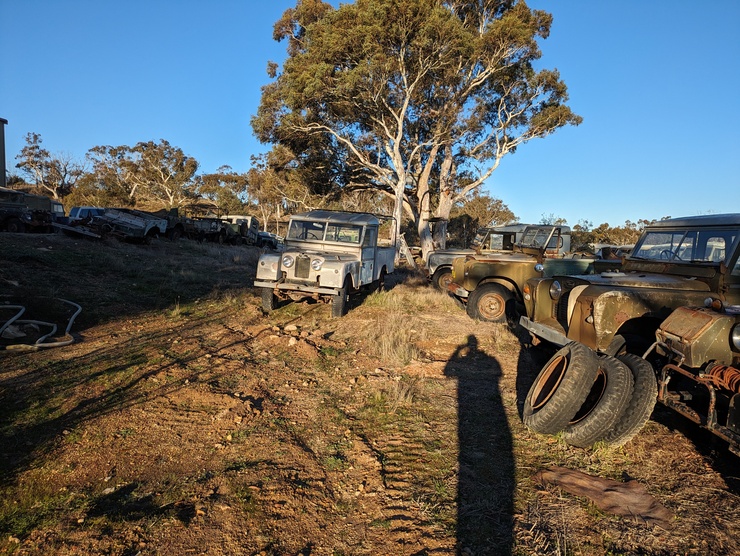
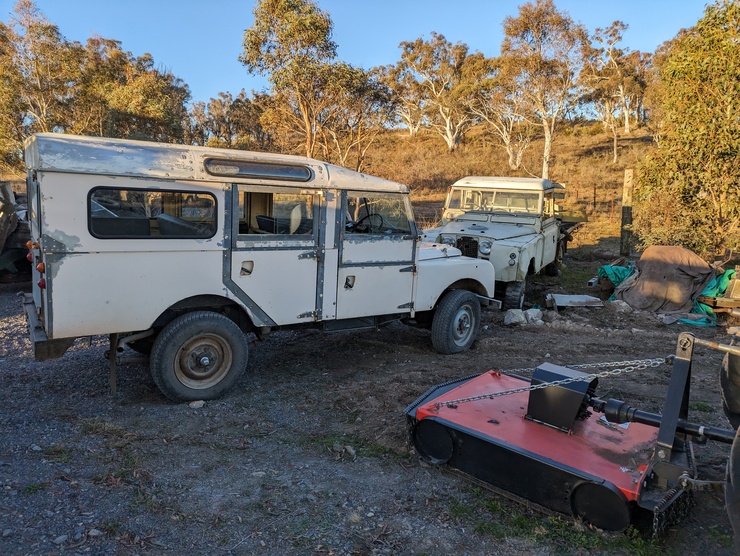
The two-hour trip wasn’t a total waste though - it’s a pleasant drive, and the person holding the vehicle (the seller was interstate) had quite a show of other old Land Rovers around the place.
