Land Rover - Roof panel work
Cutting, buffing, polishing
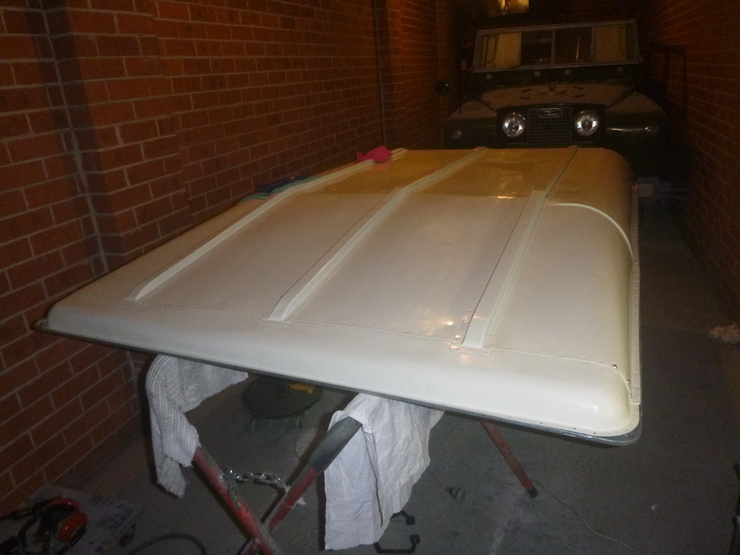
After waiting a couple of days for last weekend’s paint job to dry, I got stuck into cutting, buffing and polishing the roof panel. This took about six hours, with the cutting stage being especially painful on such a large panel. Thankfully the rotary polisher made quick work of the buffing and polishing stages.
I’m very happy with how it’s come up, and I’m also happy to be done with painting - as much as I enjoy the results, it’s a lot of (unpleasant) work to get there.
Galvanised bits
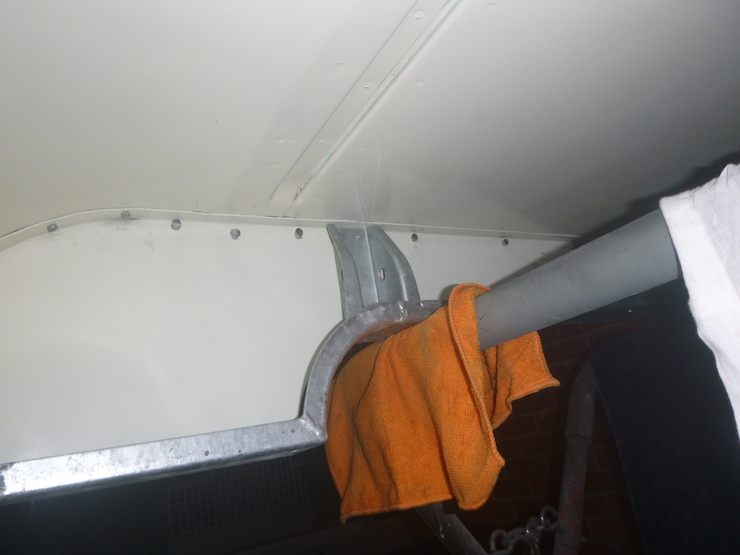
There are four galvanised pieces that need to be installed before the large frame is fitted up to the skin - two that brace the horizontal strake (one at each end), and two that hold the pivots for the rear tailgate hinges.
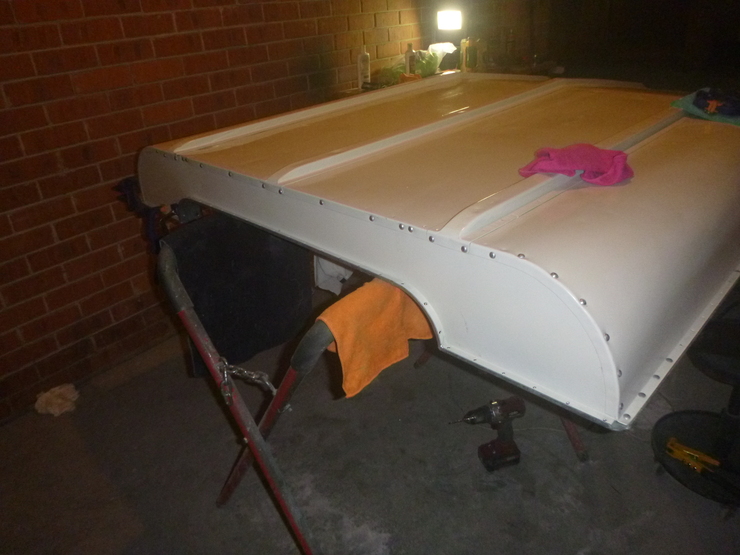
Once that was done, I managed to get the large rectangular frame mounted up despite working by myself. I started by laying it out on the ground under the skin (which remained on the panel stands), lifting one end up and onto the stand, moving the skin to sit on top, and then repeating for the other end.
Riveting
I wanted to get a bit further with this than I did, but I ended up doing a bunch of deferred air compressor maintenance (there were a few big jobs I put aside until after I finished painting). I also gave it a much-deserved clean, since there was an enormous amount of paint dust built up all over the fan, cooling fins, and cowling.
After that, I got the solid rivets in for the end pieces of the roof skin (the flat section at the back and the curved section at the front) and made a start on the roof frame.
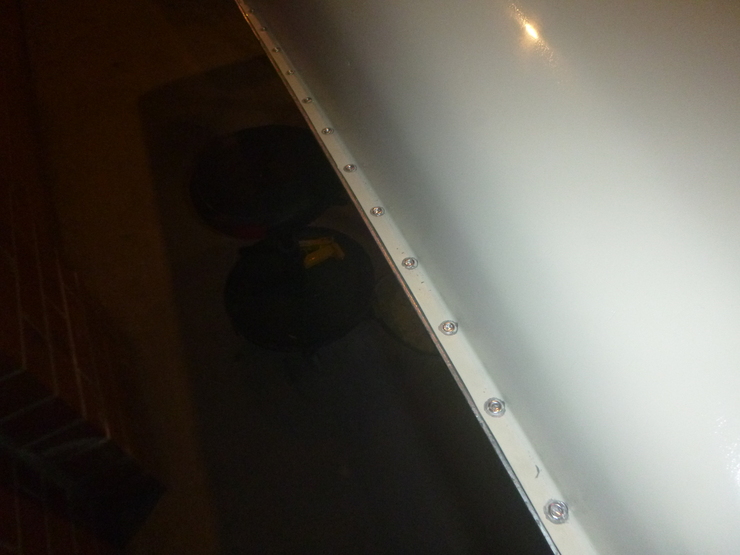
It took quite a bit of time and experimentation to get the fitment right, since the skin “flares out” somewhat without the frame to keep it taut, and the frame distorted slightly during the galvanising process. It’s nothing serious, and I expect that getting the skin fitted will pull it back into shape. I ended up using placeholder rivets in the corners, which were just solid rivets placed upside down so they don’t fall out, then working from the middle out of each side for the final semi-tubular rivets.
It’s too early to say how well this has worked, since I’m only about one-fifth done. So far, so good though.