Land Rover - Glass, ventilator flap, windscreen wiper
I’ve missed my normal self-imposed weekend deadline for blog posts due to internet issues, but on the flip side I’ve gotten a bit more done on the Land Rover than normal.
Glass
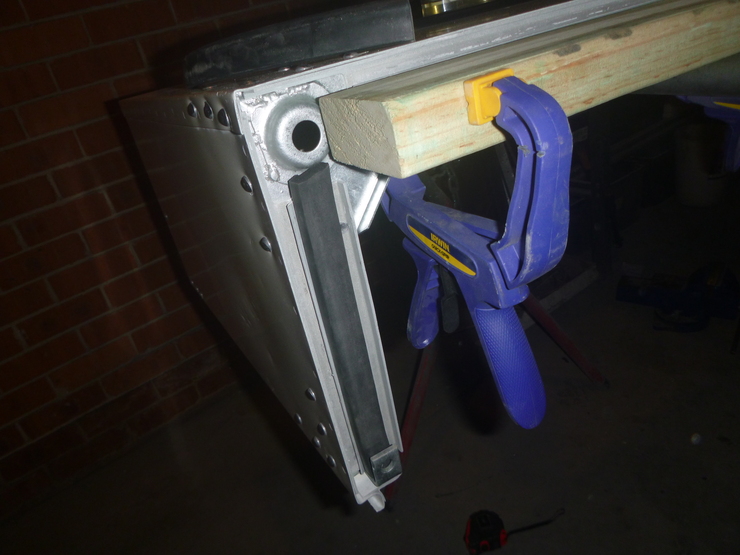
This is a job that took far longer than I thought. After getting some custom pieces made up using the old ones as a template, I figured it’d be a matter of just installing the seals. While it’s simple enough, it’s a very time-consuming job that needs a lot of persistence. The overall process is something like this:
- Install main body of seal in panel
- Install glass in seal
- Install seal insert
The trouble here is in steps two and three, since the glass will completely refuse to go into the seal for half an hour until the stars align and you sacrifice a goat. I found that rubbing the edge of the glass with soapy water helped, but the main thing is patience.
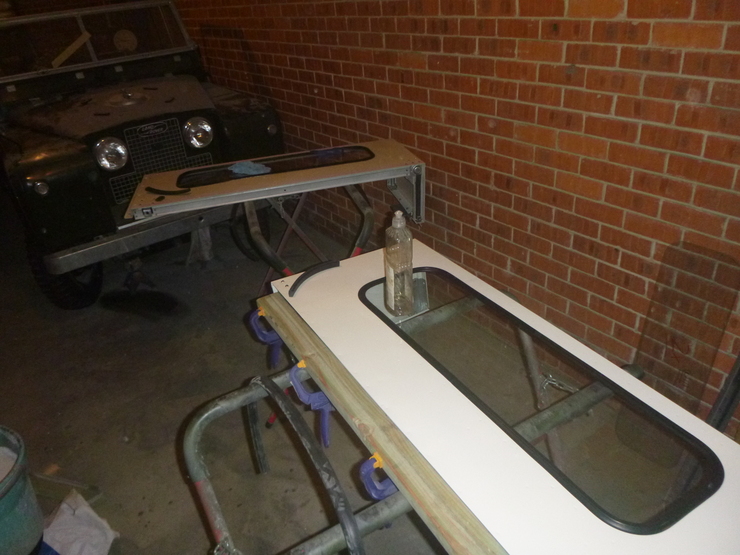
Related to the window seals are the body seals that go between the galvanised cappings on the rear tub and the quarter panels. The replacement units aren’t bulky enough, so I’ve been gluing some more EPDM sealing strip to the quarter panels. It’d be easier to glue them to the rear tub, but I’d like to be able to remove the roof and drive the car like that without having to worry about leaving the seals attached to the rear tub.
On the left side of this shot is a strip I’ve already installed, and on the right hand side are some clamps holding down some timber to distribute the load over another length of seal.
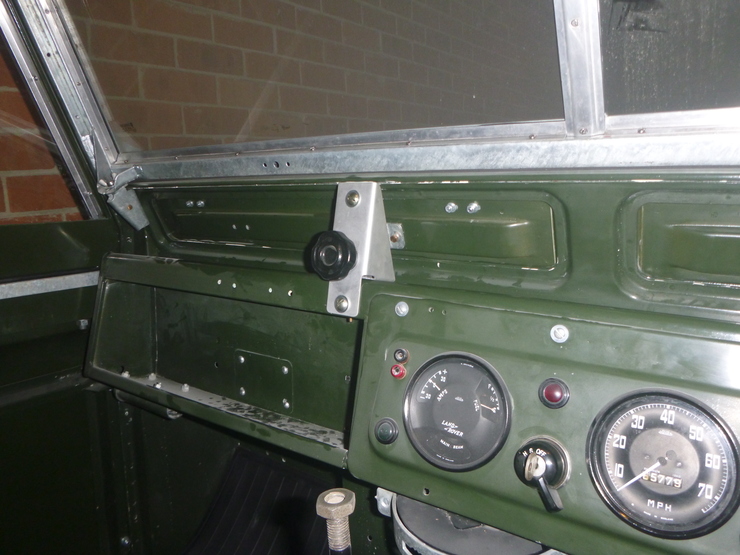
Ventilator flap
A minor thing, but it also took longer than I intended due to having to wait for the right screws to ship and having to fabricate a part after the galvanising place lost it. I have working vent flaps now, and I’m in the process of testing out some seals made of hardware store door and window seal. There are replacement ventilator seals available, but I’ve read consistently bad reviews and they’re very expensive.
Windscreen wiper
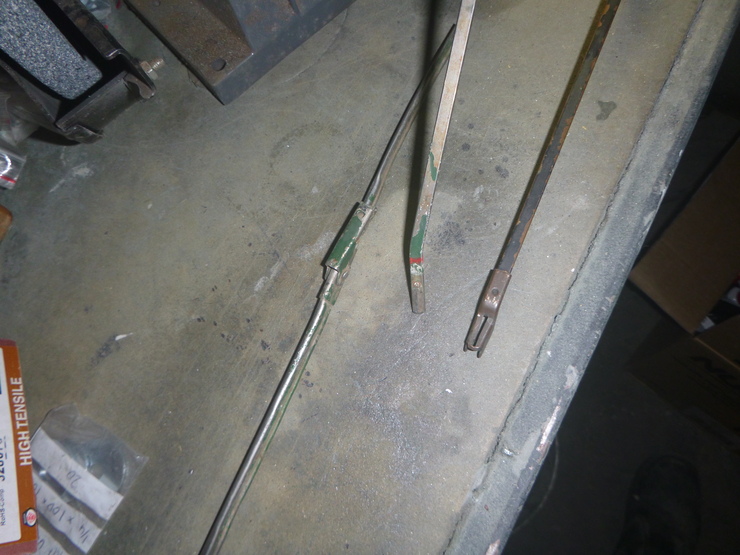
I’ve been trying for a while to source a replacement blade for this, but I’ve not had any luck. The trouble is that there are two types of blade fittings, the “hook” type and the “dowel” type, as picture below (dowel in the middle, hook on the right).
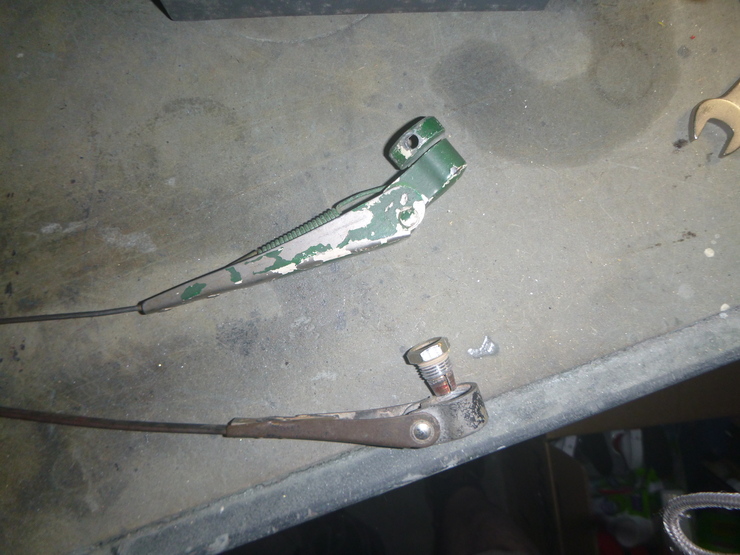
Replacement blades for the dowel type are easily available, but this type of arm is newer than the hook type originally fitted to my car. The trouble is, the arms that use the dowel type fitting are longer than the older type and aren’t compatible with my wiper motor spindle. The older-style spindle needs a cone that clamps on as it’s tightened, but the newer style simply uses a 2BA screw. The two types are pictured below, with the cone-type at the bottom.
My plan for now is just to weld a new-style dowel attachment (for the blade) to the old arm with the correct cone fitting for the spindle.
Another Land Rover
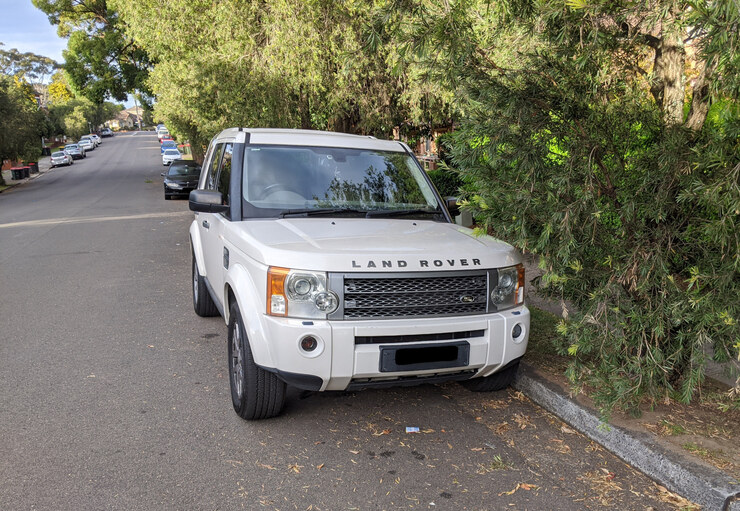
Yes, I bought a second Land Rover. This one is a 2009 Discovery 3 TDV6 SE, and the goal is to use it for a few longer trips I’ve got planned and to help with moving parts around for the Series II. It’s already been useful for various trips to the glass shop, the rubbish tip, the paint shop, and a bunch of other places that I would’ve previously had to rent a car for.
I got it for a good price due to COVID, but it was a little behind on maintenance so I had a bunch of preventative work done. It only has 104,000km on it though, and drives great. The outside is still a little rough (slightly faded headlights, some stone chips in the paint, and wheels covered in brake dust) but I spent a decent chunk of the weekend disassembling the interior (seats out, centre console out, etc.) so it’s a very nice place to be.