Land Rover - Floors and mats installed, doors together, paint preparation
Floor panels and mats installed
After painting the floor panels last weekend, I did the usual round of cutting, buffing and polishing. This was pretty uneventful, although the welding job I did on the bell housing cover seems to have warped it slightly. As a result, one of the floor screws (on the far side of the transfer case gaiter) doesn’t quite want to go in. It’s easy enough to fix, I just haven’t done it yet. As you can see, they haven’t yet accrued the layer of thick dust that’s settled on everything else in the garage, but I’m sure it’ll happen with time.
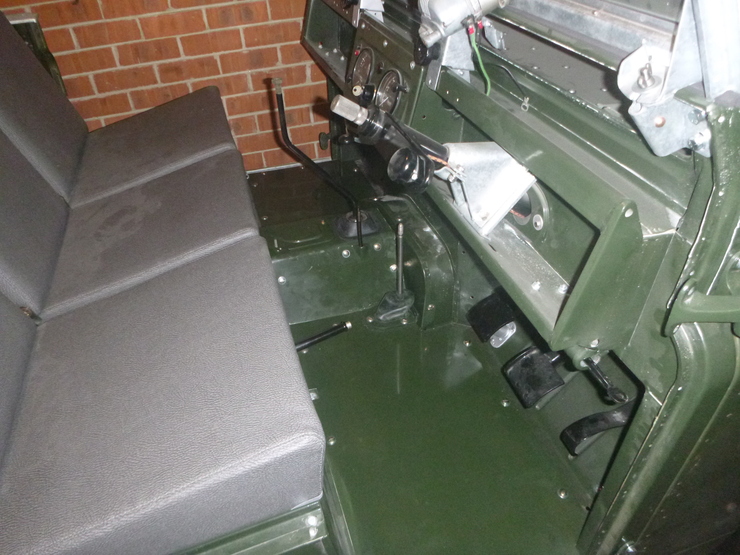
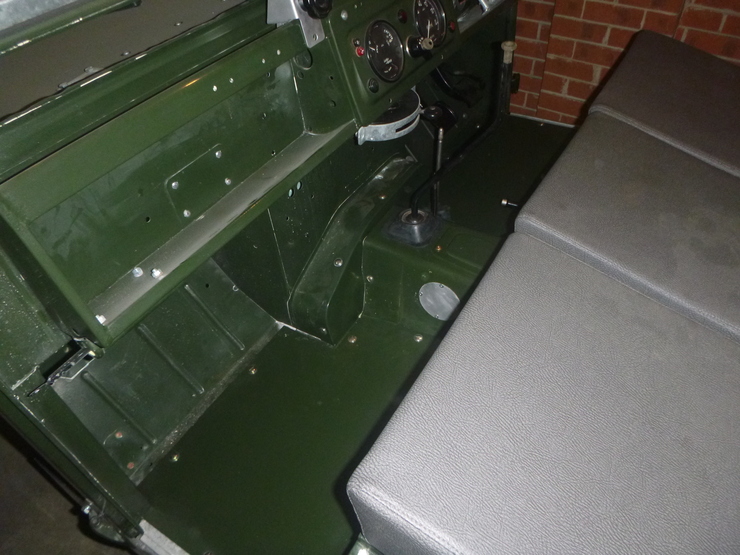
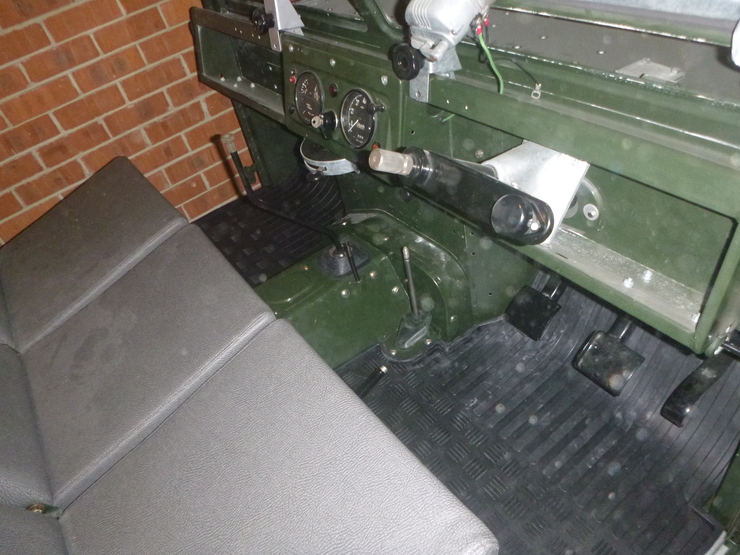
Once the floors were in, I installed the floor mats. This was fairly easy - the passenger’s side dropped right in and seems quite secure. The driver’s side needed to be cut in two obvious places: one hole for the headlight dip switch, and another for the accelerator pedal travel stop. I had the option of going with the more traditional “chain link” style floor mats, but they have a few issues - they’re not waterproof, they don’t go all the way up the back of the footwell, and they’re very expensive. These fit great, and I’m glad I went with the cheaper rubber ones. They’re also very thick and heavy, hopefully they last a long time as a result.
I might need to cut some holes in the passenger’s side floor mat yet, since I want to install a fire extinguisher in the footwell area. But that’s a task for much later on.
Paint preparation
Spent the better part of a day cutting, buffing and polishing the door frames and the insides of the door skins. Once that was done, I installed the door handles and joined the skin up to the frame. This is a simple but very labour-intensive job - it’s quite a lot of work to fold the edge of the door skin all the way around the frame.
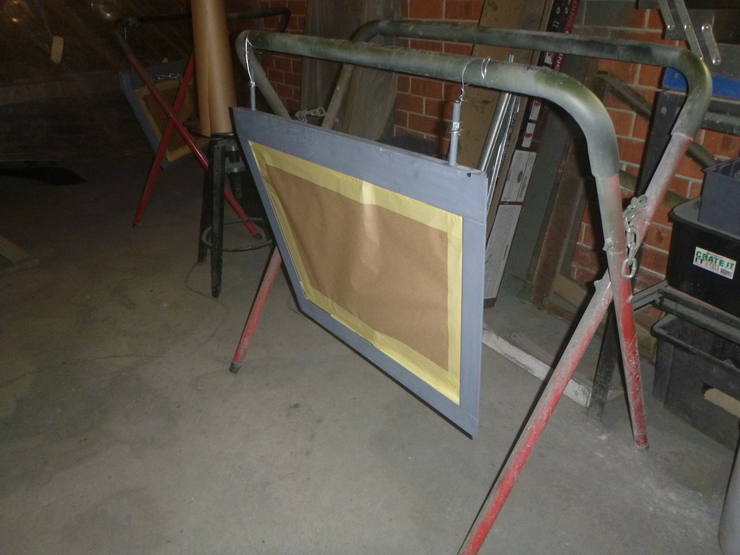
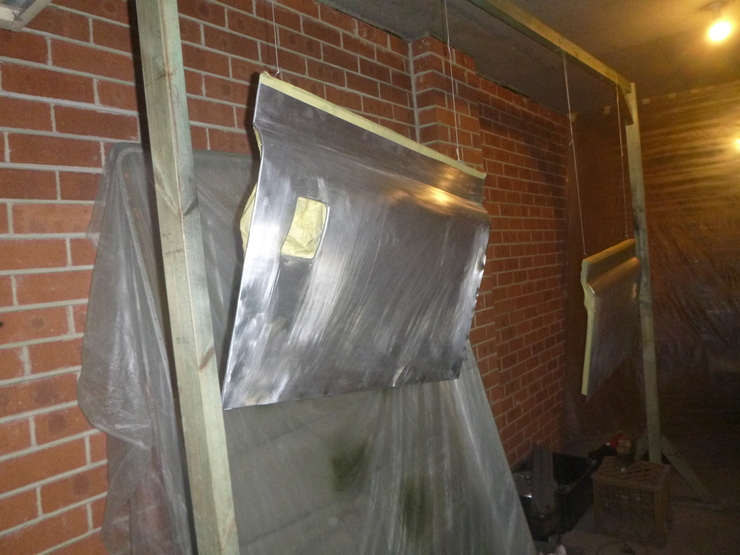
Once that was sorted, I sanded the front of the door skins and masked off the areas that I painted last week. Unfortunately, I forgot to take photos of the door interiors before masking them off, but hopefully I’ll have some shots next week.
The sanding job looks a little patchy in the photos, that’s because the camera flash only highlights sanding marks that are oriented a certain way - it’s all been sanded properly.
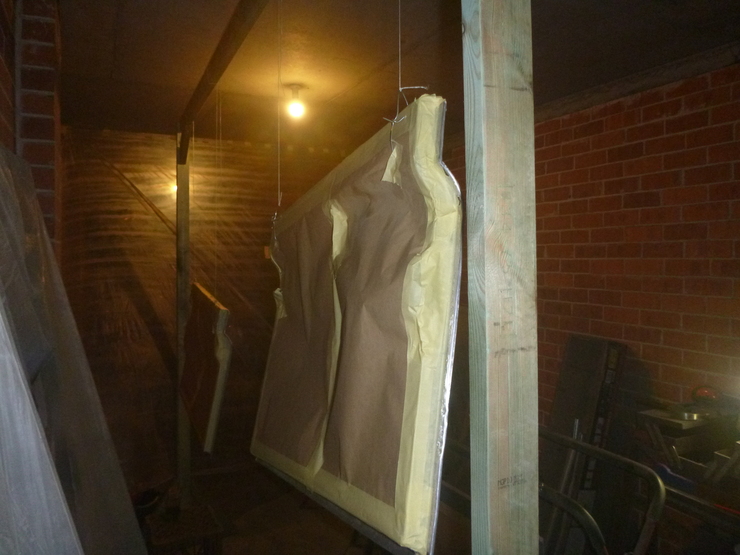
I decided to also paint the top halves of the doors next week, so I spent some time sanding back the existing primer (these are replacement door tops, and came with primer) as well as masking off the glass. I decided that masking them off would be easier than removing and re-installing the windows, I’m not sure if I’d do it like that again - masking off all of the rubber seals etc. is quite fiddly, although I know from experience how annoying it is to get the window slider and seals reinstalled. In any case, they’re now ready for paint.