Land Rover - Bodywork, electrics, seats
It’s been a bit over a month since the last blog post, and there’s been a fair bit going on since then. There were some delays in getting parts and in getting work done due to the Christmas/new year break too, which didn’t help.
Bodywork
It’s taken a huge amount of time to cut, buff and polish all of the bodywork I painted last month, but it’s all (mostly) installed now. I’m also working my way through the galvanised parts, both from the last round of galvanising and the second round I’ve just done (see below).
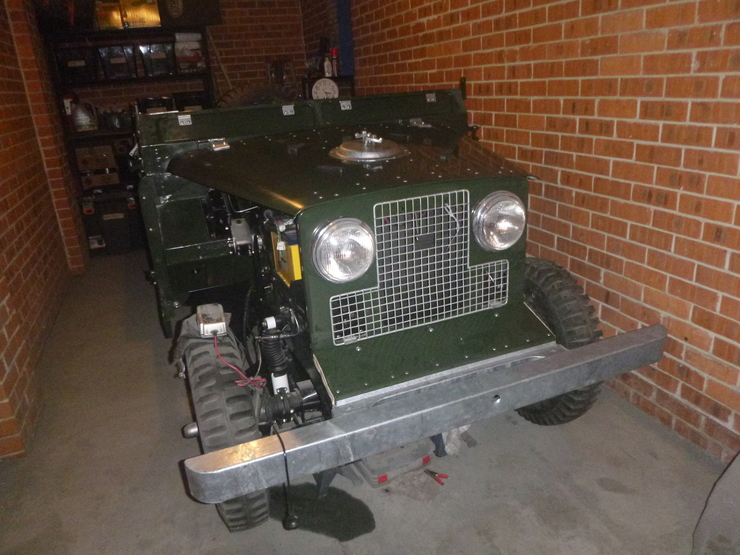
It’s really starting to look like a Land Rover now that the bonnet and bumper are on. I cleaned up the engine bay before installing the bonnet, so even though I’ll probably remove it a few times for some odd jobs that are easier with the bonnet off, I’ll keep it on as much as I can to keep the engine bay clean.
The front apron (the small panel between the bumper and the grille) is also on. Mine is the earlier, flat type, with two bolts that go through the bumper (rather than reusing the bolts that hold the bumper on). I’m glad this was in good shape, since the aftermarket ones aren’t quite right - they’re one piece, with the steel section at the front merged with the aluminium panel. Not a big deal, but it doesn’t look as nice without the solid rivets in my opinion.
The ventilator flaps are also in, although I don’t have the rubber seals yet and the controls aren’t quite done.

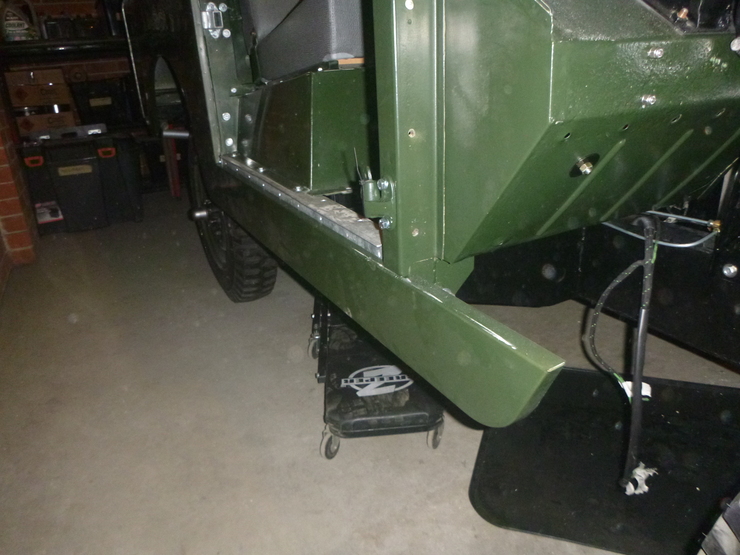
The side skirts are installed, after a great deal of fiddling about trying to get them to line up. They still don’t quite line up, but they came from the factory a bit wonky so I’m not too worried about this. These are aftermarket items since the original ones were mostly missing, and I’m very happy with the quality. Judging by the state of the mounting points on the one section of remaining original skirt, I’d say they were torn off during some sort of off-road shenanigans.
You can also see a bunch of loose wiring in this shot - I’ve been running cables around the car, and I’m hoping to get things connected up during the next few weeks.
The seat box is also in, and mostly bolted down except where it meets the front floor (which hasn’t been painted yet). This was mostly uneventful, although I can’t get the rest of the floor in until I’ve bled the clutch.

Electrics
As alluded to above, I’ve been running wiring in various spots, although there’s still more to do. I got a bunch of replacement wiring clips, so that’s going to help with the parts I haven’t wired up yet.
Interior
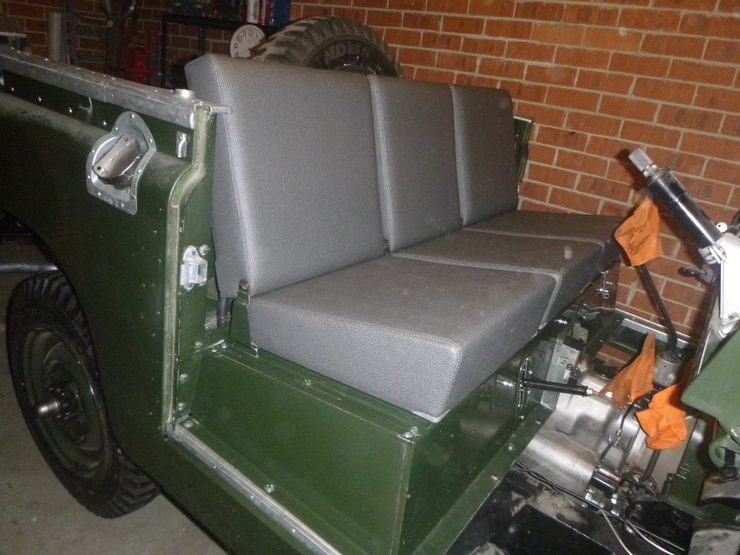
The seats are in and installed - this took a fair bit longer than I wanted to, since some of the mounting brackets were bent, and it took some fiddling to get the seats centred and evenly spaced. I also need to do a little bit of work on the seat squabs, where they don’t quite line up with the rubber buffers mounted on the bulkhead. The seat bases need a small amount of work too - the wooden mount across the bottom isn’t wide enough or deep enough, and they’re currently just resting on the plastic guards at the corners, which isn’t ideal. Nevertheless, it’s great to finally be able to sit in the car, even if climbing in and out is a bit risky due to the lack of a floor.
Sandblasting
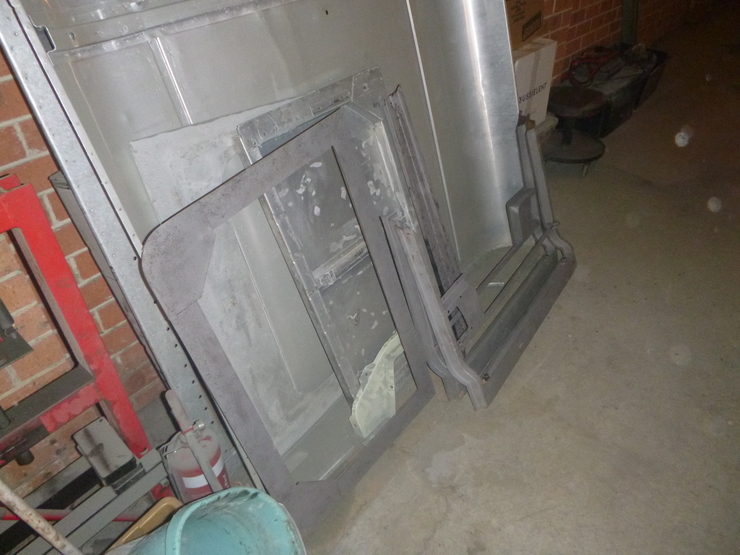
Hopefully the last round of sandblasting for the whole project - the door frames have cleaned up fairly nicely, although the horizontal channel at the bottom was fairly rotten. I’ve got some replacement section for this, and I’ll be welding it up as soon as I get around to rust-proofing the inside of the frames (probably with Eastwood’s internal chassis coating). The two front driver’s doors are visible in this shot, with the bottom section cut out, as well as the frame for the rear lift gate (which doesn’t need any repair work).
Galvanising
Also got another round of galvanising done, hopefully for the last time. I got the windscreen frame, spare tyre mount, and various braces/longer strips done. I used red RTV to protect the threads from the galvanising process, and while this worked well for the larger (1/2” BSF) threads in the spare tyre mount, it didn’t do anything for the tiny threads in the windscreen frame. I’ve successfully chased these threads, but it took an entire afternoon and wasn’t exactly fun. If you have access to small amounts of a “proper” anti-galvanising compound, I suggest you use it.
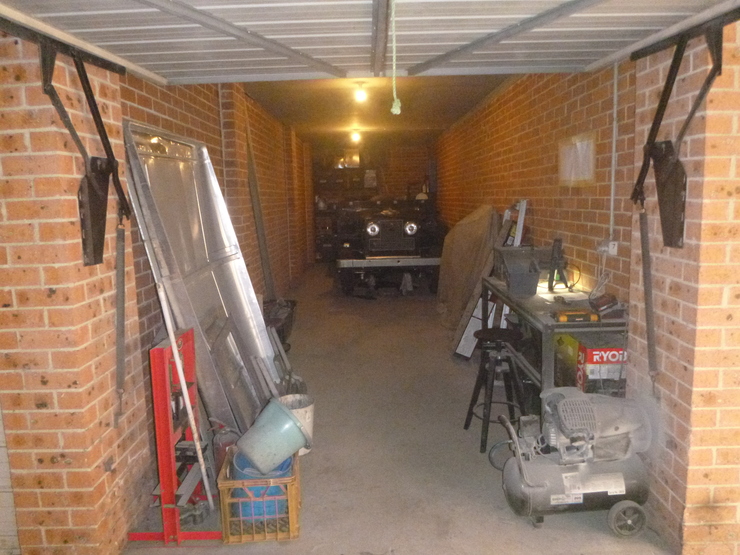
Finally, here’s an overall shot of the garage - I don’t have any parts “out” at the moment except for the steering wheel, so this really is every substantial component of the car. As you can see, I’ve freed up quite a bit of working space by fitting up all of the body panels, which should come in handy when working on the remaining larger bits (doors, roof etc.)