Land Rover - Electrics, gauges, panelbeating, painting
It’s been a busy month outside of the Land Rover, so apologies for not posting sooner. I’ve mostly managed to reserve my weekends for the car though, so there’s still been plenty of progress. I haven’t taken much time off work (just a few odd days) so despite the weekends, there still hasn’t been as much progress as I’d like.
Windscreen wiper motor
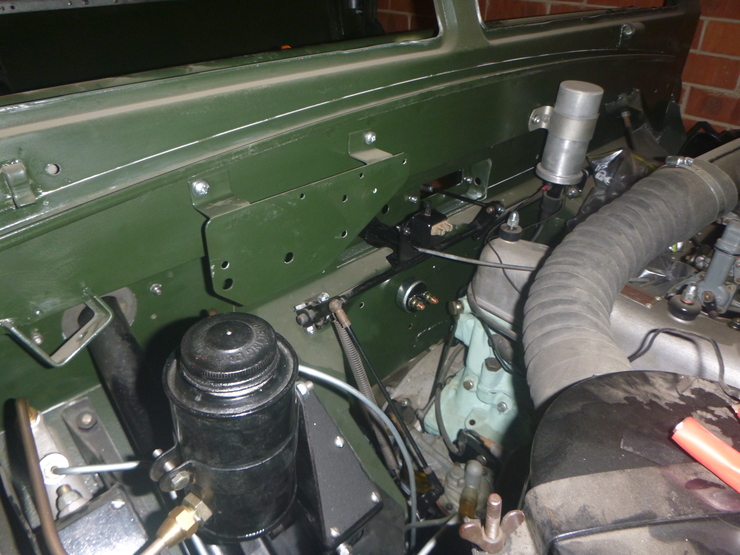
Finished this off, and it works very nicely now that it’s got grease in all the right places. I still need to figure out how the wiper arm itself is meant to attach, and the bits at the end of the spindle are only on temporarily until I can get it mounted to the windscreen frame. The windscreen frame has unfortunately still not been galvanised - it’s something I’ve decided is better left until after the holiday season.
Gauges and dashboard
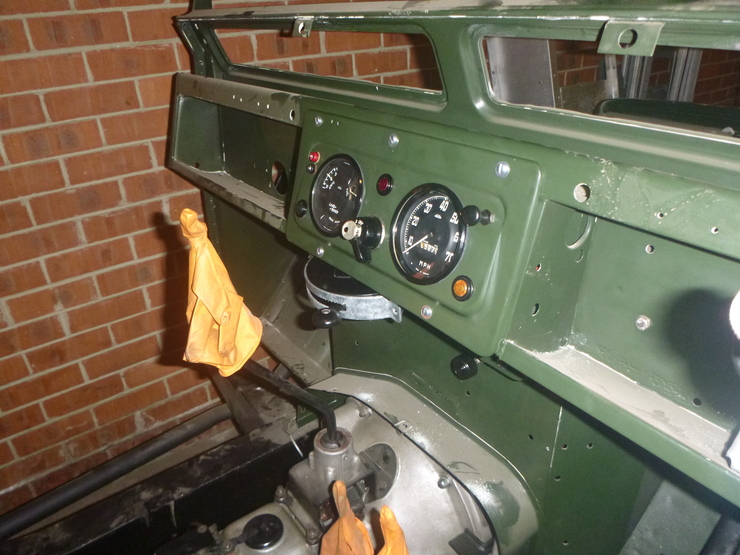
I’ve got the back of the dashboard mostly complete, the only things I’m missing are a few panel lamps (which I’ve ordered). The rest of the car’s wiring isn’t done at all since I’m waiting on some clips and I decided to do some painting in the meantime, but once I get those clips arrive then the rest of the wiring harnesses can get installed.
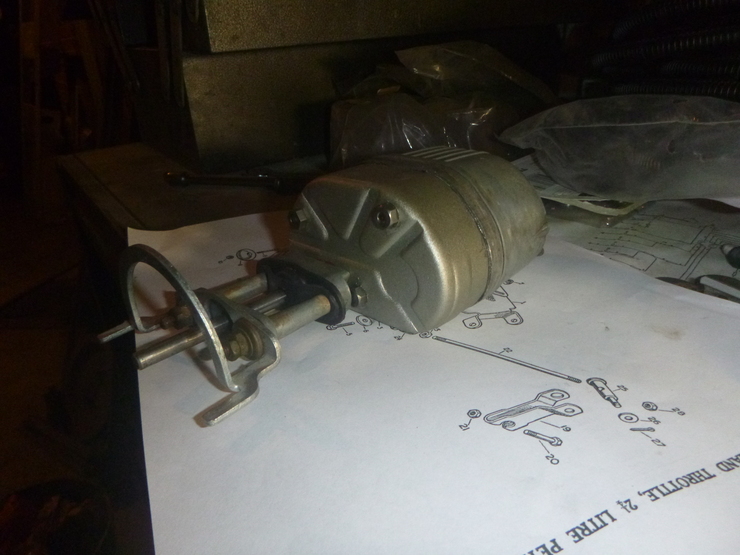
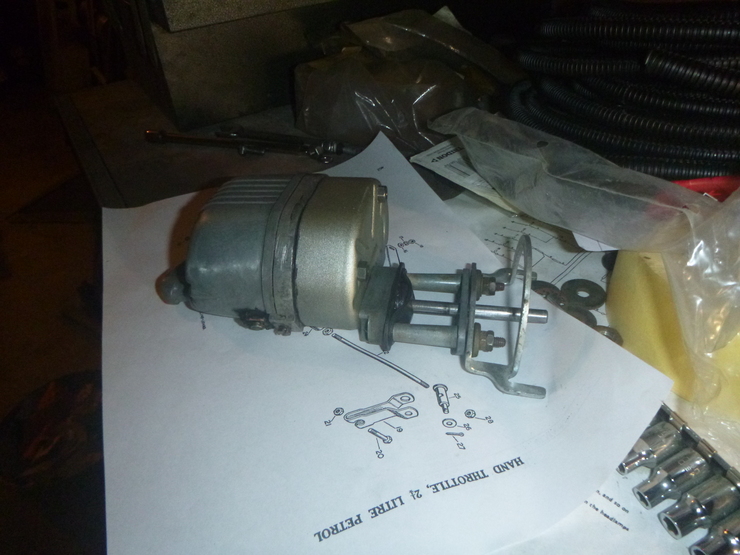
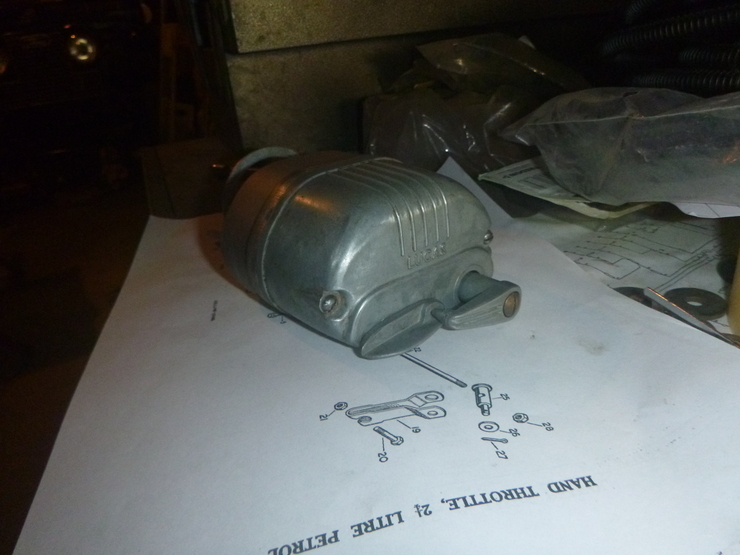
I’ve also done some other dashboard parts, you can see from the photos that I have the hand throttle and choke installed, as well as the starter button (although it isn’t hooked up yet). I haven’t calibrated or tightened down the hand throttle, since I still haven’t set the carburettor idle properly - nothing difficult, just something I haven’t got around to yet.
Fuel filler
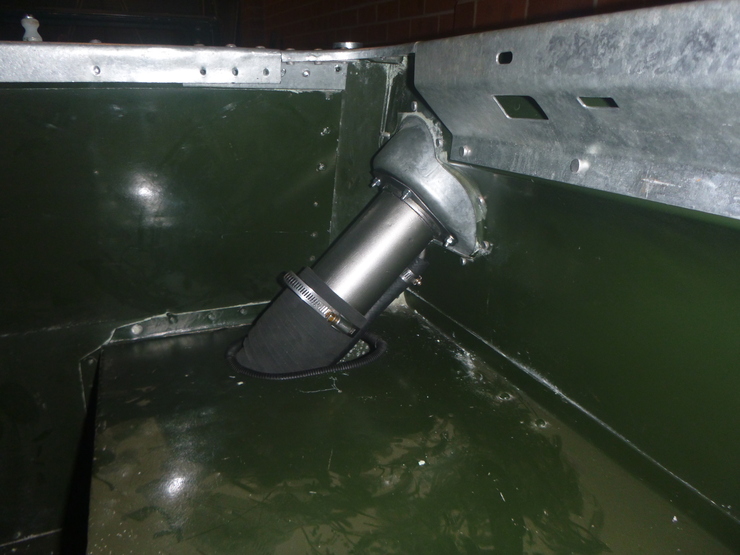
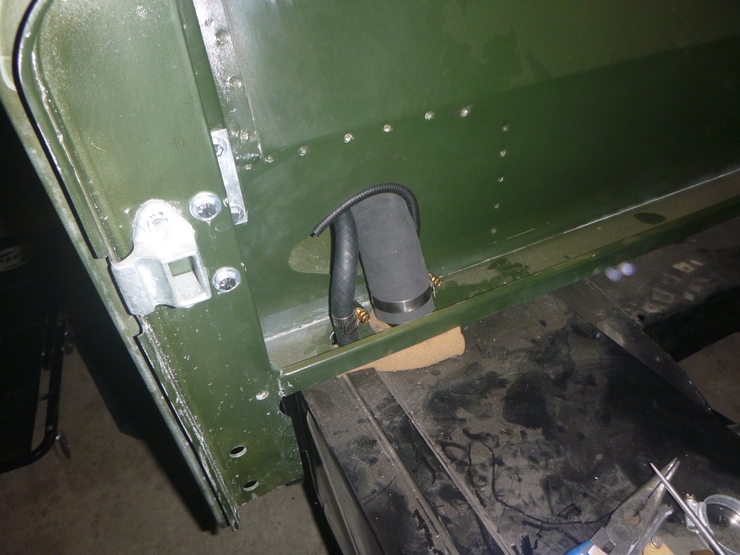
This took a surprisingly long time, since the hoses are very fiddly to get in place once both the fuel tank and rear tub are installed. I also installed it 90° out of whack the first time round, so I had to re-do it. Anyway, I’m quite pleased with how it’s come up. The black plastic around the bodywork cutouts is to stop the filler pipe chafing against the bodywork.

Panelbeating
No photos of this since I forgot to take them, but my front guards are back in shape and ready to be painted when they’re back up from Mark’s shop. The rear tailgate is still down there since it’s quite a complicated piece, and we ran out of time to work on it (he’s got some other jobs on besides mine).
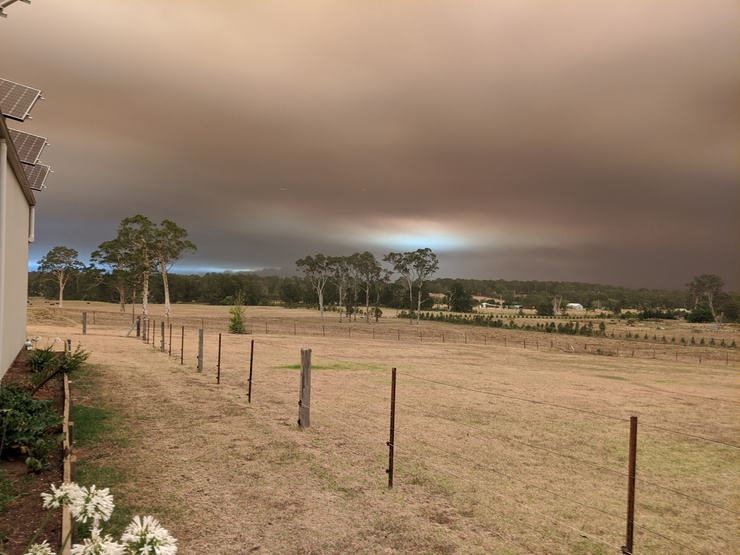
I did get a photo of the fire to the south-west of his workshop, which was only about 15km away at one point and generated its own weather system. The camera doesn’t quite capture the distinct orange tint to everthing, or the fact that it was raining ash.
Painting
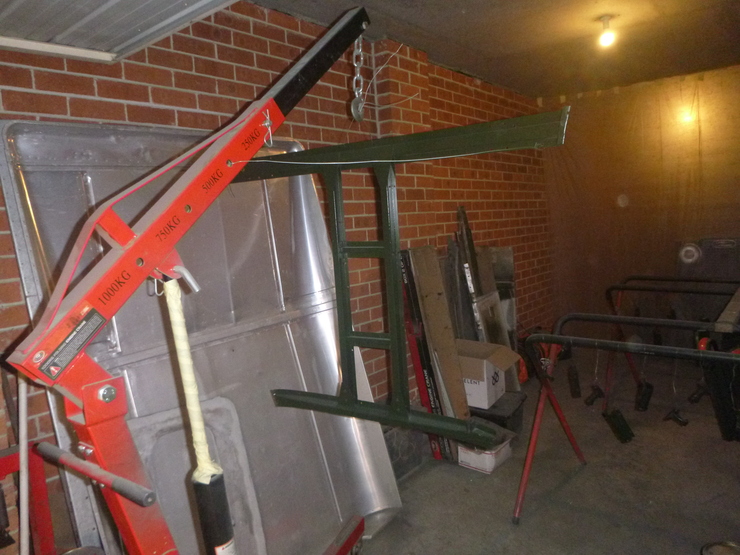
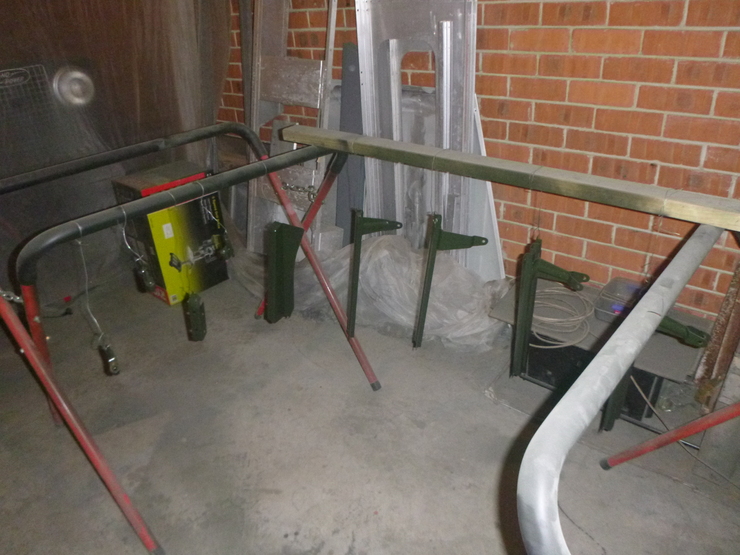
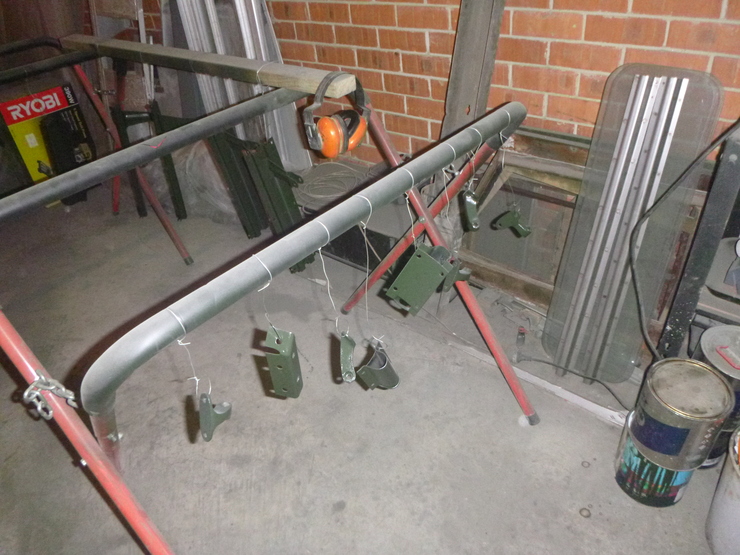
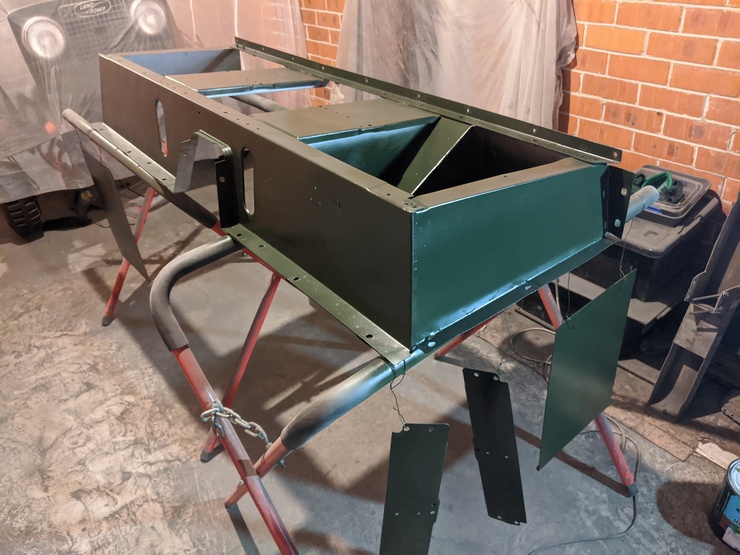
I’m quite a long way behind on painting at this point, so I’ve been trying to catch up. I’ve painted a whole pile of miscellaneous steel bits, since I’d already done the primer for these (with Eastwood’s rust encapsulator). This round included the bonnet frame, door hinges, seat rails, and various other small bits.
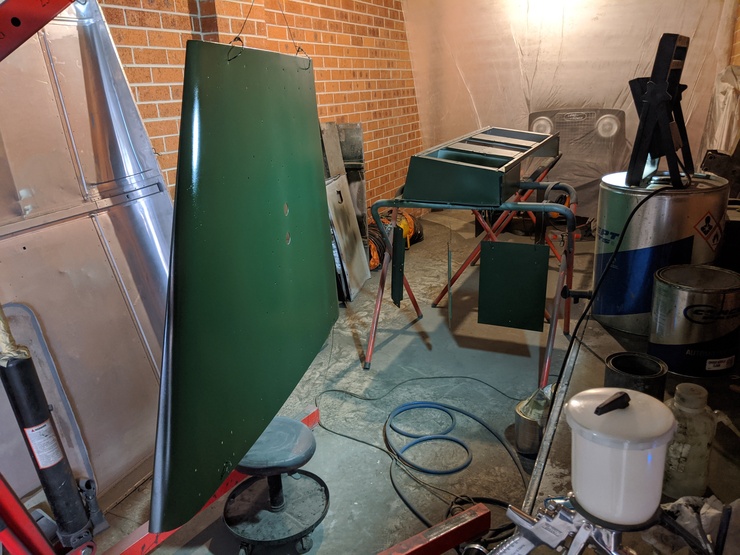
The second round involved some actual panels, namely the bonnet skins, seat box, and the small flat panels associated with the seat box (toolbox lid, et al). Don’t be fooled by the photos, it’s all the same colour - I took the photos with different cameras, in different lighting conditions.