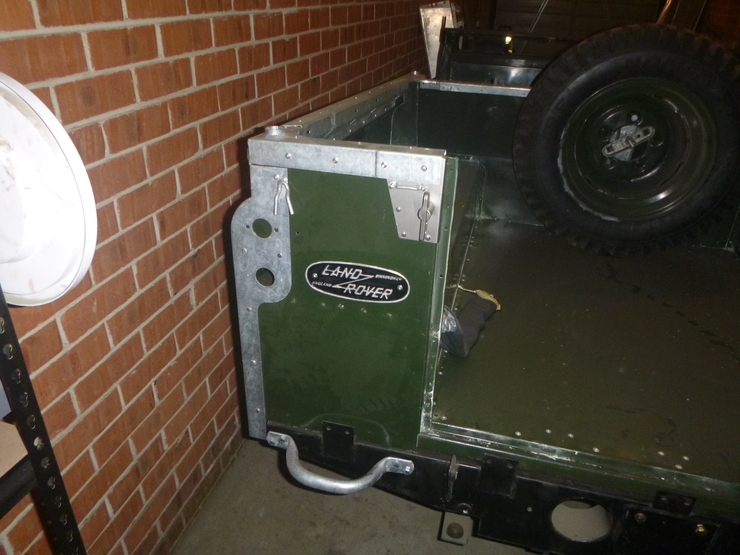
Land Rover - Door skins, seatbox, badges, electrics
The next blog post after this will be either very short or somewhat delayed, since I’m heading to Europe for two weeks for work, and obviously won’t get anything done in that time.
Door skins
Spent a day (and a bit) working with Mark Natoli from Natoli Panel Creations on getting the door skins done, as well as some other stuff outlined below. I’d recommend Mark for any sort of panel creation or repair work, he did an amazing job on this stuff, just like he did on the rear tub.
Here’s a rough outline of the process of making a new door from scratch. First, start with a large flat section of aluminium. Cut it down to size with a large sheet-metal guillotine, remembering to take into account the “flanges” that wrap around the door frame. Then, cut out some triangular sections from the bottom corners, so that when the flanges are folded over, they don’t overlap. Cut down the flange on the section that needs to be rounded, so it doesn’t buckle when bending the metal. Bend the flanges to about 90°. Then, put a mild bend at the top of the rounded section, just to locate the piece. Bend the rounded section between two appropriately-sized round tubes. Go back and fold the flat section at the top so that it’s parallel with the rest of the door.
You now have a complete door without the handle cutout. At this point, make a steel hammer-forming jig using the old door handle cutouts as a reference. Cut out a section that’s shaped like the door handle, but leave 5mm extra to fold back around and form a flange. Use the old door to assist in locating. Anneal the metal in this area with an oxyacetylene torch. Then, clamp the jig in place, with timber on the other side to brace it, and slowly work your way around the inside of the door handle, hammering the extra 5mm you left, to form a flange. You now have a completed door.
In case you were wondering, that’s Pulp Fiction playing in the background. This part is not necessary for the creation of a door, but it helps. Photos taken by Mark.
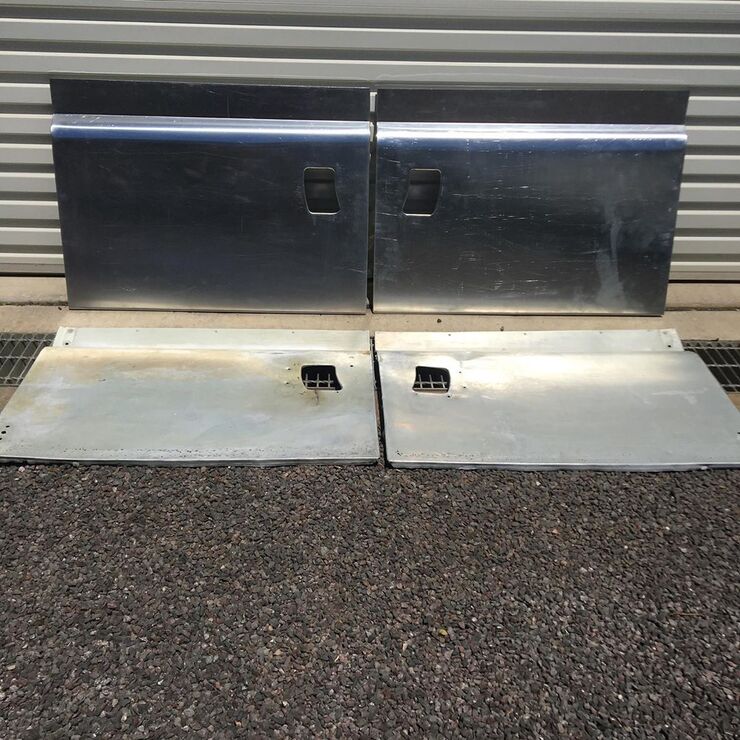
We got two brand-new doors in about five hours with this technique, which really speaks for how phenomenally good Mark is at what he does.
Other panel repairs
While I was working with Mark, we got some other stuff done, including:
- Fixing several failed spot welds on the seat box
- Replacing several torn-off sections of the seat box, mostly around bolts
- Welding the front apron panel where it had torn in the corner
- Panelbeating a large number of small dents on the fuel filler cover in the rear tub
- Straightening the seat box toolbox cover, and repairing several failed spot welds
Interestingly, my particular seat box is a very early one, with an aluminium tool box rather than steel (as used on the later models). The advantage here is no electrolytic corrosion, and no rusting of the steel part, but it has the downside of not being as strong. I don’t plan on keeping anything heavy in there, so hopefully that’s not an issue.
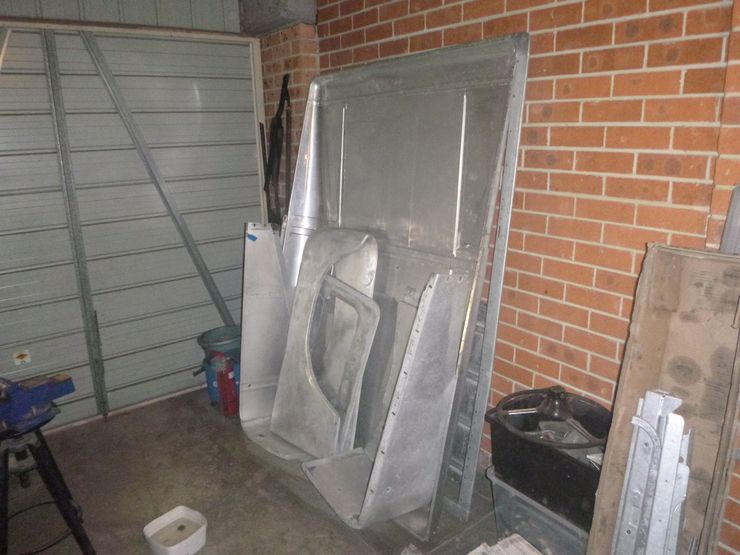
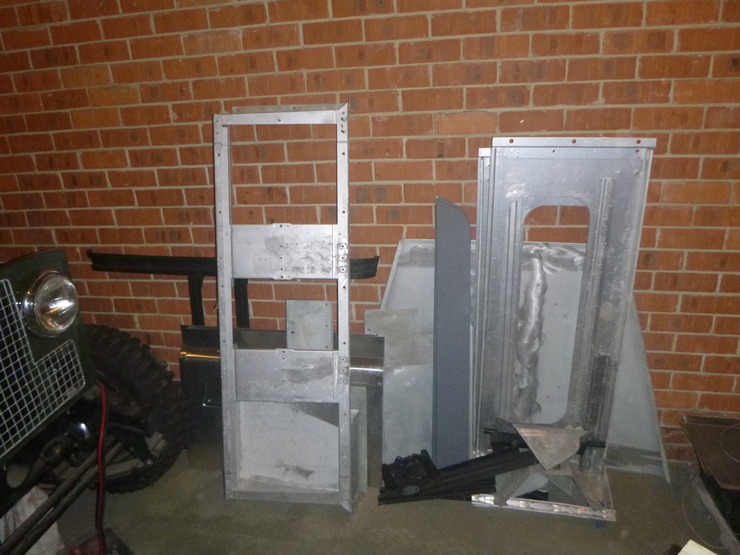
Next up for repairs will likely be the front guards, and maybe the upper rear tailgate and a few other small panels. Then it’s just the roof and lower rear tailgate. I’m doing the lower rear tailgate and roof last since they need spot welding, and hiring the machine is expensive. Here’s the pile of panels that still need repair work:
Painting
All of the sanding I was doing in my last blog post is finished, and all of the associated painting/priming work has been done. Anything that needed to be painted black was done in the same paint I used for the chassis (Eastwood Extreme Chassis Black), and came up quite nicely. The parts that need to be painted Bronze Green or Limestone White were primed in a rust-converting primer, and piled up with all of the aluminium stuff that needs painting. This pile is quite large now, and I expect at some point soon I’ll be painting for four or five weekends in a row to work through it all.
Badges
There are a few competing theories for how to best paint these badges. The challenge is that the raised lettering (and the oval rim) are left unpainted, while only the background is black. Instead of recommending one method over another, I’ll explain what worked for me.
I painted the badges just like anything else, with an etch primer (since they’re aluminium) followed by black paint. Once that had dried, I got an acetone-soaked rag and stretched it tight over a steel ruler. I worked the badge over the edge of the ruler (face-down), occasionally moving the rag relative to the ruler when the edge got clogged with black paint.
This got me about 90% of the way there, and I cleaned up the localised low spots where the paint didn’t come off with some600grit wet/dry sandpaper. This worked well, and now I have the badges back on.
Electrical work
This has been fairly slow going, but I think I’m done with the worst of it. The first issue was the horn, which was missing the small dowel in the centre of the coil. I had to get some 1/8” round stock and gradually cut it down to length, continuously assembling the horn, testing, and reassembling the horn. Eventually I got it right, so I spent some time adjusting the horn contacts to make it as loud as possible and annoy the neighbours. I re-did the internal wiring, and finally mounted it up.
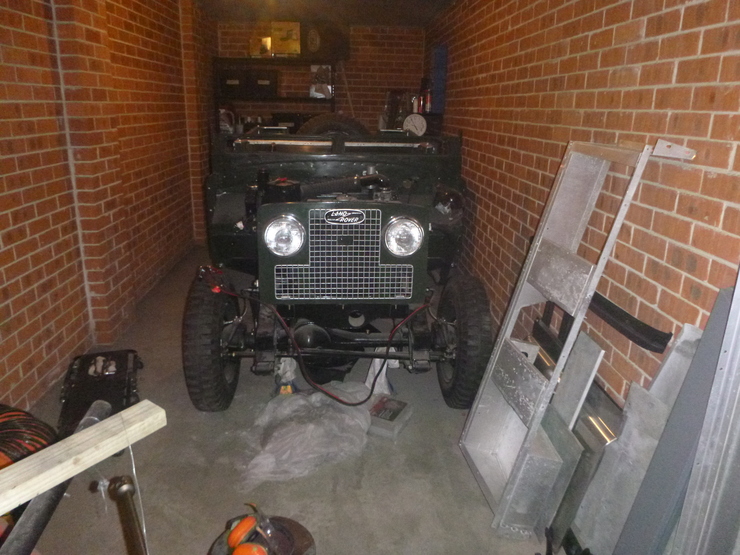
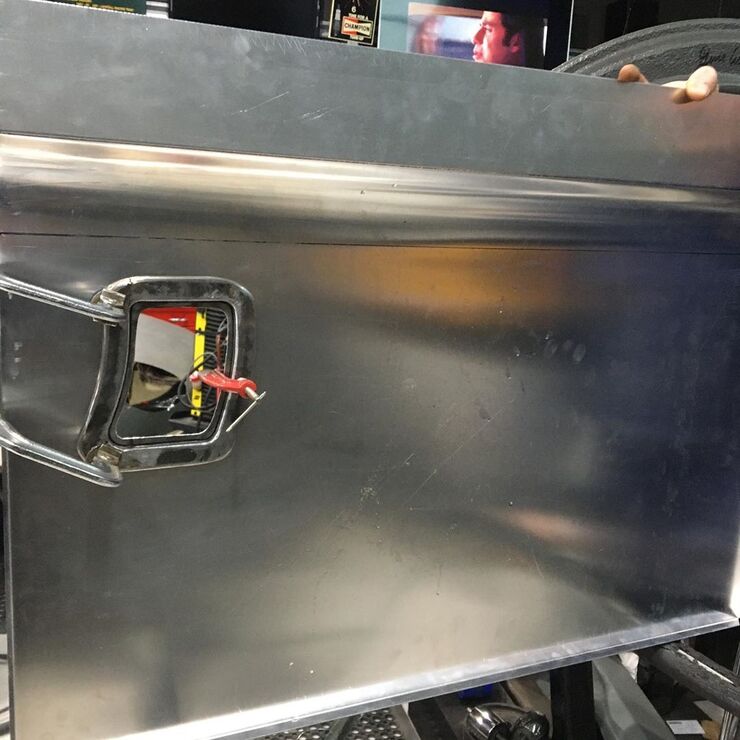
The headlights were another trouble area, with the right gaskets being unavailable, several fasteners missing, and no wiring harnesses available, so I had to make all of these things. This took up an entire weekend, but now the car has its face back. I’d upload a picture with the headlights on, but I need to hold the wires in place by hand since I haven’t finished hooking up the main wiring harness that the headlights are connected to. Maybe some other time.
I’ll be working my way around the rest of the electrical system over the next few weeks. Hopefully with the difficult stuff out of the way I can now move a bit faster.