Land Rover - Soda blasting, rear tub work
It’s been a while since the last blog post, as it’s been pretty slow going lately. Apologies for that, but I think monthly or fortnightly posts might be the new normal for a while as I move off the mechanical stuff, and towards doing mostly bodywork.
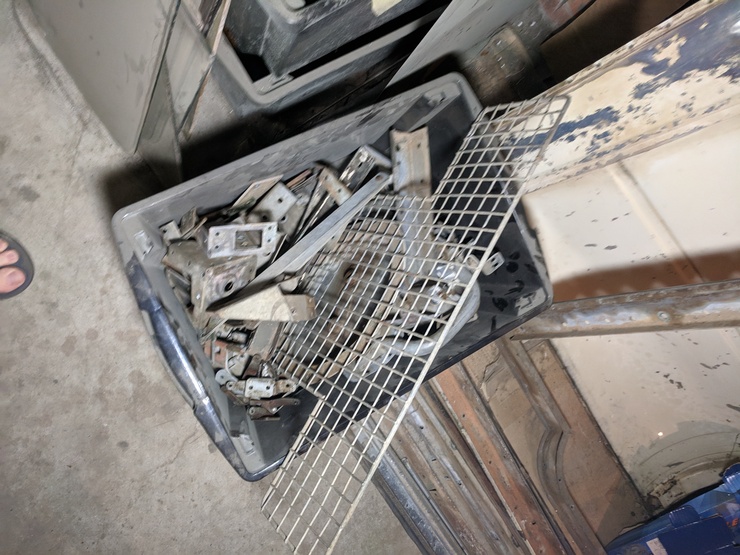
Galvanised bits
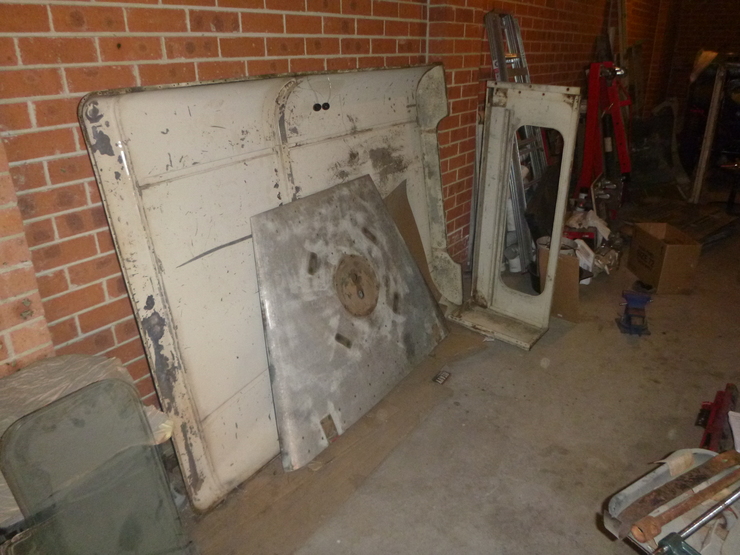
I’m getting these blasted as preparation for re-galvanising, since the galvanising shop is quite strict about contaminants in the bath that strips off the old galvanising. There’s a fair bit of stuff, and the soda blasting place claims to be behind schedule from the recent holidays, so it’ll likely be a little while before this is all done. I also dropped off what’s left of the rear tub (see below).
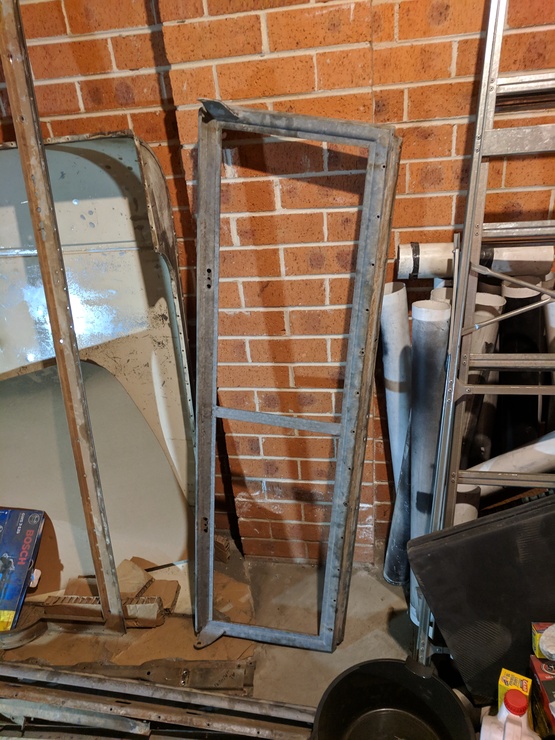
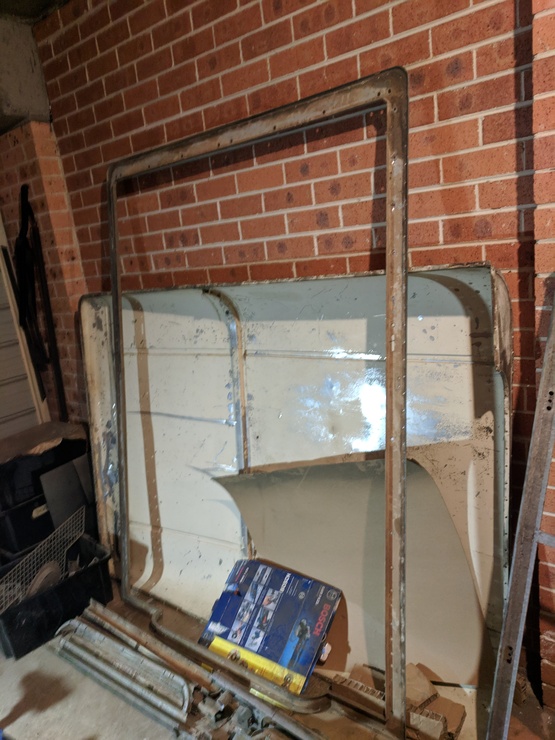
Getting all of this separated was something of a marathon, purely because of the number of rivets. As an example, in the large rectangular piece that sits around the edge of the roof, there were 122 rivets.
That said, I did figure out a few tricks with aluminium solid rivets - firstly, it’s easier to knock the head off first with a chisel (before drilling). By doing this, there’s about a 40% chance the rivet body will simply fall out, and if it doesn’t then you have an easy guide hole for the drill. The best chisel I found to use was a well-sharpened chisel for metal. I tried a wood chisel on some panels I know I’ll be throwing away, but the point being flush with the flat side of the chisel means it tends to submarine down into the aluminium panel rather than staying in the head of the rivet.
Secondly, proper cutting fluid makes any drilling ten times easier - that’s not an exaggeration. I tried WD40, and it works fine but often needs to be re-applied during the drilling process.
Thirdly, the best kind of drill bits seem to be cobalt HSS bits, running at a high speed. I found that at lower speeds, the bit tends to gunk up with aluminium and start galling instead of cutting. Hopefully these tips are helpful to anyone that needs to remove aluminium rivets.


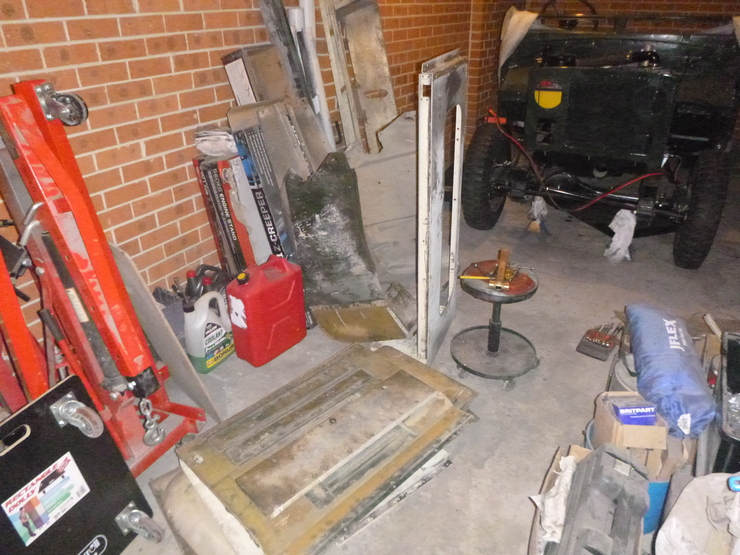
The garage is getting crowded again with all of the aluminium parts that I’ll have to get soda blasted at some point. I’m not sure yet whether I’ll do them all at once, or just as I need them.
More panel beating
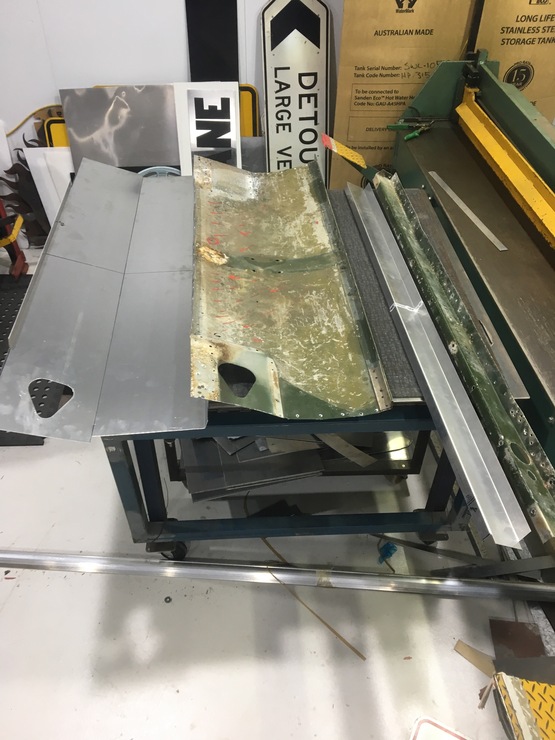
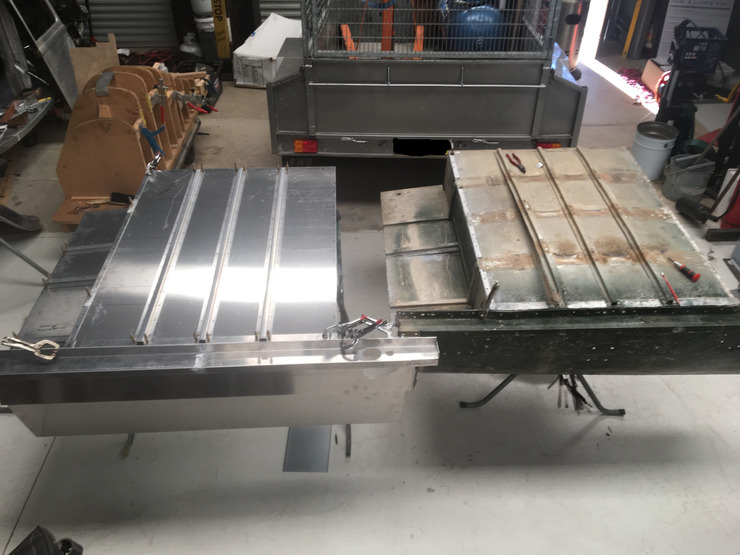
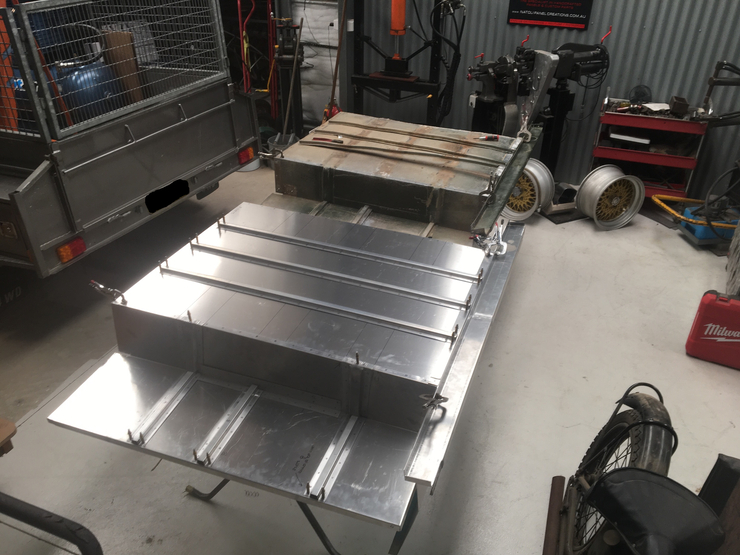
Because the parts of the rear tub I’m planning to reuse are still at the soda blasting shop, I haven’t been back down to Nowra to do some hands-on work on the tub. That said, I have some very encouraging progress pictures of how the replacement sections are working out. Once I have the cleaned-up tub back, it’s likely on to repairing the areas that are salvageable, then spot welding and riveting it all back together. I’m really happy with progress so far.

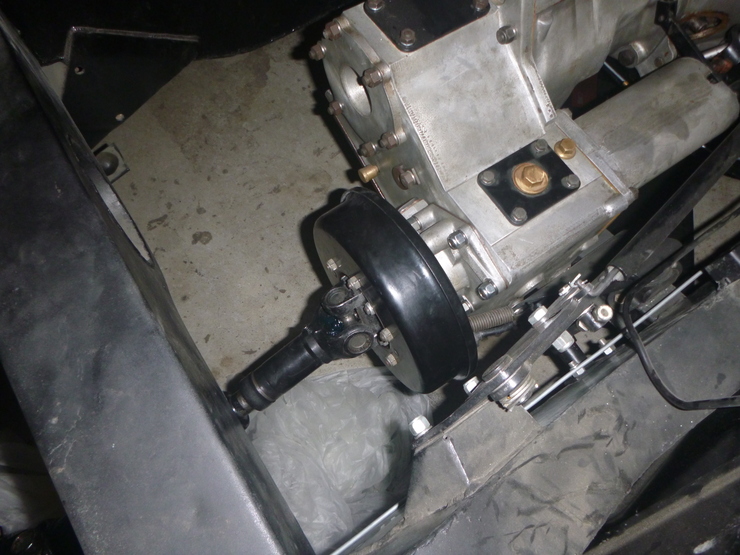
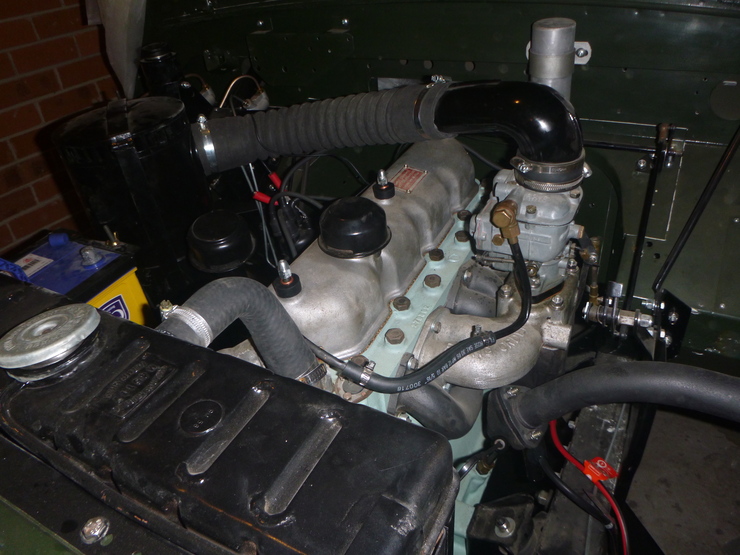
Small mechanical bits
Not much to report on here, since I’m very close to being mechanically finished. The handbrake drum is back on (I ended up having to get the new shoes machined down), and the rocker cover is back on now that the machine shop is done replacing the shafts and bushes. They also ground down the tips of the rockers, where the valve stem made an imprint. I’m not sure how necessary this is, but I wanted it done so that, if nothing else, it’s easier to set tappet clearances.
I also need to sort out the HT lead for cylinder #3. It was too short (as previously documented), but the replacement lead had the more modern “hair” core instead of an old-fashioned seven-lead core, so the fasteners won’t work. I’m still trying to source replacement HT leads.