Land Rover - More bodywork
Panel beating
Had a four-day weekend due to two public holidays, so on Friday I went down to Nowra to give my panel beater/fabricator a visit, and help out with some smaller bits and pieces. I’d write his name down, but I don’t want to just yet in case things take a turn for the worse.
I didn’t take any photos, but the rear tub is in an unusual state. The floor is out completely, and the front bulkhead has been removed. This is because the floor and front bulkhead are getting replaced with new, custom-made panels. Once that was done, the passenger-side rear seat box was removed, since that will also be replaced with a new piece (the galvanic corrosion was pretty bad). After that, we cut the rear cross-bar (where it bolts to the chassis) in half, to facilitate storage and transport, and since it was so fragile otherwise. It’s in an easy place to weld back together, too.
Stripping other panels
When I dropped off the rear tub, I immediately wished I’d stripped off the galvanised steel parts and got it soda-blasted beforehand. I don’t want to make that mistake again, so I’m removing those small galvanised bits from the other panels. I’ll be getting both the galvanised bits and the panels soda-blasted, then sending off the steel bits to get re-galvanised.
That’ll have to happen later though, since I didn’t manage to get through it all this weekend, and removing rivets is noisy work. I got through the upper and lower halves of the rear tailgate, the driver’s-side rear quarter panel (the one that holds the roof up), both front wings, the seat box, and a bunch of other small bits (windscreen, floor, and transmission tunnel).
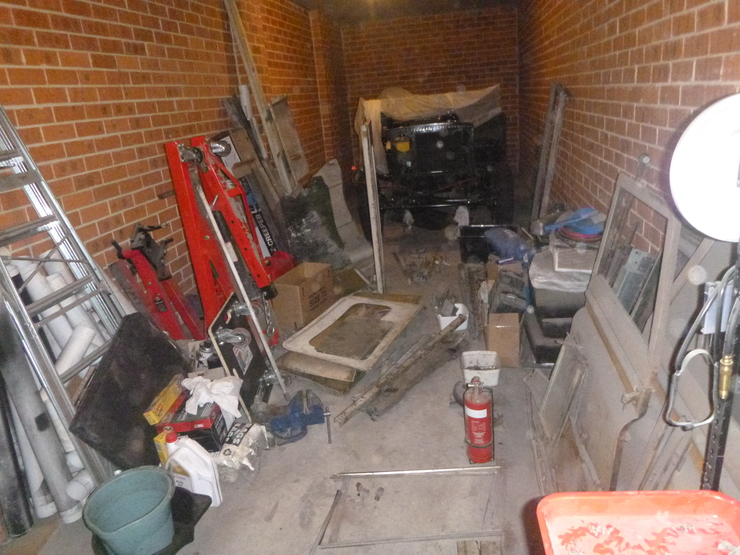
This leaves the roof, passenger side rear quarter panel, doors, apron panel, and bonnet. Here’s a picture of the current mess - compare this to last week’s picture from a similar angle (specifically the stuff on the ground).
Also, just a few pictures showing some interesting details - this is how much the sun has faded the original paint:
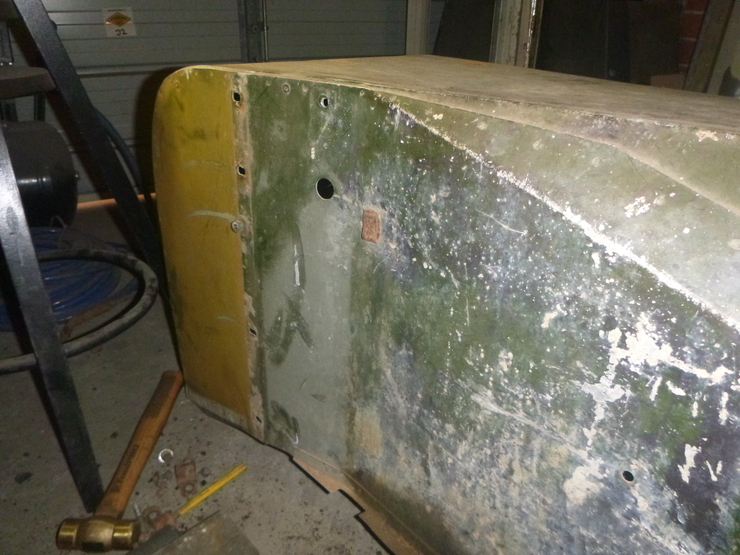
An example of Land Rover’s sometimes-questionable painting process:
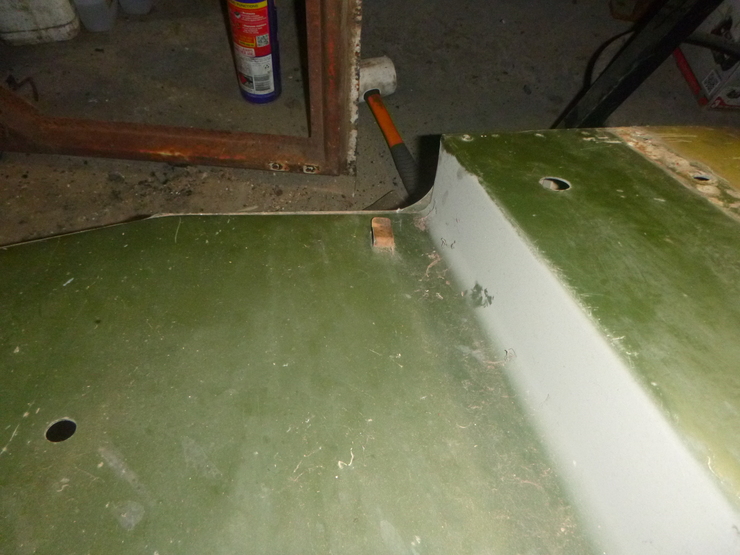
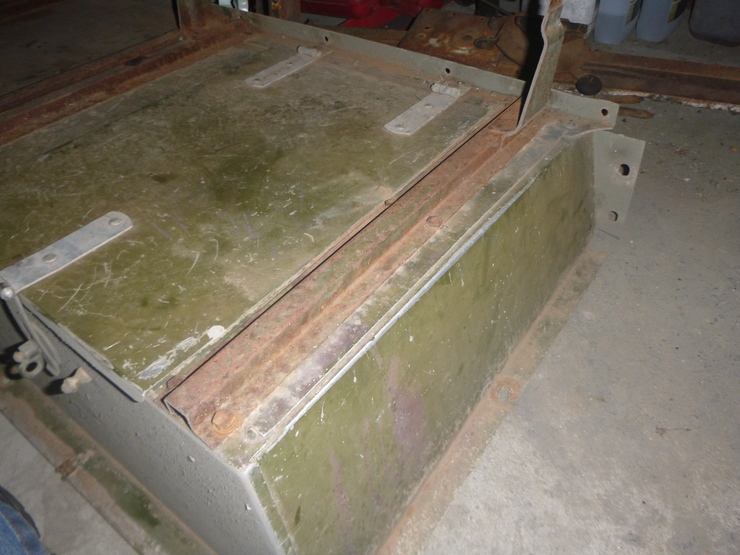
And finally, it turns out that the seat rails were originally green! If you look closely, you can just see some green areas left on the top rail, and on the vertical section. The green paint underneath this rail was also in quite good condition.