Land Rover - No painting, brake lines, propshafts
No painting this week
I’d originally planned on painting a few more panels this weekend, but the forecast for rain on Saturday put a stop to that. I’m glad I didn’t do any painting, too, since it was got very humid on Saturday afternoon.
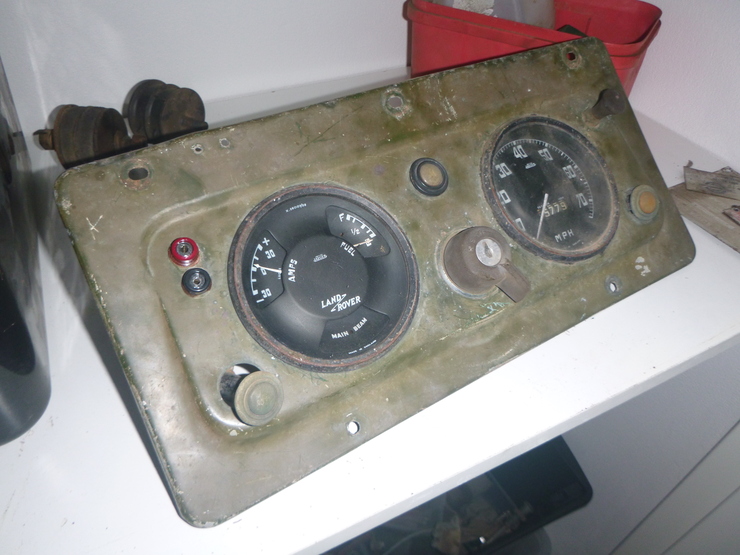
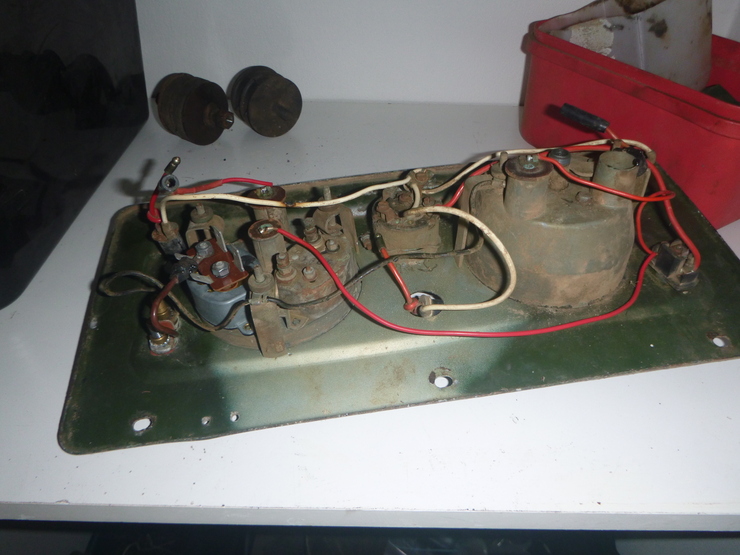
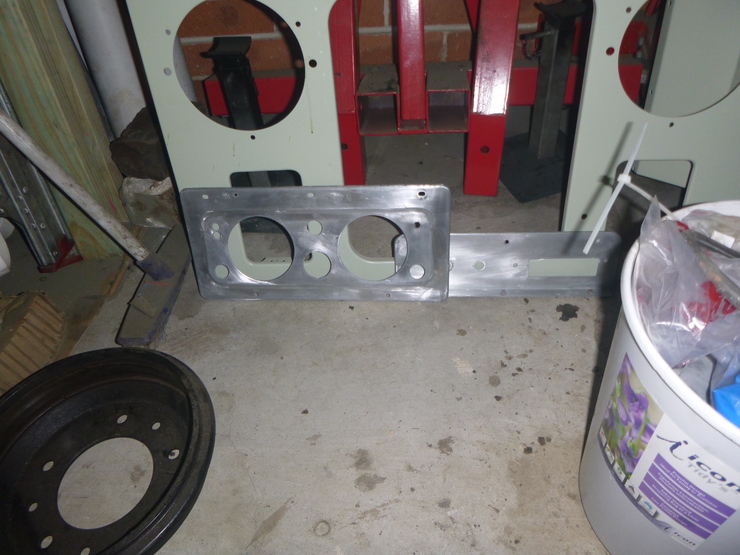
I did end up preparing the grille panel, instrument panel, and the lower control panel (the one that houses the starter button and hand throttle). This took quite a bit longer than I anticipated, since for some reason the paint stripper didn’t touch the layer under the paint, and there were a few really stubborn paint spots that also had to be sanded back.
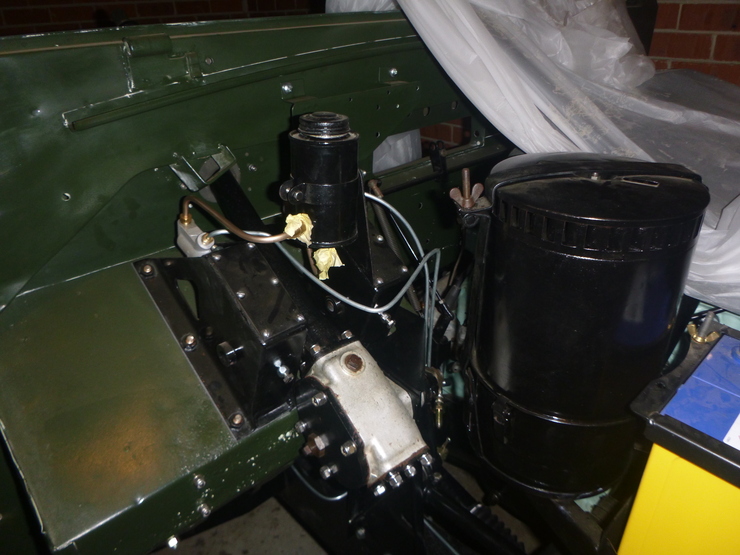
Brake lines
After my appalling experience with Landybitz, which was so bad that things are about to go to small claims court, I was apprehensive about touching the brake lines again. I got the local brake shop to bend up some lines from a template I made out of thick fencing wire, and they all fit pretty closely.
They’ll still need some final tweaks and tidying up, but none of them are completely wrong, and all of the threads and fittings are correct. I’ve ordered the last few parts I need (silicone washers, stead posts, and some springs) and hopefully both the brake and clutch will be working by the end of the coming week.
Propshafts
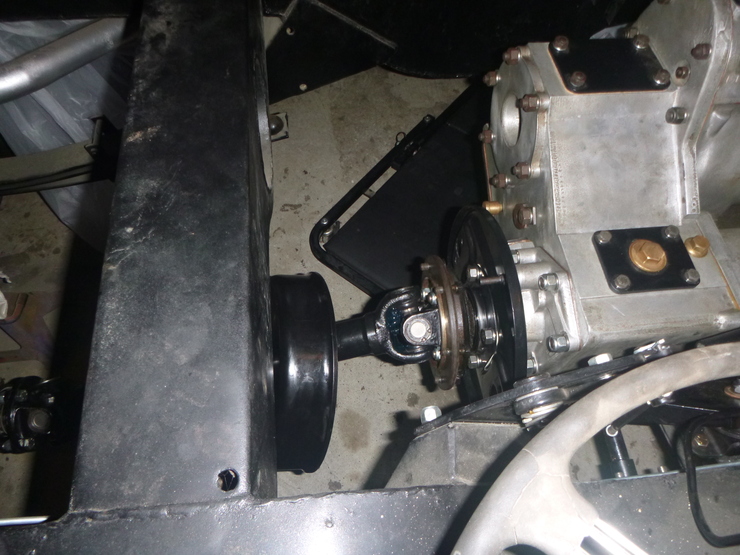
Another item that took far longer than I wanted to. The main reason for this taking ages was access issues - the nuts and bolts holding the flanges together are very difficult to get at thanks to the universal joints. There was also a complication with the front propshaft, as the flange mating with the front output shaft is very particular about being bolted on dead-straight, with even pressure all round.
This means I couldn’t even hand-tighten each bolt before running them down, since this would mis-align the two flanges. Instead, I had to barely tighten one bolt, rotate it, barely tighten the next bolt, and so on - all while trying to work around the universal joint. Not much fun.
As promised last week, an update on the propshaft dust caps: the Hardy Spicer part number is “DCK 30A”, and mine had to be shipped up from Melbourne. I ordered two, each of which comes with a metal cap, metal split washer, and cork gasket. I reused my old metal caps because I’d already painted them and I wanted to keep things original, but I confirmed that the replacement metal caps have the correct thread. I’m calling this out specifically because there are no part numbers for these dust caps in the workshop manual, and it took quite a bit of sleuthing to figure out the Hardy-Spicer part number. Hopefully this information will be helpful to anyone who needs to replace this part in the future.
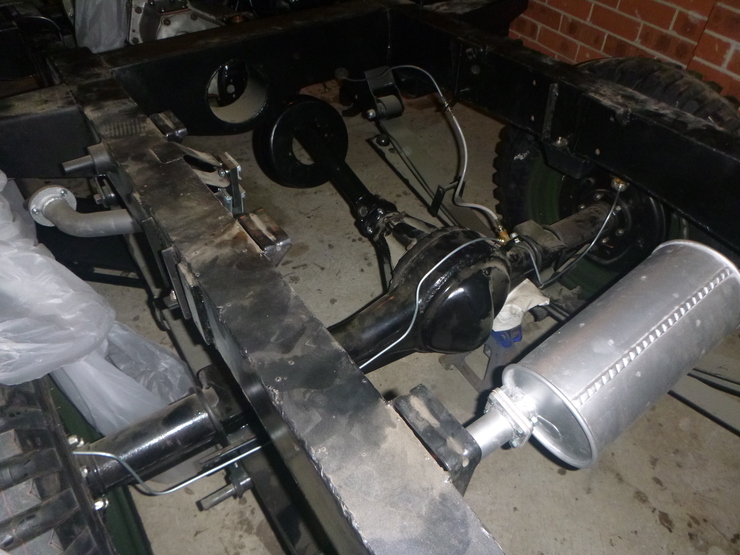
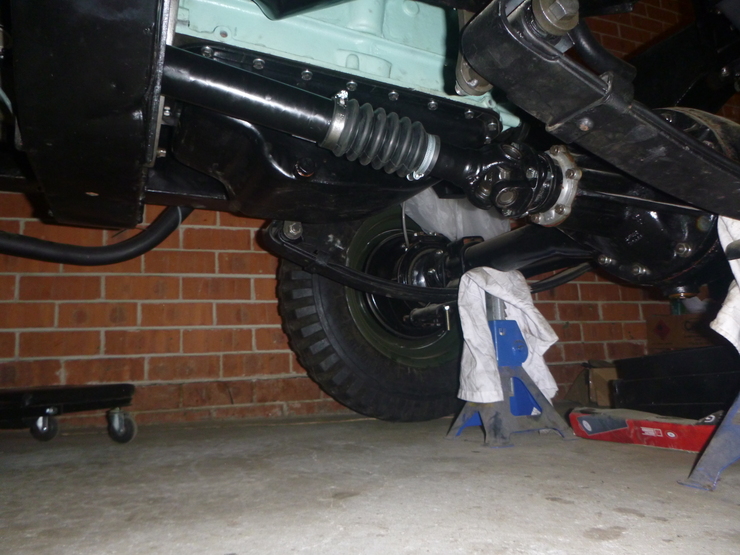
The car is now in state where I can turn the engine over on the starter motor and watch the wheels spin, which is very satisfying. See above for a picture of the rear propshaft, but here’s the front:
Handbrake
This is almost done, I’m only waiting on replacement shoes and rivets from the UK before this is ready to go back together. I had a really bad time trying to get the expander unit apart - one of the plungers had seized in the housing, and I ended up having to (carefully) belt the rear of the plunger pretty hard before it would come out. I was pretty nervous about this, since my handbrake is the early type for which replacement expander housings are extremely hard to get.
You can also see the handbrake drum hanging off the rear propshaft, waiting for all the other bits to go back on.