Land Rover - Radiator, painting, more gearbox
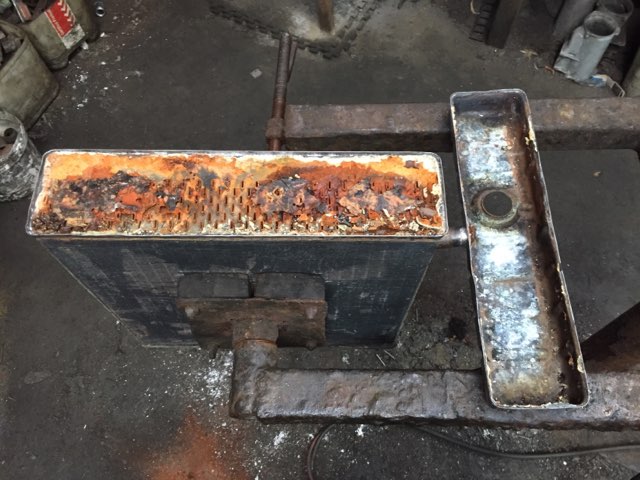
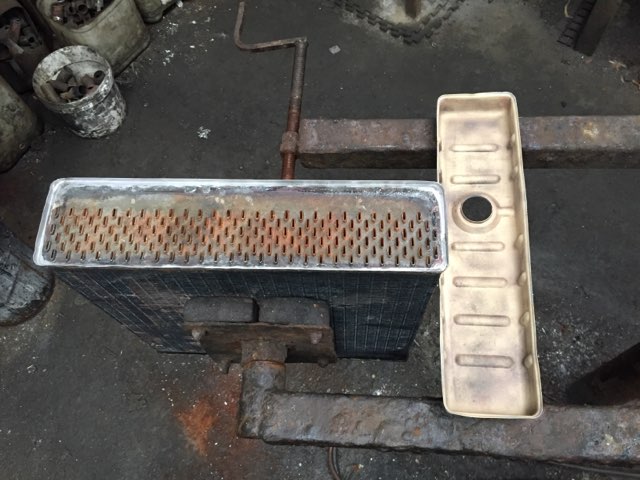
Radiator back from repairs
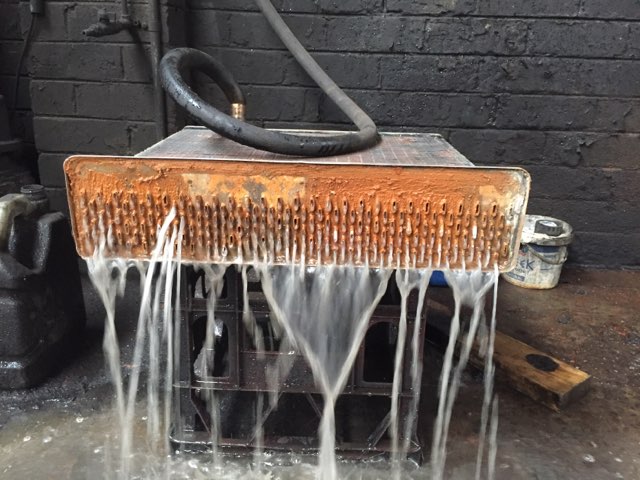
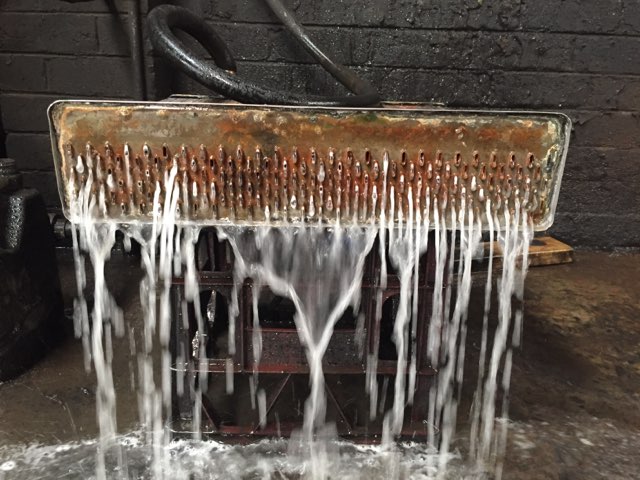
Spent a few hours on Saturday getting my radiator back from the shop, where they cleaned it out and pressure-tested it. They supplied these photos, which are in chronological order. They said the core was about 80% blocked, and I believe them after looking at the photos with the tank de-soldered!
As a side note, this took way more time than I’d anticipated, due to a train delay on Saturday. I eventually got it back home alright, though.
Misc. parts painting
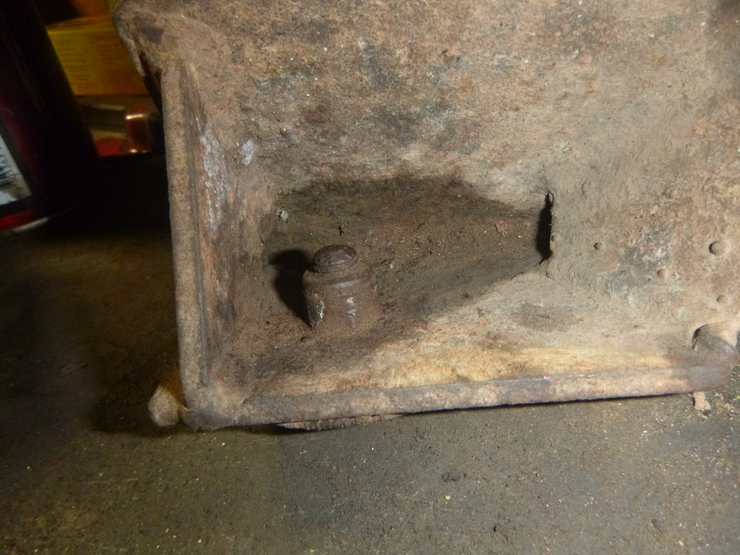
After getting the radiator back, I’d planned to paint it along with a bunch of gearbox misc. parts, but I was partially thwarted by a Whitworth-sized nut in an inaccessible location. It’s rusted onto the thread, and the the mount it’s attached to has rusted onto the gearbox mount. You can see the stain where I’ve tried penetrating oil, to no avail. You can also see the rounded edges where I didn’t realise it was a Whitworth-sized nut. I’m working on sourcing a Whitworth spanner for this, and hopefully it isn’t too rounded off already.
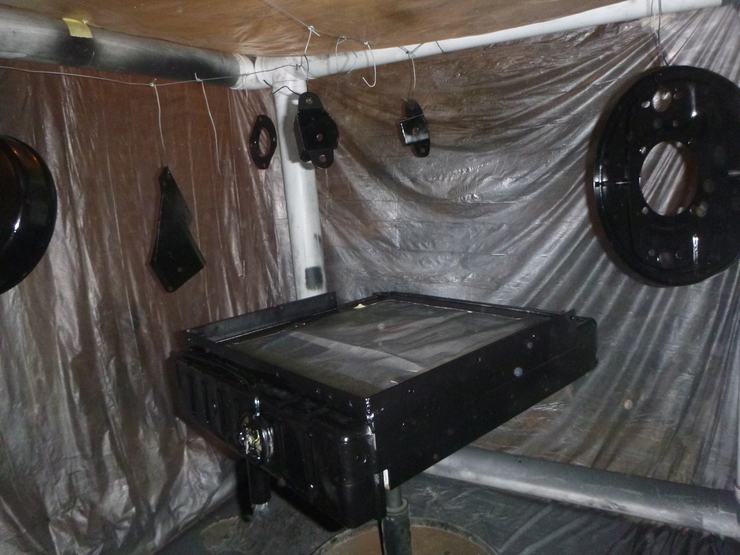
The rest of the gearbox and handbrake parts I’d wanted to paint cleaned up just fine, so I painted them. The radiator hasn’t had the fins painted yet, since they need a special, very thin paint that I’ll be doing separately.
Mainshaft disassembled
Finally got the spring ring off after buying a few different-sized pairs of circlip pliers. It all came apart reasonably easily after the spring ring came off:
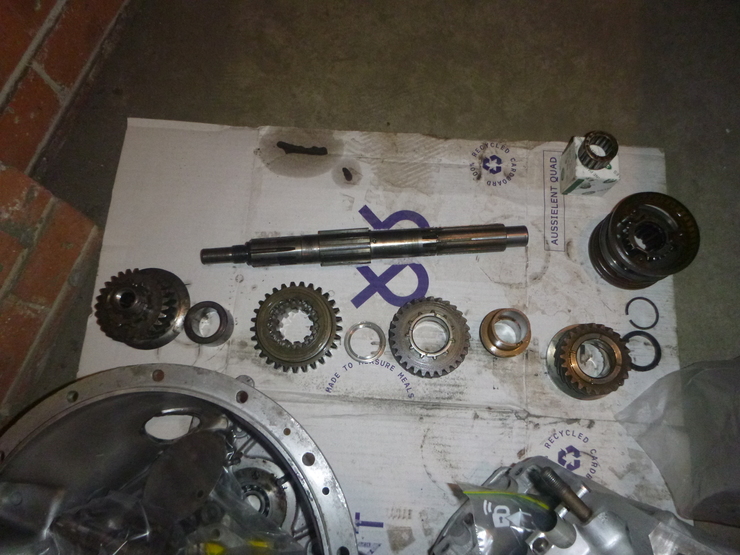
Unfortunately, I’m going to need a few (thankfully cheap) replacement items. First is the bronze bush for second and third gears, which has snapped in the traditional place. There’s some debate about whether to replace it using a single-piece (as mine was) or the two-piece (pre-snapped) version. I’m going to go with the single-piece version, since it’s original and otherwise there’s nothing to stop the second half of the bush rotating around the mainshaft, wearing down, and causing third-gear problems due to the excess play.
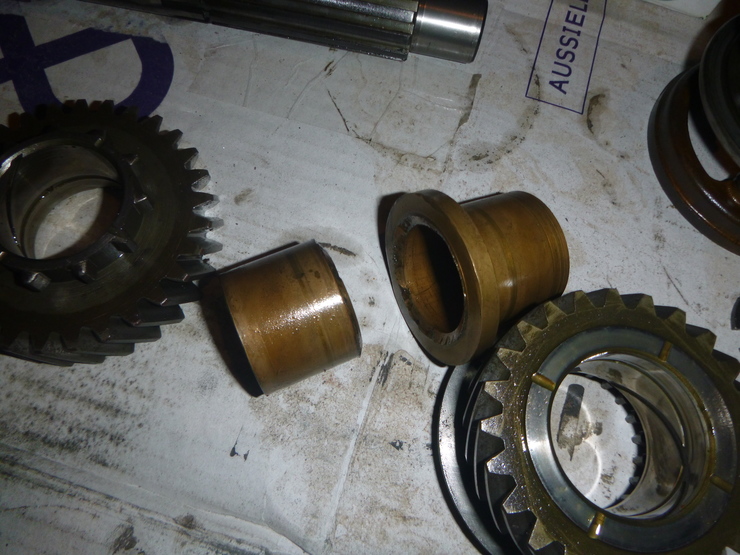
As is tradition, the small pin holding the bronze bush in place has sheared. I can replace this easily, once I can get it out - this may or may not involve a trip to the machinist. To stop this happening again, I’m considering using some form of Loctite to secure the bronze bush to the mainshaft.
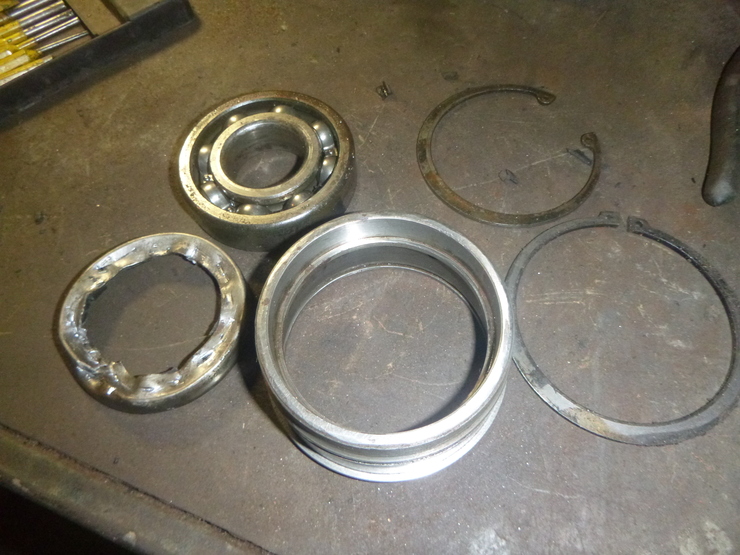
Rear mainshaft bearing removed
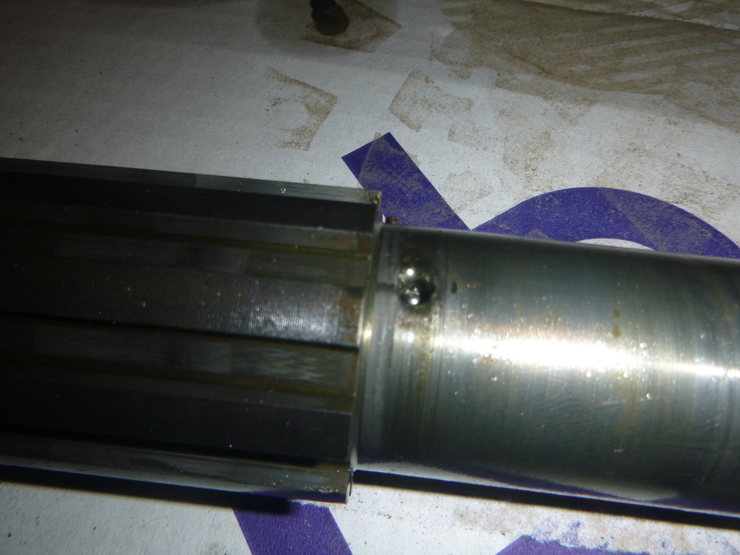
This didn’t give me as much grief as I was worried it would, once I got some circlip pliers. The large piece in the centre is the bearing housing, which is secured into the main gearbox casing using the larger circlip on the bottom-right. This was probably the easiest part of the job. Once that’s out of the gearbox housing, the oil seal needs to come out.
The oil seal is the destroyed thing on the bottom-left. These old-fashioned metal seals last a long time, and are very easy to install, but take a huge amount of work to remove, as you can see.
Once the oil seal was out, the second circlip holding in the bearing could be removed. This circlip, the one at the top-right of frame, is under a huge amount of tension and is extremely difficult to remove. I eventually got it using some needle-nosed pliers rather than circlip pliers, at which point it sprung out and flew across the garage. At this point I was thankful I was wearing safety glasses.
Once that was out, the bearing was reasonably easy to drive out of the housing, and the whole assembly was completely apart. Once the replacement parts arrive, this will be one of the first things to go back together.