Land Rover - Fuel pump, sump, dynamo, misc. painting
Fuel pump finished
I got a replacement fuel pump in order to scavenge the oil seal out of it. I considered replacing the fuel pump wholesale, but it was a Britpart one so I didn’t want to rely on it more than I absolutely had to.
I’m a little suspicious of the “hook” mechanism that the pump membrane uses to attach to the driving lever. It never quite feels secure, so I guess I’ll see how it does under pressure. It’s not a difficult part to get access to if it does fail.
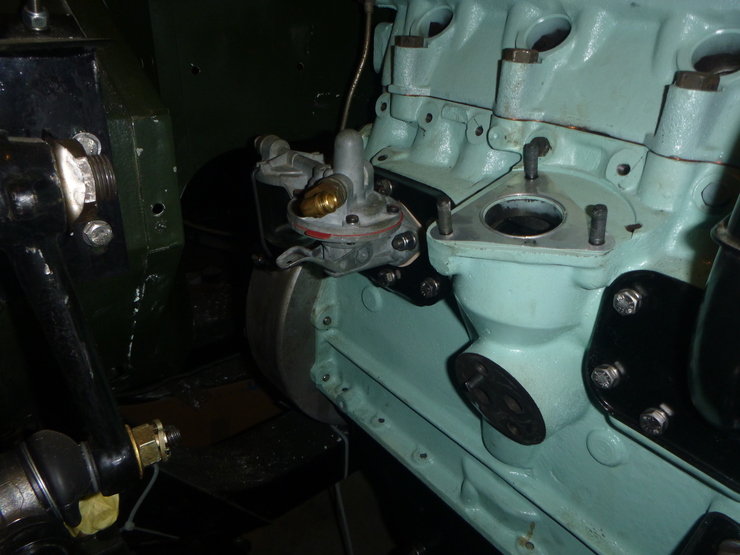
Distributor drive gear
You might have notices in the above photo that the oil pump still isn’t attached. This is because I can’t figure out how to make the little hole in the distributor drive gear casing line up with the hole for the grub screw. It might just be one of those things I need to try twenty times.
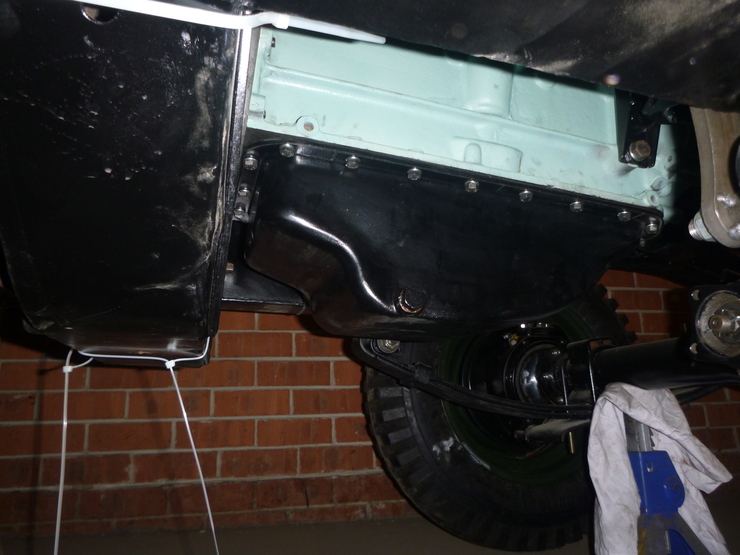
Sump installed
Finally got the sump installed - the bolts aren’t tightened yet, just in case I find an issue elsewhere in the engine between now and when I try to start it. But the engine is extremely close to being, effectively, a sealed unit again, which is good.
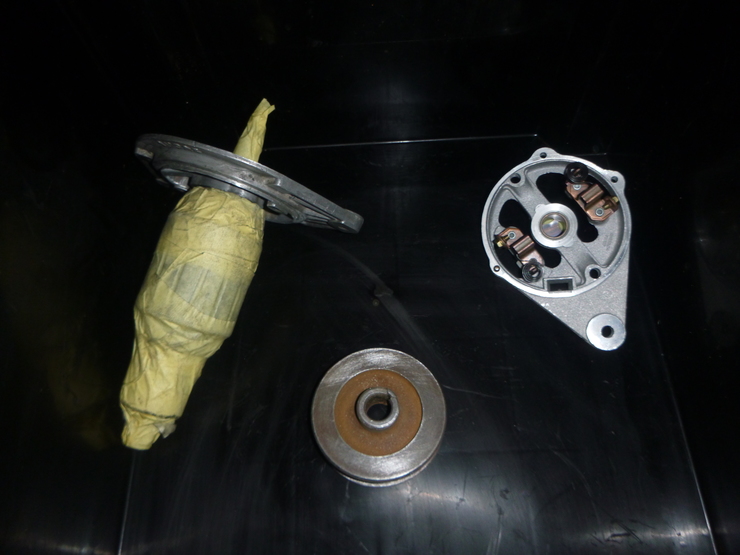
Dynamo
Started pulling the dynamo apart. Bench-tested it with the multimeter, and got absolutely nothing out of it, so I feared the worst. After pulling it apart, both the field coils and armature tested fine with the multimeter, and I noticed that the brushes were badly seized in their slides. I suspect that as they wore out, they lost contact with the armature and this is why it failed a bench-test.
I had to get a new rear cover anyway, since the old one had the triangular mount to the pivot point snap off. I’ll get some new brushes as well - that way, it’ll have new brushes and brush slides, and hopefully no problem generating power.
I’ve started sanding things down in preparation for painting - see the next section for a bit more detail.
Misc. painting
In hopefully the last round of painting for the engine (and associated bits), I’m sanding down several smaller parts, including:
- Dynamo (as above)
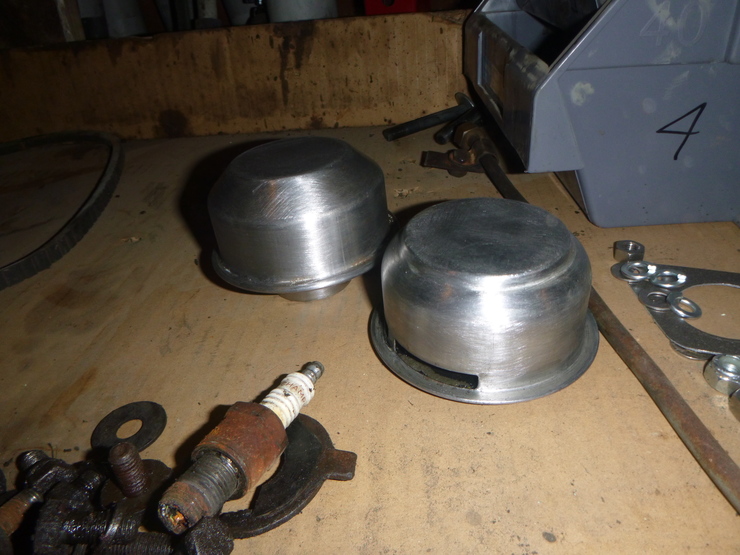
- Engine breathers
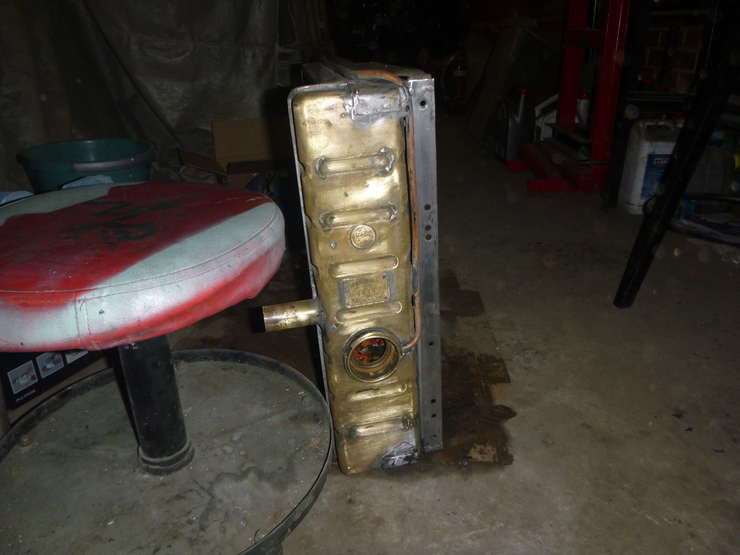
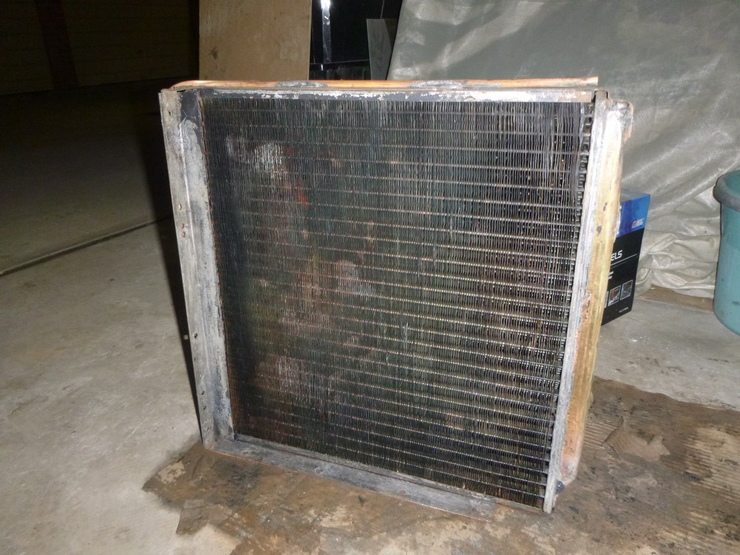
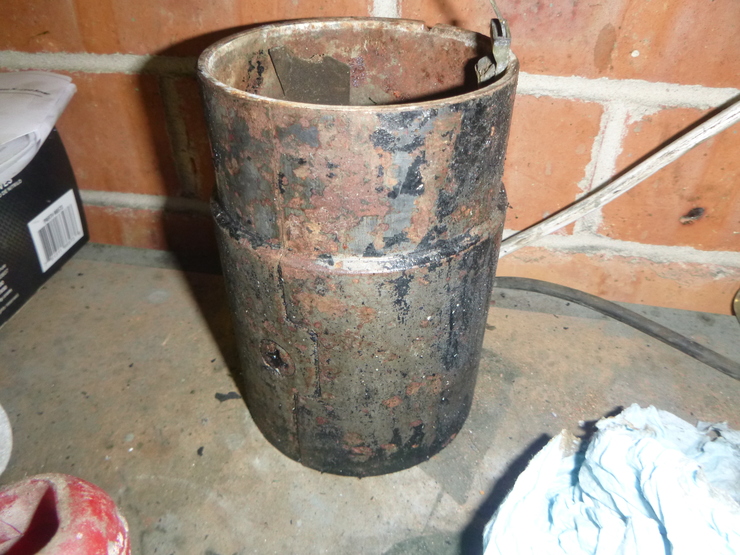
- Radiator
- Exhaust
- Engine lifting hooks
Sanding down the radiator has been interesting. It’s made of at least four different metals - the frame is steel, the fins are copper, the top and bottom are brass, and there’s a bunch of lead solder holding it all together.
There’s a fifth metal, which is rust, mostly on the interior. I don’t think it’s clogged, so I’m tossing up whether to fill it with CLR and leave it a few days, or just take it to a radiator shop for a chemical flush. I had it pressure-tested when I first picked up the car, but I’m thinking of doing it again just while I’ve got it out.