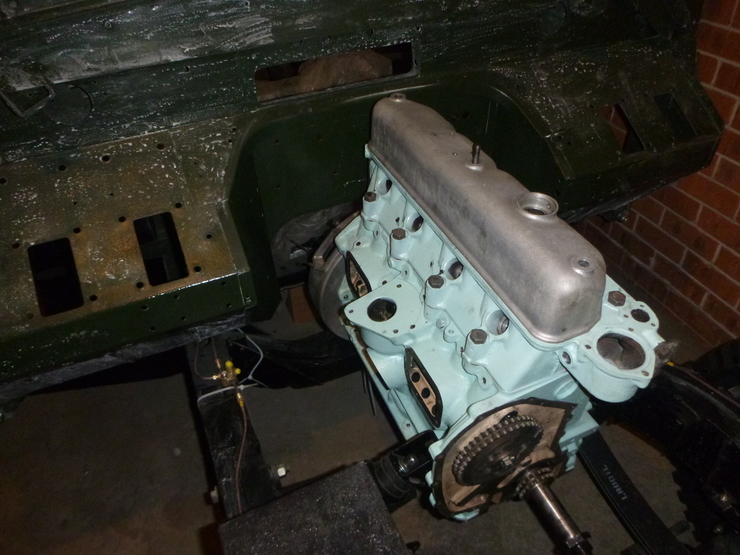
Land Rover - Engine installed
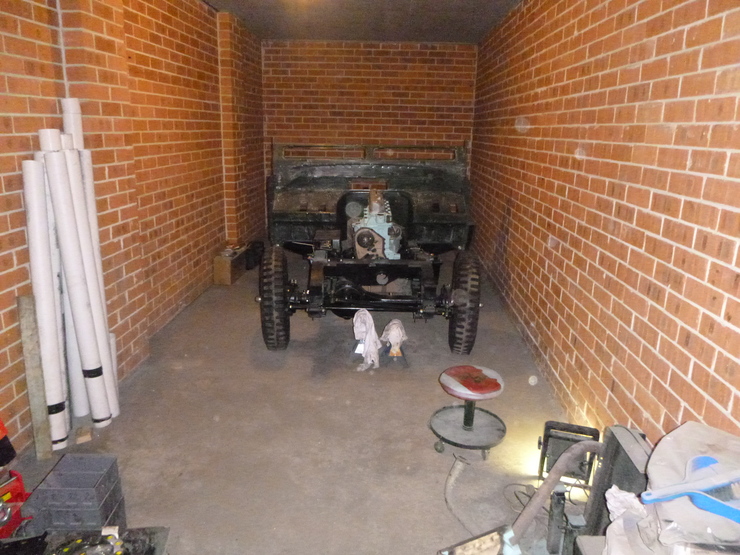
Overall view
Unfortunately, I didn’t take many photos of the process - I was much too busy doing stuff to take photos of anything, so it’s unfortunate that such a significant part of the process is relatively undocumented.
Before attempting to mount the engine into the chassis, I cleaned up the garage, particularly the area around the front of the car where I’d need to manoeuvre the engine crane. This involved packing up the spray booth, which has freed up an enormous amount of space. I now just have a jumble of PVC pipes and connectors, but I’ve got another idea for a spray booth which should fold up when I’m not using it. I’m also thinking of renting a shop vac next weekend just to get rid of the bulk of the dust - don’t want it kicking up into anything engine-related.
In the first image below, the car is only on the tyres temporarily so that the engine crane had clearance underneath (the axle stands got in the way). I’ll be removing them later, but it sure is motivational in the mean time!
If the wheels look a little “cross-eyed”, that’s because I haven’t got around to setting up the steering yet. The rocker cover is only temporarily in place, to stop dust/etc. from getting into the valve gear.
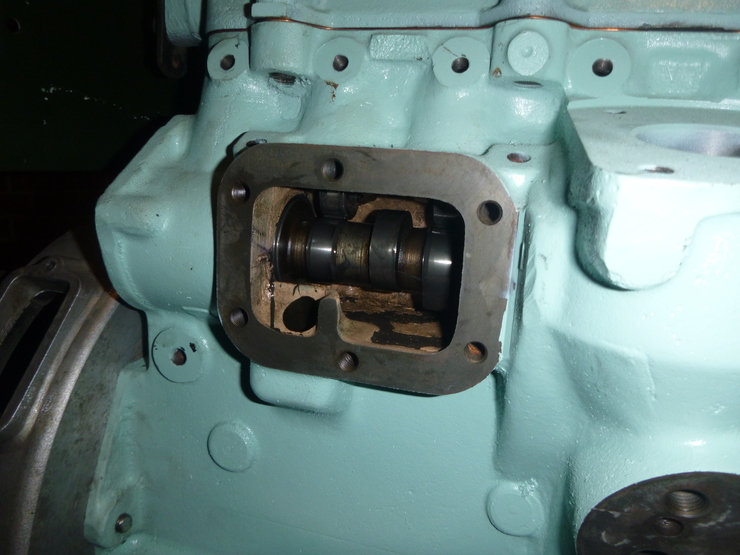
Camshaft
I only have a picture of this in situ, via the peepholes in the side of the block. It was mostly straightforward to install, but the timing gear was a little tricky to get on. I had to make sure the notches in the chainwheel that accept the keyed part of the camshaft were very clean, and even then I had to wind it on using the bolt that goes in the end of the camshaft, and a large thick washer.
You can also see from this close-up that I’ve managed to get assembly lube and smudge marks all over my nice new engine paint, so I’ll have to hit that with some degreaser at some point.
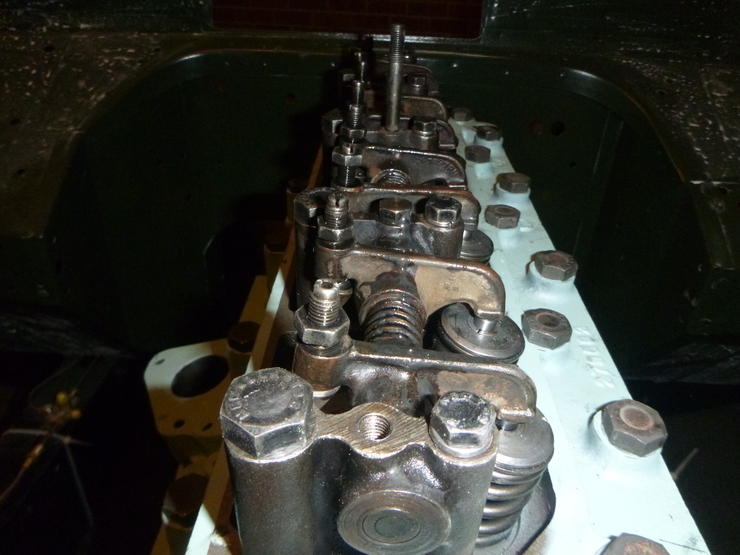
Rockers
These were also quite straightforward. Thankfully the shaft and the contact pads for the valves were all in good shape. Once I had these in place, it was fairly simple to install the head and transfer the whole assembly to the engine crane for the installation of the bell housing.
None of them are tightened down yet.
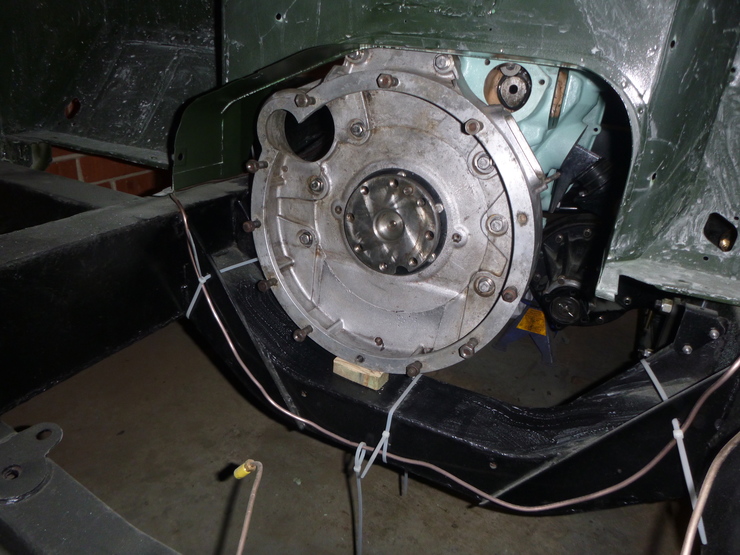
Bell housing
This was much more difficult to install than I’d anticipated - the rear main seal housing I got were slightly larger than they should’ve been, and there was no way the bell housing was going on without sanding off some rubber. I ended up taking about 0.5mm off all the way around, and even then it was difficult to wind it on using the bolts. Nevertheless, it’s on - note that the whole engine is leaning forward slightly due to the block of timber it’s resting on.
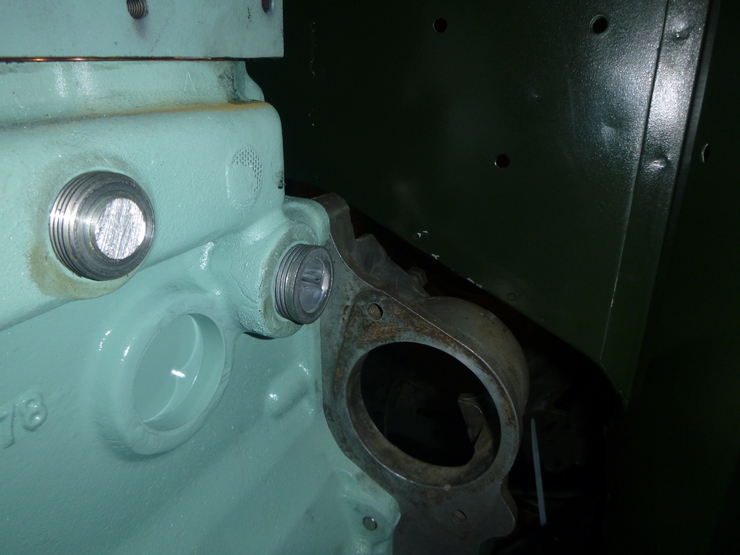
Minor paint damage
The engine installation was not without a casualty or two - at one point the engine swung back and one of the studs in the bell housing scratched the paint behind the engine. Thankfully it’s not through to the metal, and the patch job won’t be in a visible spot.
There’s a similar scratch on the water drain channel toward the top of the bulkhead (not pictured), where a protruding bolt scratched it on the way down. Again, it’s not in a visible spot, and it’s not down to the metal so the patch job should be easy.
You can also see in this shot the threaded core plugs - they haven’t had sealant applied yet, and they’re just in finger-tight.