Land Rover - Start of engine assembly
Crankshaft thrust washers installed
One of the first steps in getting the engine back together are the thrust washers for the crankshaft. These control the longitudinal movement of the crankshaft. They come in several different “oversized” versions, to account for wear on the crankshaft surface, so I bought the largest possible oversize version on the assumption that mine would be worn. Of course, it wasn’t worn at all, and I spent a whole day very carefully sanding the back of the thrust washers on a flat sanding pad, measuring them up with the Vernier callipers, and test-fitting them. I ended up with 0.002” end-float, which is exactly the minimum amount permitted in the workshop manual.
I ended up needing no oversizing at all, and so spent the whole of Saturday removing the 0.0075” oversize. I forgot to take a photo of this process, but it’s not that interesting.
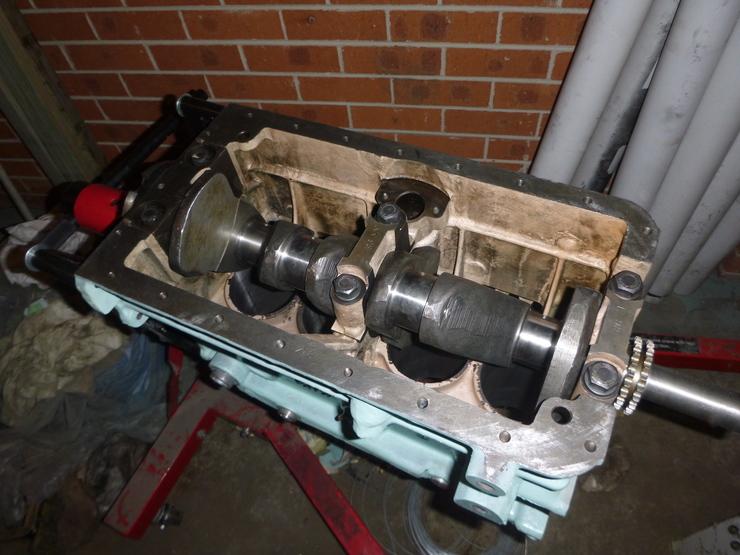
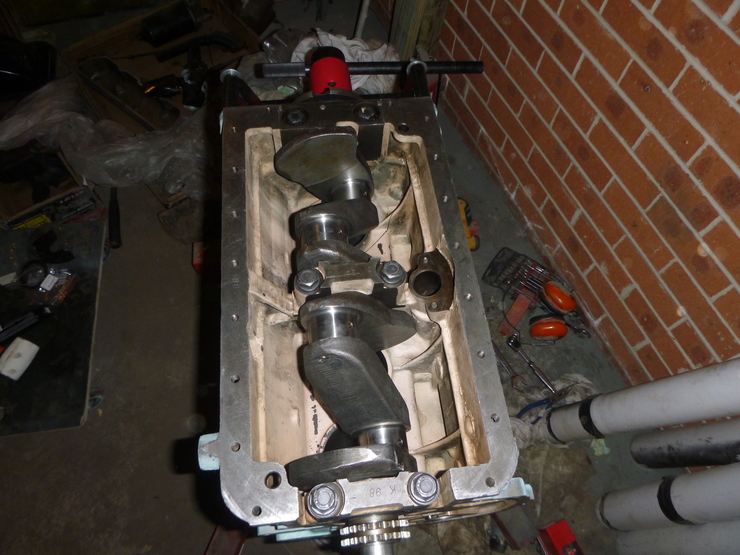
Crankshaft installed
This was done at the same time as installing the rear main seal (see below). It turns happily - you can’t quite turn it from the front, but it turns reasonably easily when turning it from the back, where there’s a bit more leverage.
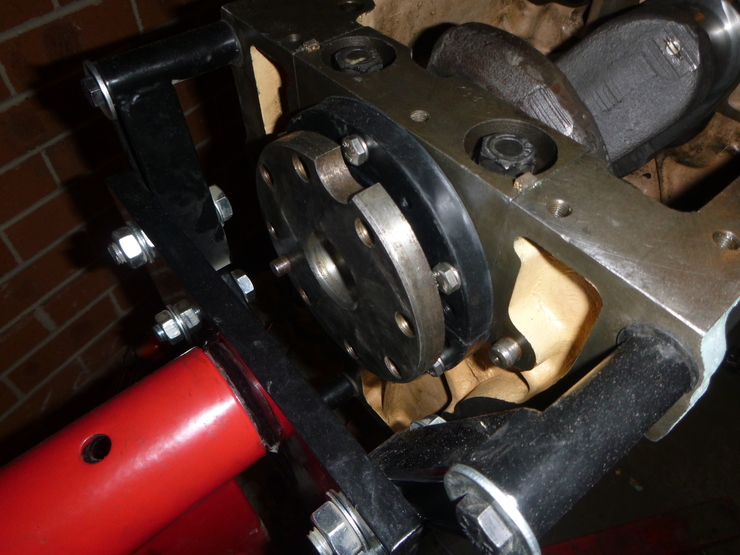
Rear main seal
I’d heard bad things about this job, and while it was fiddly, there was nothing difficult, and nothing that needed more than one attempt. I still need to trim down the ends of the T-seals and torque things down, but it’s basically done.
One thing I hadn’t realised was the purpose of that notch in the end of the crankshaft - it’s so that the bolts holding the seal split halves can be inserted and removed, and also allows for easy access with a ratchet.
I had enough time left on Sunday to start on the pistons, but I took a break to re-read the workshop manual and make sure I got everything right, and knew everything I had to know for installing the pistons.