Land Rover - Core plugs, camshaft, tyres
Core plugs installed
After stalling on this last week, I went and got some proper tools, and sorted this out. The tools that helped most were a 28mm deep-wall impact socket, and a 2kg club hammer - I used the socket to line up each core plug and make sure it was sitting straight, and then a few solid hits with the hammer (using the socket to distribute the impact) had everything in quite easily.
Unfortunately, I destroyed one of the smaller, brass core plugs - I didn’t realise they weren’t meant to go in all the way, since the old plugs were the “dome” type, and I’m using the “cup” type, which are deeper. I kept hammering on it, and eventually the “base” of the plug sheared off the walls. Not a big deal, since it’s a $5 part.
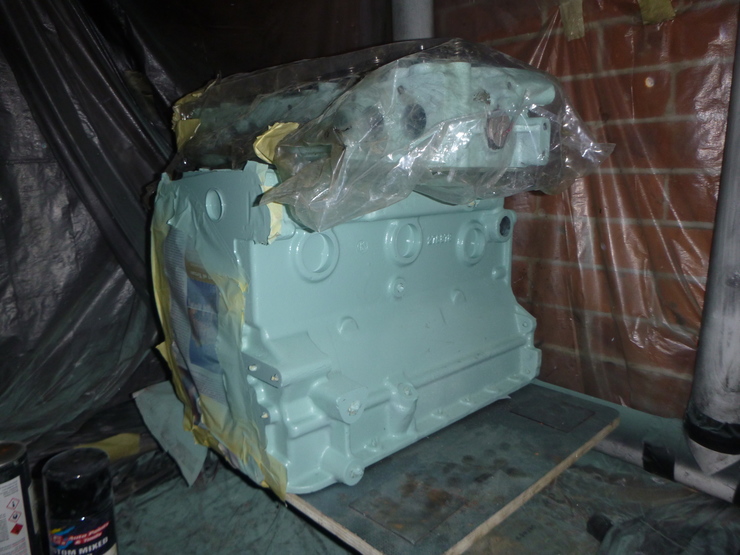
I also haven’t screwed in the threaded core plugs yet, in order to make painting easier. I’ve tested that they all fit, so once the final plug is in and painted, the threaded plugs will be going in. The picture below has the cylinder head sitting on top of engine block, just for temporary storage.
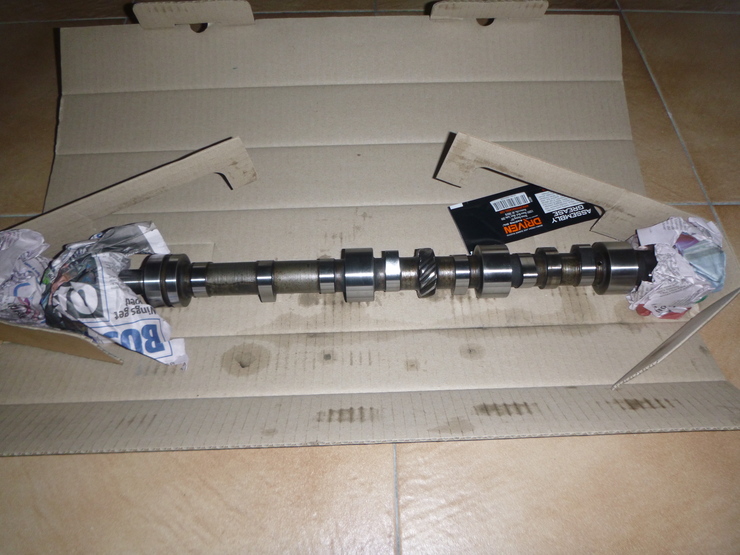
Camshaft work
Since the machinist that did the rest of the engine doesn’t do camshafts, I took the camshaft to a specialist camshaft shop named “Camtech”. They said they didn’t have to take off much material, which is a plus, and they turned it around in 2 days. They also provided a very nice box and a satchel of assembly grease - great service, and I’d happily recommend them for anyone with camshaft work that needs doing.
The camshaft was the last piece of the engine waiting on some work before things can start going back together, so once I get that final core plug installed, it’s time to reassemble the engine.
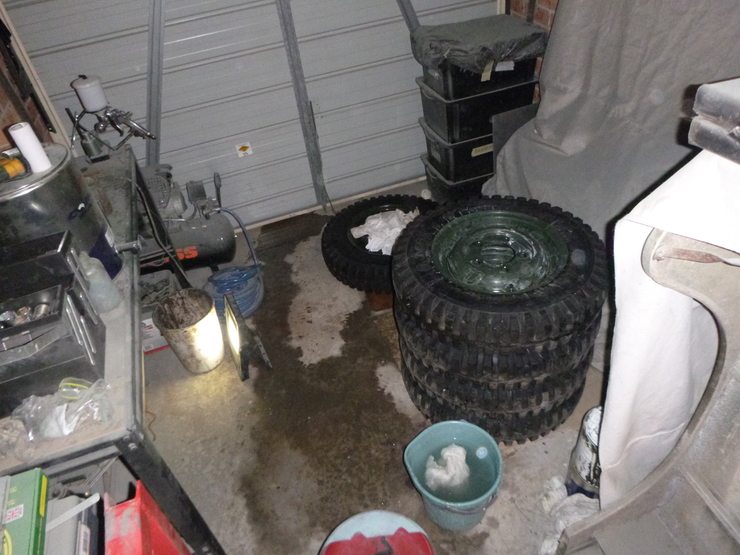
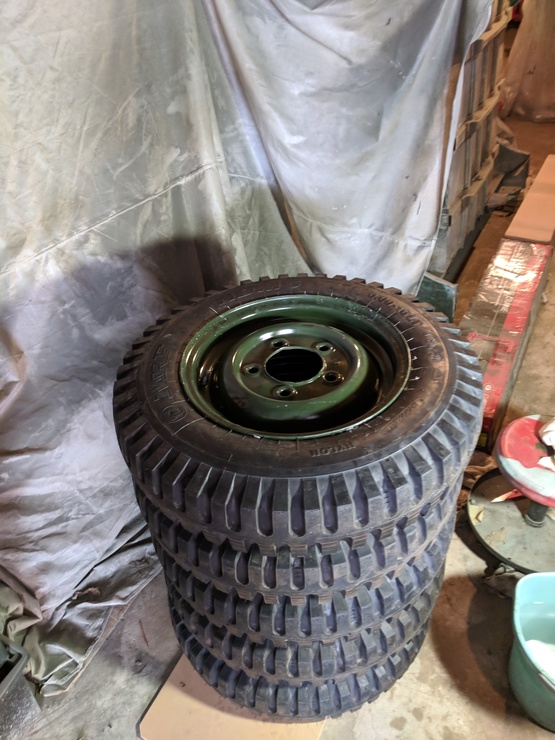
Tyres fitted to wheels
I also had the wheels balanced while this was happening. Unfortunately there were a few scratches incurred during this process, but that’s not a huge problem since I need to patch up a few bits of paint anyway.
The reason for touching up the paint on the wheels is because I used newspaper to mask the underside off while painting the front. It embedded itself into the previously-finished paint, and was only removable after sanding through the clear, and into the colour. I suspect it’s possible for the clear coat to leach through the newspaper, and melt itself into the previous clear coat (due to the thinners in the new clear coat).
Thankfully it’s not a lot of work, and I learned this lesson nice and early in the process - I’ll be using proper painter’s paper from now on.
Sanding paint
This took a bit more of the weekend than I’d anticipated, and I’ve still got one wheel to go. Once this is done, I can start on touching up the paint (see above), then buffing and polishing. After that, they’ll be good to go back on the car.