Land Rover - Swivel bearings, bulkhead paint preparation, petrol tank
Still waiting on parts
I had a few small bits and pieces arrive during the week - I got my brake and clutch master cylinders, cone bearings for the front swivels, and replacement captive nuts for the bulkhead.
Cone bearings in
Since the cone bearings arrived for the front swivel, I pressed them in - using my shiny new press, of course! I’m getting the hang of it pretty quickly, and it’s coming in very handy.
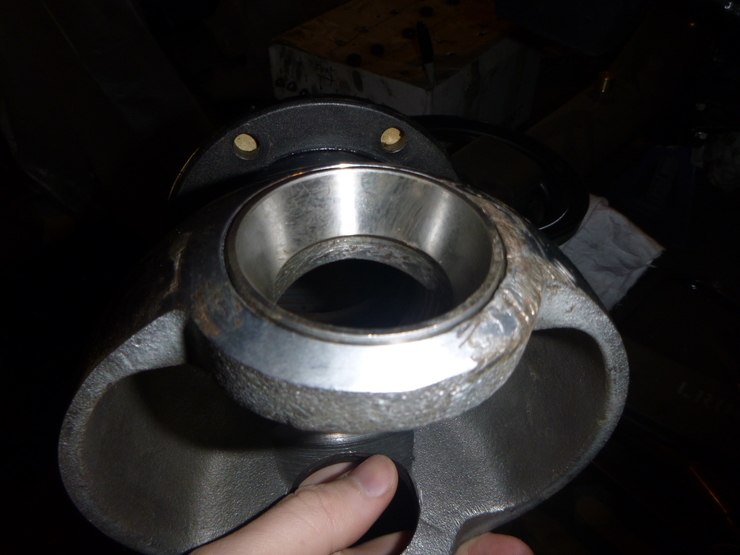
I’m still waiting on the Railko bushings and half-shaft bearings, but once they’re here, the entire front end is ready to go back together.
Bulkhead at panel beater
I spent most of the weekend driving around Sydney, trying to find a decent panelbeater and picking up some paint equipment (see below). I’d already emailed around for some quotes, but I only got hourly rates back, with one exception - there was one guy that quoted me $3500 for the work! Obviously this was an outrageous price, so I went looking this weekend.
I ended up finding a guy who gave me a quote on the spot for $900, which is much more reasonable. So, hopefully I’ll be getting the bulkhead back within a week or two. He had another Land Rover in there (a Defender), as well as a 1963 Porsche 911. They’re going for about $400,000 these days, so if his clients are anything to go by, he seems to know what he’s doing.
Paint preparation
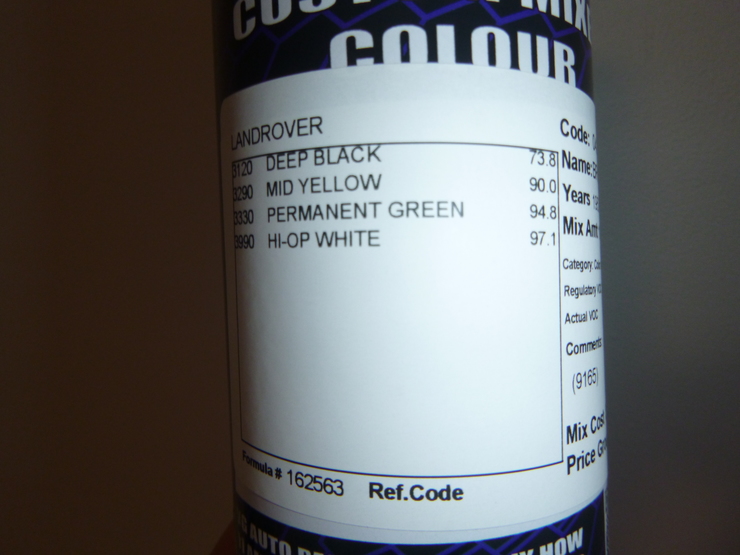
I went back to the place where I got my engine paint, and bought an air compressor and a single spray can of Bronze Green paint, to make sure the colour they have on file matches the colour of my car - I’ll using a proper spray gun for anything Bronze Green.
I’ll have to wait until next week to see how the test spray comes up when it’s dry. In any case, here’s the formula from for anyone who might stumble across this blog in the future:
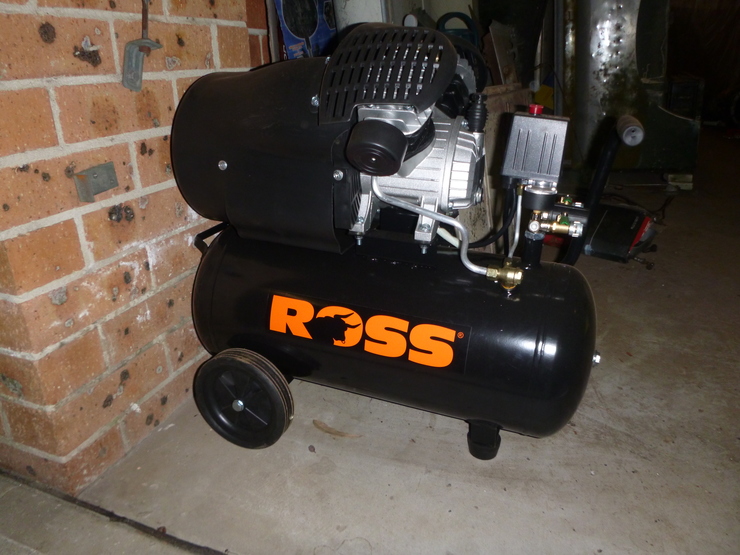
Also, a word on air compressors since there isn’t a lot of good advice out there. If you’re painting large panels, the magic figure to aim for is 200L/min. If you’re using an HVLP (high volume, low pressure) gun then you need more, but the only reason to use such a gun is if you’re in an area where high-pressure paint guns are banned (Europe and California are the two I know about). With that in mind, here’s the compressor I ended up with: it’s a Ross 2.75HP model with a 36-litre tank. There is a model with a 50-litre tank, but I don’t need it since it’ll pump 205L/min, which is enough to keep up with the spray gun.
It’s a direct-drive type, and runs off a standard domestic 10A/240V socket - most compressors that move over 200L/min use a 15A socket, which is why I chose this particular model. The guys at the paint shop use these pretty regularly, and are happy with them.
Petrol tank
To make room for the air compressor, I had to move a bunch of parts upstairs, and start work on the petrol tank. It all came apart without much hassle, and I’m mostly done sanding it (there are a few fiddly bits around the mountings, and the base isn’t quite done).
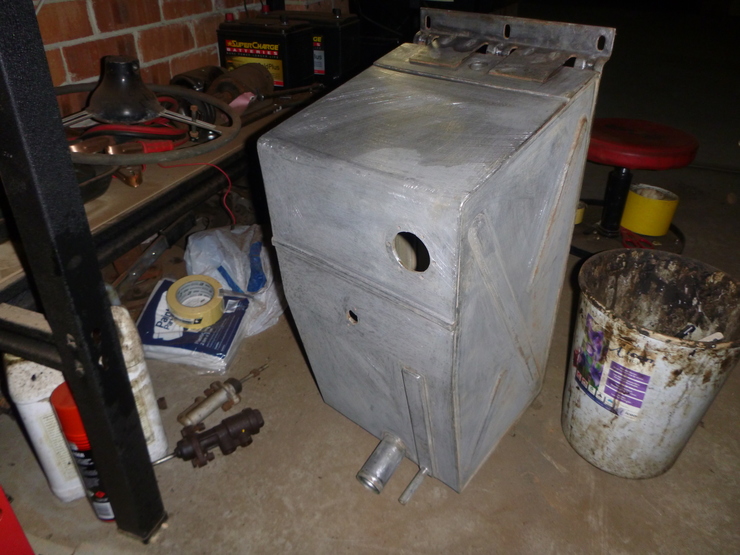
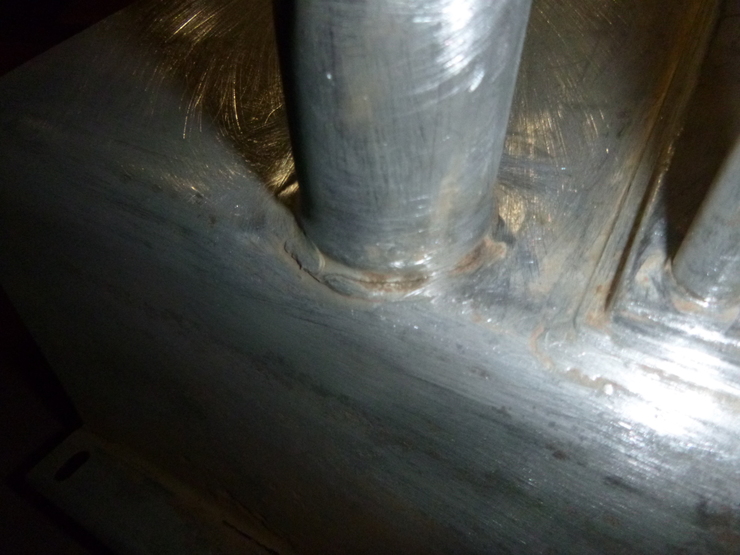
One issue I noticed while sanding was that there’s a crack that runs about halfway around the base of the filler neck. The filler neck isn’t a structural piece, so I’m tossing up whether to weld it or just use some form of putty.
The reason I’m reluctant to weld it is that it’s a relatively thin metal, and I’m not sure if I’m good enough at welding to do the job without blowing a hole in it.