Land Rover - Bulkhead picked up, sanding, exhaust manifold done
Bulkhead picked up
Picked up my bulkhead from the sandblaster this week. It was all a bit annoying, since he’d originally said he’d be at the shop until 9pm Tuesday, so I rented a van for 6pm-9pm, only to find he’d left at 6pm. He apologised and said he’d drop it off after he finished work on Wednesday (at no extra cost, so I wasn’t out of pocket for the van).
He also didn’t show up Wednesday, so we organised for Thursday during the day, which unfortunately meant I had to take the day off. Happily, he actually managed to drop it off on Thursday. He did a fine job of sandblasting and coating it with an epoxy primer, but I still won’t be going back there.
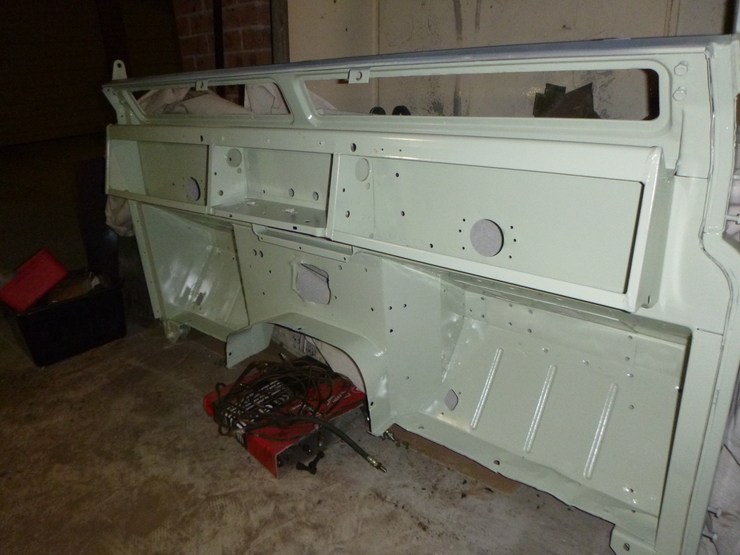
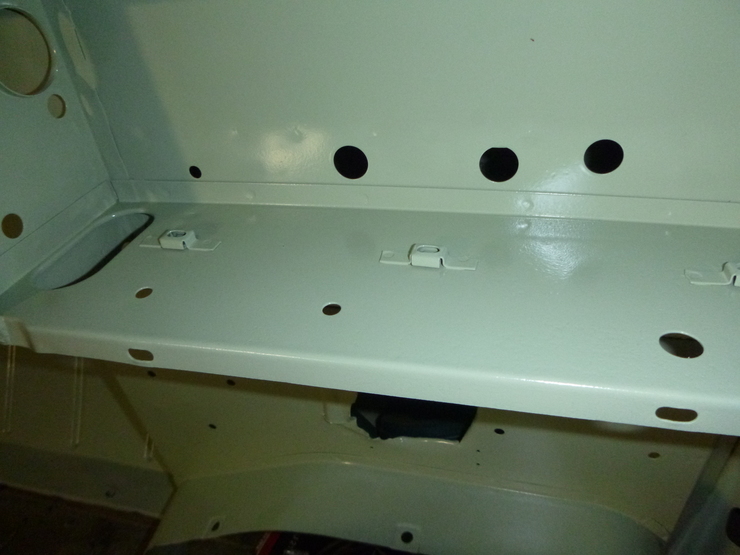
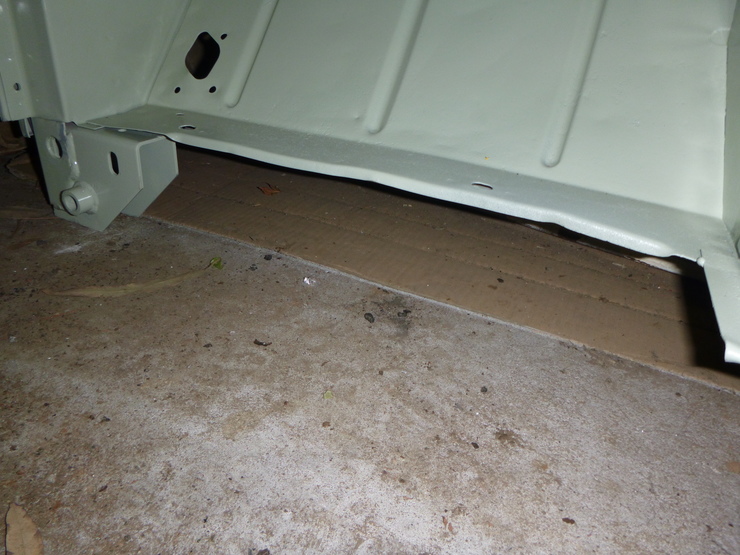
The good news is that it’s all in very good shape, and I should only need some minor panelbeating, plus the previously-mentioned captive nuts. They’ve shipped, and should arrive sometime this coming week, so I’m organising some panelbeating quotes. Here are the captive nuts (there are five more like this under the floor):
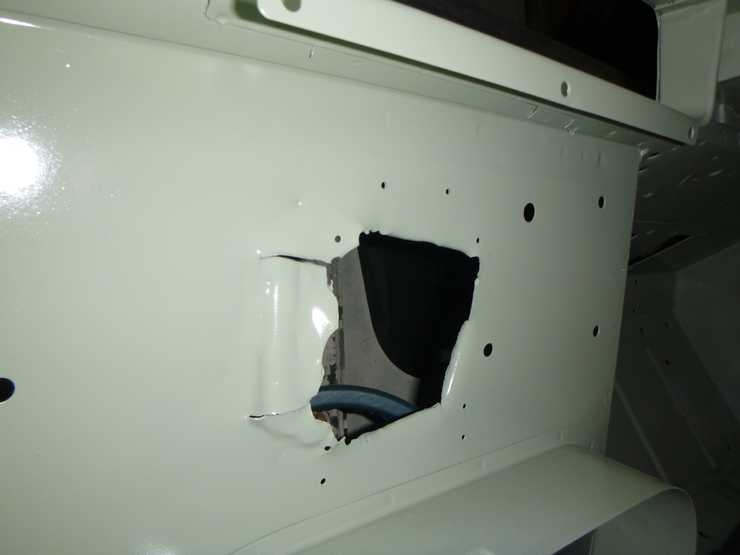
The rest of the damage hopefully shouldn’t be more than about three hours of work. The driver and passenger footwells are a bit bent up:
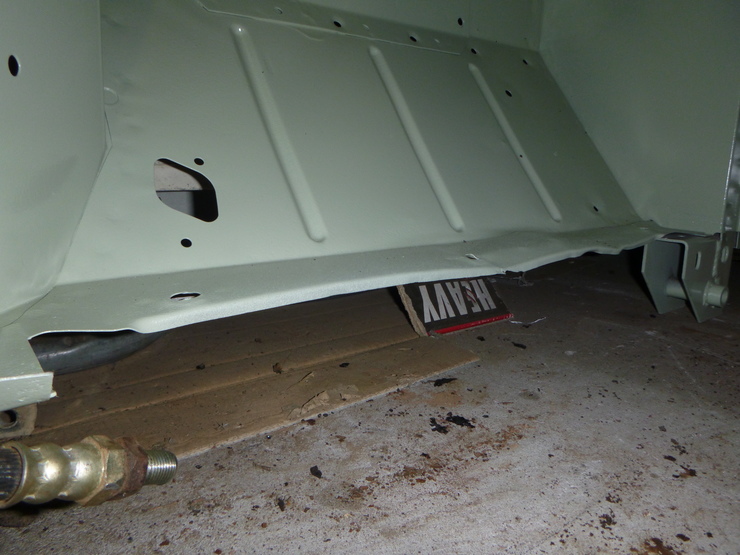
And there’s a flat section right in the middle that needs to be cut out and re-welded.
Brake bits mostly sanded
After having some difficulty separating the brake and clutch pedals from their respective housings, and looking at the prices for replacement brass bushes, I decided to reevaluate whether I needed to separate them at all - after filling the bushing chamber with WD-40 and bashing it around a little bit, the pedals now move very smoothly and freely, so I’m happy to leave them attached.
I sanded everything (including the clutch pedal), but ran out of time for the brake pedal - I’ll do that during the week, and hopefully get all of the brake components painted this coming weekend.
The handbrake interior was a bit of a challenge - there was a fair bit of rust in there, and I couldn’t get and form of sanding device in there. What I ended up doing was brushing/chipping off all of the loose crud, then using a paint meant for the inside of the chassis, since it came with a long hose I could use, and is formulated to get underneath the rust. I used the same paint for the inside of the chassis, and I was happy with the (visible) results, so we’ll see how the handbrake turns out.
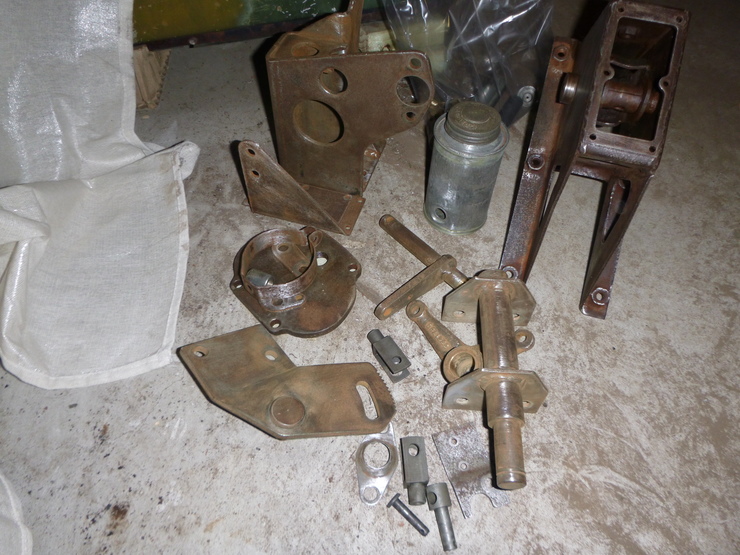
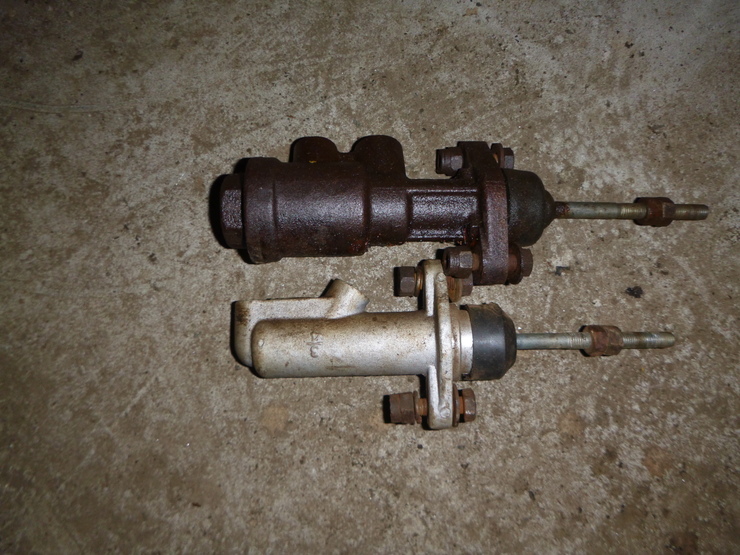
I’m not sure yet what to do with the master cylinders - they seem like they’re in reasonable condition, but the brakes are the earlier “CB” (compression barrel) type of cylinder (the top cylinder in the below image), which is inferior to the later “CV” (centre valve) unit, for a few reasons:
- The “CB” type has the end of the cylinder higher than the fluid inlet, which means bleeding the system in situ requires jacking the front end of the vehicle up
- The “CB” type is considerably more complex
- The “CB” type is apparently much more difficult to get a reliable seal with
Since I’m likely just replacing these cylinders for safety, I’ll replace the CB cylinder with a CV type.
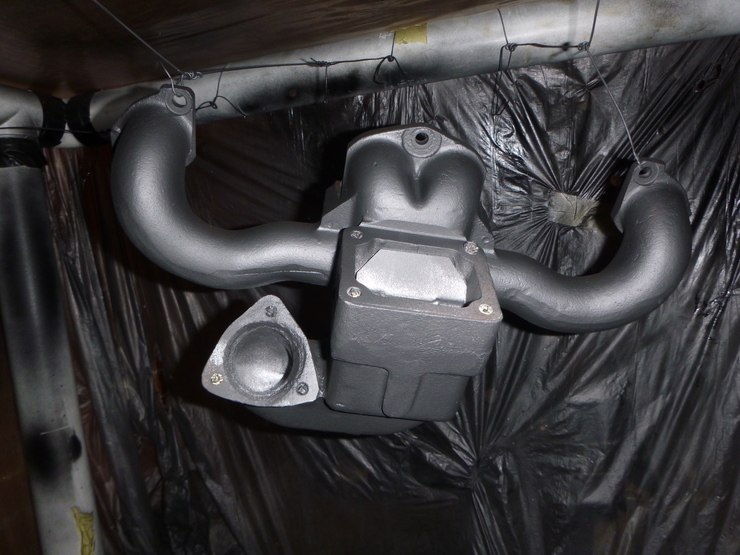
Exhaust manifold finished
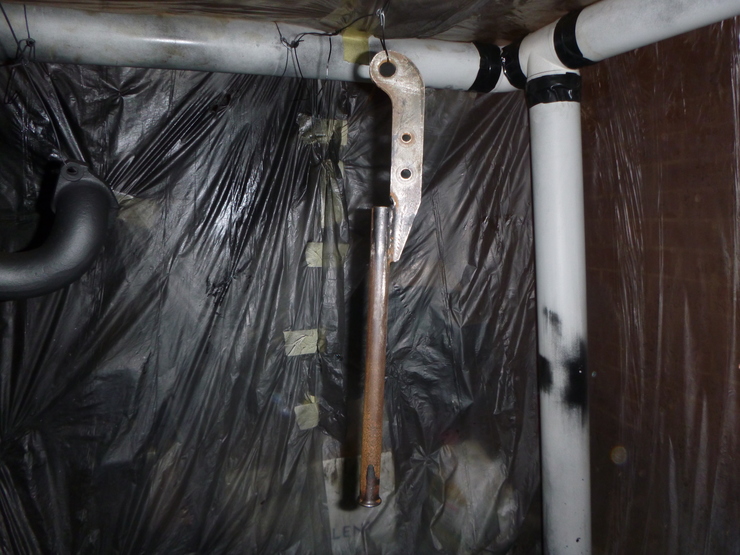
It’s been a long time coming, but after a week-long electrolytic rust removal process, some hand sanding, a trip to the bolt remover, a trip to the sandblaster, and a coating with two types of heat-resistant specialty paint, the exhaust manifold is finally finished!
It’s pictured below hanging in the spray booth - the camera flash makes the exterior finish look silver, but it looks black in real life. The inside of the manifold was done with a silver-coloured paint with a higher temperature rating.