Land Rover - Universal joints, bulkhead stripping, steering disassembly
Universal joints drama
Had a funny start to the week, as I picked up my universal joints from the mechanic. Since the mechanic is on my way to work, I figured I’d pick them up in the morning and bring them to work with me, to save having to leave work early.
One of the half shafts fits in my backpack, but the other doesn’t so I wrapped it in a towel to stop my hands getting greasy. It was a little inconvenient carrying it on the crowded train, but no big deal.
I got into work, and shortly afterwards one of my coworkers mentioned (on Slack) that the police were in front of the building and nobody was allowed in or out. I didn’t think too much of it, but then I realised that the way I’d wrapped my universal joint in a towel looked like I had covered a rifle in a towel:
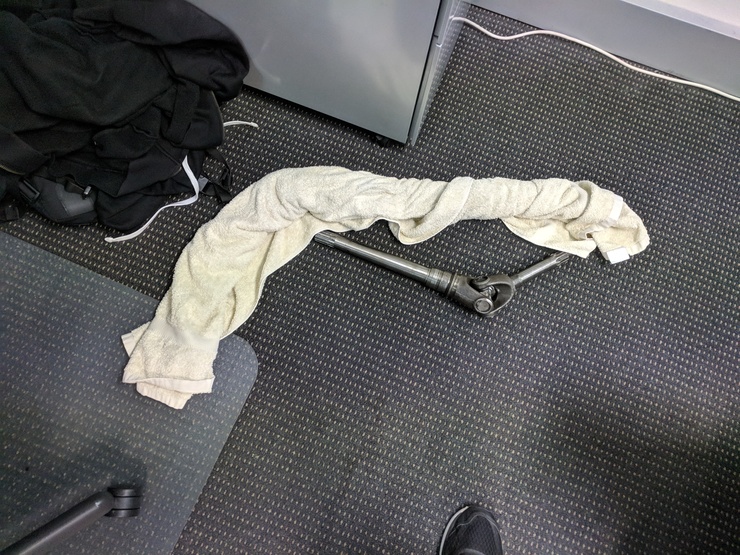
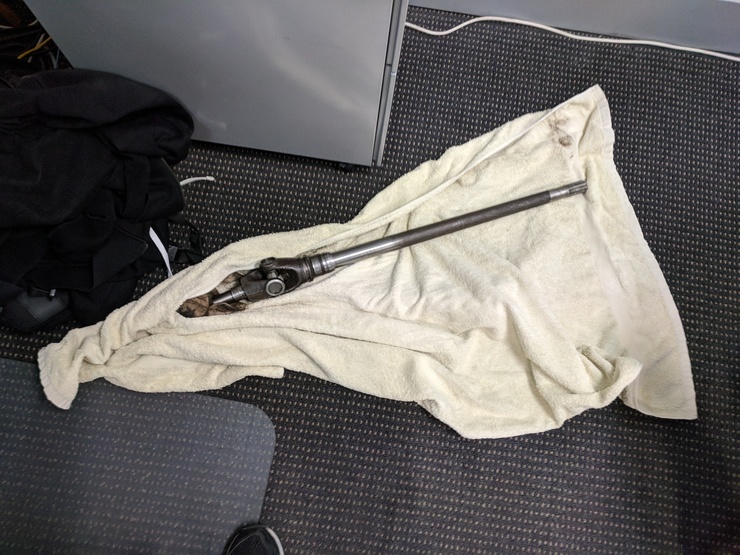
Anyway, I went down and spoke to one of the policemen out the front, along with the two photographs above - and sure enough, someone thought I’d carried a gun into the building and called the police. Not only that, but a Sydney Trains employee had followed me all the way from the train station to my work.
In the end, thirteen police attended the building - one for each floor, and a second policeman on the ground floor. I explained the situation, the policeman that visited my floor verified my claim, and the ordeal was over. Still, not the best start to the week - and for the commute home, I only used a little bit of bubble wrap around the middle of the shaft!
Bulkhead stripped
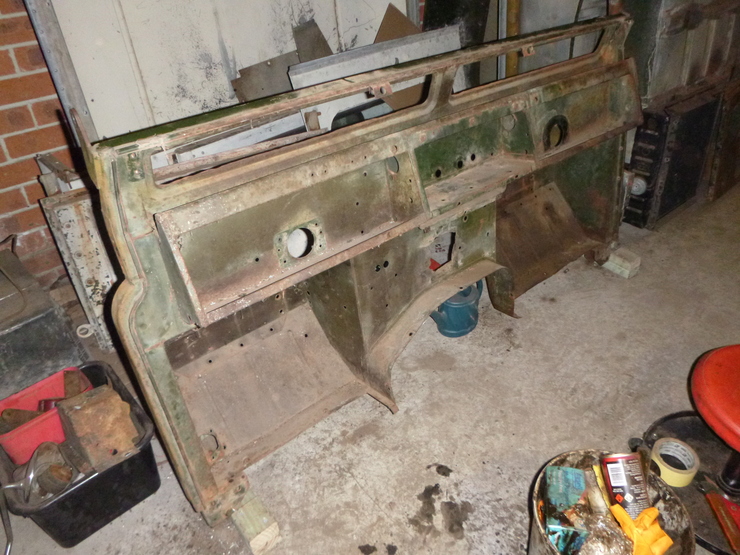
As part of getting the brakes and steering done as early as possible in order to move the vehicle, I’m doing the bulkhead relatively early in the build. I want to get the bulkhead sandblasted the week after next, then get the footwells, and captive nuts fixed and/or replaced. Then finally I’ll paint it and get it installed, after which I should be able to finish the steering and brakes.
I’m hoping it won’t need any replacement sections when it gets back from being sandblasted, but I’ve checked prices for replacement sections and it’s all pretty reasonable. The big hole in the middle, which was cut by a previous owner using tin snips, will be patched up, but that’s only a flat section of steel so it should be fairly cheap.
I had to get the bulkhead stripped before I could start getting quotes sorted out, which mostly went pretty smoothly.The only complicated bits were removing the starter switch and the control panel. There wasn’t anything inherently difficult, just the usual messing around with stuck fasteners. There is a trick to removing the starter switch, though, so I’ll document it here in case anyone ever needs the advice.
I managed to remove it fairly easily by winding the nut on the main shaft all the way back to the bulkhead, so it exposes the inner shaft the button screws onto, as well as holding the assembly in place.
After that, I used some small (180mm) pointy-nosed locking pliers to clamp down on the inner shaft. Then, I found two of those sticky pads for attaching temporary picture hooks to walls, and wrapped them around the starter button. This arrangement let me get a good grip on both the starter button and the shaft it screws onto, and it came off pretty easily.
Steering teardown
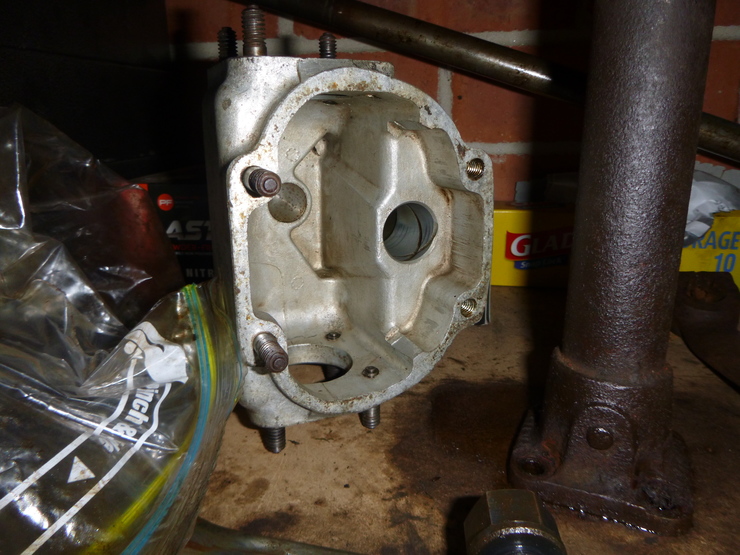
The steering setup all came apart pretty easily, and it’s all in excellent condition - a first for this restoration! I’ll still be replacing all of the gaskets, seals and tie rod ends out of caution though. Pictured below is the main steering box, in excellent condition.
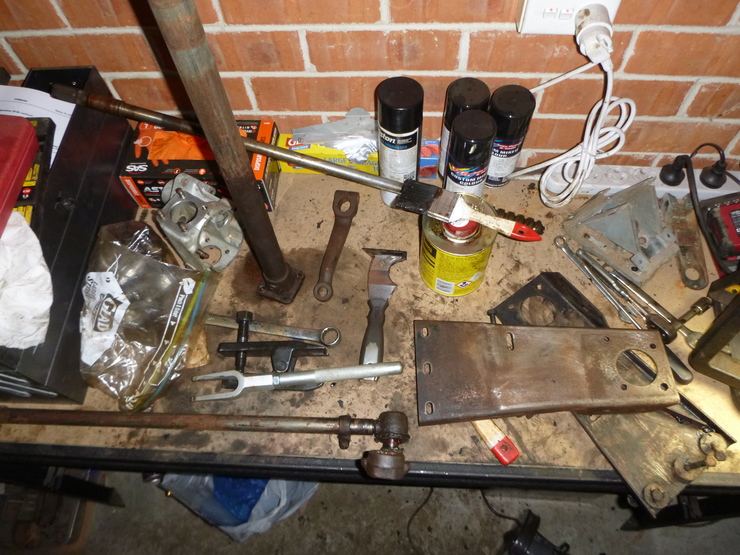
These are all the parts I’m yet to sand down before painting. The silver-coloured fork thing in the middle was for removing the ball joints from the longitudinal arm, but then I realised I could just remove the pitman arm from the tie rod ends, and then remove the tie rod ends from the longitudinal arm since I’m replacing the tie rod ends. I haven’t done that yet in this photo.
There are also a couple of galvanised bits which I plan on getting re-galvanised. I suspect it’ll be cheaper to do all of the galvanising for the car in one go, so I’ll try to gather up what I can from the parts lying around the garage.
It’s also worth noting that I’m not painting the track rod and drag link, since the drag link is bent and I can only find track rods and drag links in pairs, so I might end up replacing both.
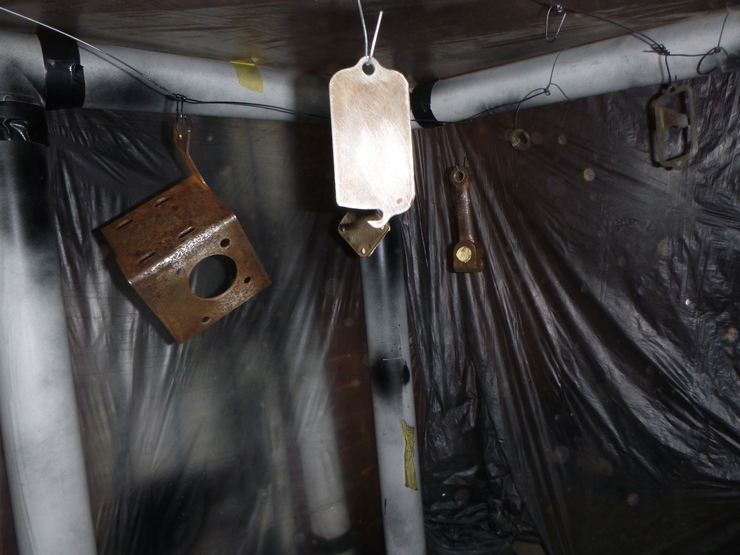
Here are a couple of the parts that I’ve sanded and are ready for painting - it looks sort of like a weird Christmas tree when all the painting hooks are filled up.
