Land Rover - Exhaust manifold, engine parts painted
Engine parts order
Most of the engine is still at the machinist, but I got a list of parts back,and did a parts order. So far they’ve cost me around $1500, which isn’t too bad. One issue is that the camshaft needs grinding, which this particular machinist doesn’t do, so that’ll have to get sent off somewhere else.
Exhaust manifold cleaned
The electrolysis setup worked quite well, so here’s a write-up. I used a fairly big heavy-duty plastic storage tub, with about 40L of water. In an open space (since the reaction creates hydrogen), add three cups of sodium carbonate (a.k.a. washing soda). Once you’ve got that mixture, put the part in, and attach the negative terminal of a battery charger to the part. It’s OK for the negative terminal to be underwater, and I also used two battery chargers in parallel since it seemed to go faster.
Then, find a bit of sacrificial steel, and put it in the water, leaving about 10cm exposed above the waterline. Attach the positive terminal of the battery charger to this sacrificial metal, makign sure the terminal is above the waterline. If you’ve done it right, within about 30 seconds you should see a stream of very small bubbles coming off the part you’re trying to clean - it looks like smoke (except underwater, of course).
If you want to speed things up, or you’re not getting bubbles, try moving the sacrificial part closer to the part you’re trying to clean - making sure they don’t touch, of course.
The process isn’t perfect - the only bits that got properly de-rusted were those in line of sight to the sacrificial metal, so I spent a week turning the part around and then waiting for 24 hours.
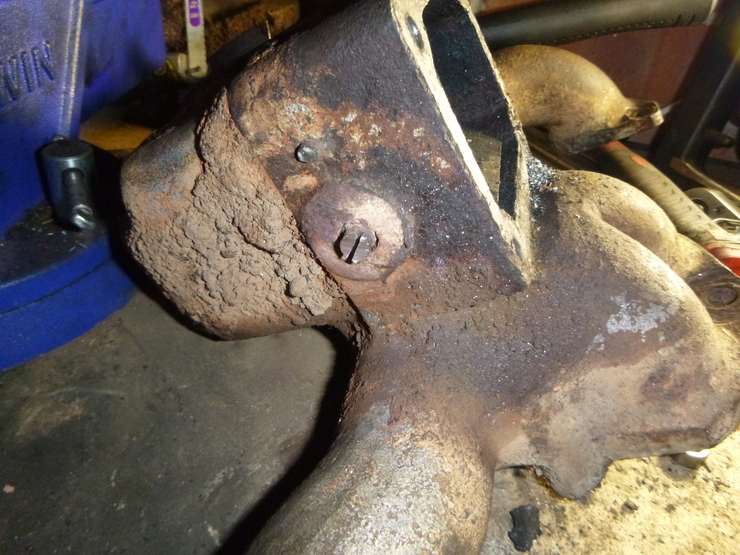
After that, it came up beautifully - here’s a picture of what the exhaust manifold looked like previously, lifted from a previous blog post:
And here’s a similar angle from afterwards, followed by a few more pictures. The dark stains are WD-40 from when I was re-tapping all of the threads, and you can see all of the part numbers/casting marks like it came out of the factory yesterday.
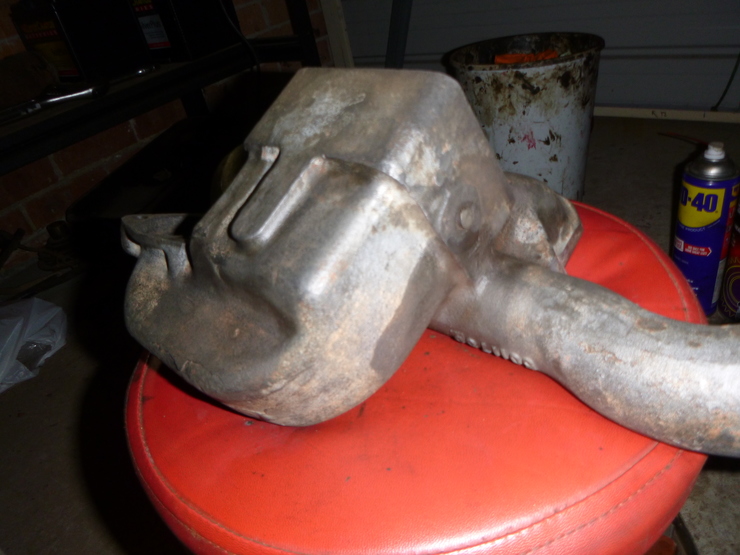
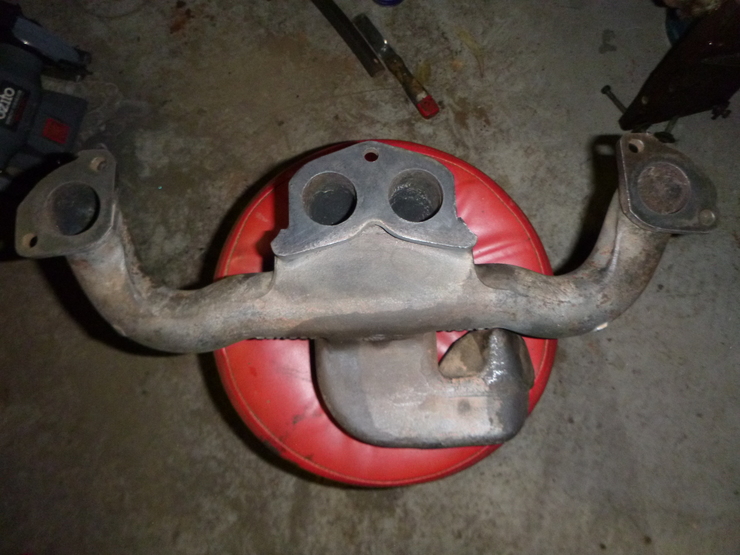
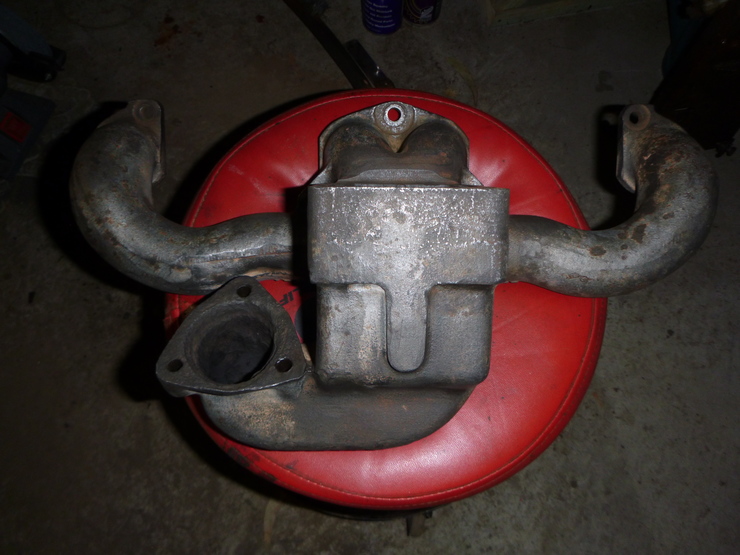
I’ll definitely be re-using that electrolytic rust removal method next time, but maybe with a few tweaks to the process.
There’s still a little work to be done - the snapped thread is still there, and I still don’t have a pedestal drill, so I still need to take it to a mechanic to get it removed. Once that’s done, I’ll paint with some very high-temperature coatings to (hopefully) stop it rusting again.
Engine parts painted
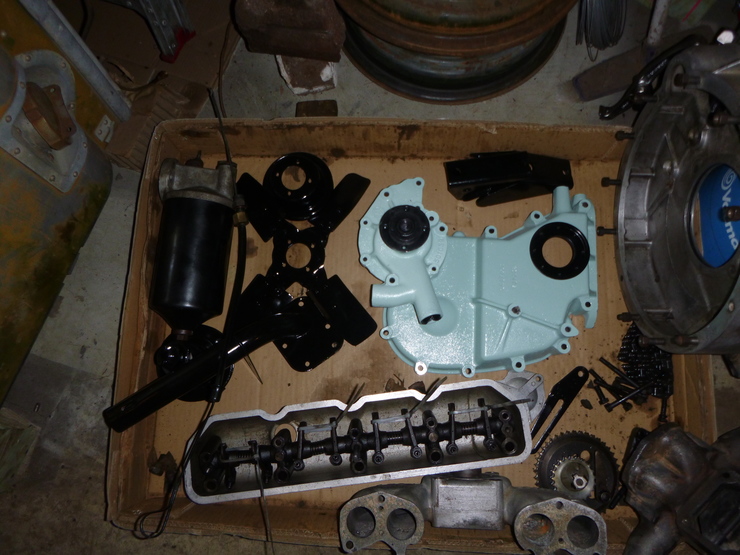
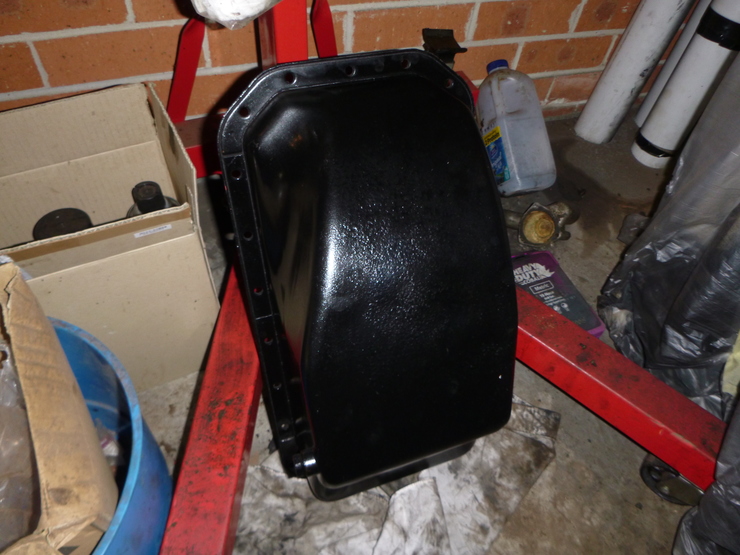
I think I’m finished painting engine parts, except for the bits that aren’t back from the machinist (which is only the block and the head). There are a few interesting things visible below - one is that the oil filter is back together. Apart from that, the black paint mostly came up very nicely - most components look fantastic, it’s just the sump that had a bit of rust pitting that’s still visible.
In fact, most of the parts are such a deep black that the camera can’t take a reasonable photo of them - the paint so far seems to be very high quality. The parts you can see in the first photo are the fan pulley, fan, dipstick handle/casing, oil filter, crank pulley, engine mounts, dynamo adjusting arm, and the crankcase breather. Not pictured are the rear side cover and a third engine mounting piece, since they’re still drying.
But the most interesting thing is that splash of Light Admiralty Grey (a.k.a. Duck Egg Blue) in the middle of the photo - I’ve painted the engine front cover and the water pump! The paint has come up reasonably well, but it struggles to get good coverage over rust-pitted areas, so I’ll have to be careful when doing the block and head. The colour seems accurate - I painted the water pump first and checked it against the remaining flakes of paint on the front cover.
Speaking of the water pump, it’s been sandblasted, had a new bearing and carbon seal installed, and then been pressed back together.
