Land Rover - Yet more engine disassembly, paint colours
Piston #2 removed
After finding a longer drift to punch it out the bottom of the cylinder with, I removed piston #2. It didn’t come out without a fight, but after about 4cm of movement, the piston rings cleared the bottom of the cylinder and it fell straight out. Quite a gratifying moment after such a long battle.
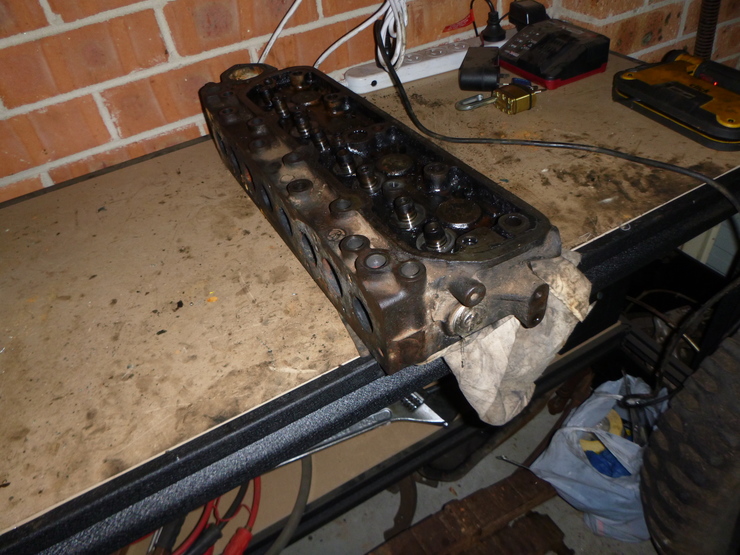
Stubborn valves removed
I splashed out and bought a $60 valve spring compressor, which turned out to be pretty bad at compressing valve springs. Hopefully it’ll come in useful when reinstalling them. What I ended up doing for the final two valves was putting a socket under the valve, holding half the weight of the head, and then putting another socket over the top of the valve and giving it a few whacks with a hammer. This freed up the collets enough to let the valve spring compressor work, and then they came out fairly easily.
Camshaft removed
I forgot to take a photo of the camshaft, but it looked fine. I had to remove the distributor drive gear before this would come out, and it had me stumped for a little while - I’d taken all of the fastening screws out, and even managed to remove the circlip inside the drive gear before removing the drive gear, but it still wouldn’t budge.
On a hunch, I turned the engine block over and gave it a few whacks with a long screwdriver and a rubber mallet, and it came loose - my most-used tool this week seems to have been my hammer.
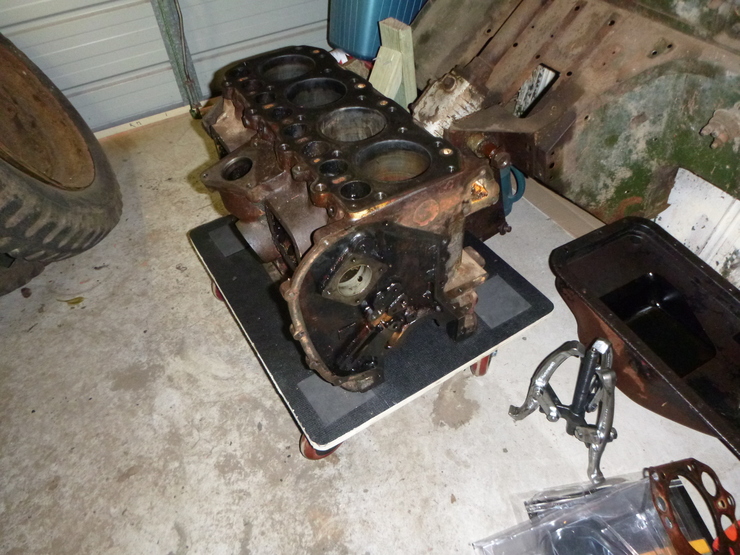
Preparing for machining
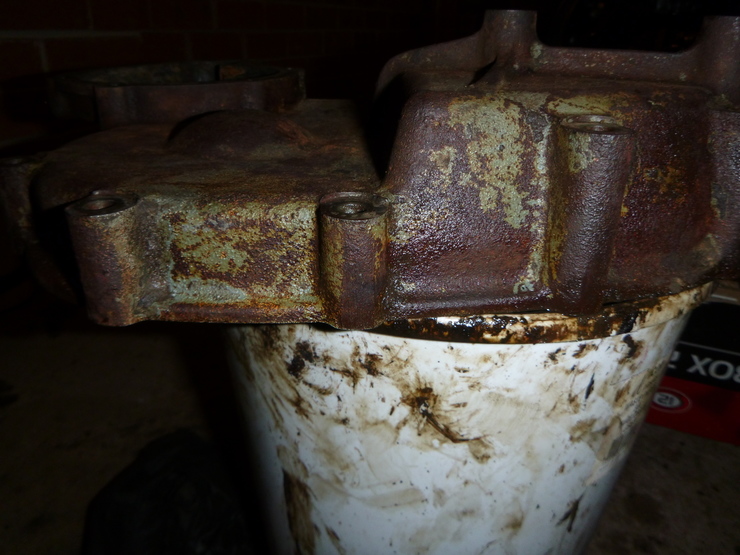
I accepted a quote this week for a full reconditioning of the head, block, crankshaft, camshaft, valves, and a few other bits and pieces. This meant I had to remove some odds and ends (locating dowels, stray studs, etc.). I’ve got the engine block sitting on a furniture dolly at the front of the shed, I was surprised how light it was with nothing in it - I can lift it reasonably easily. I was worried about breaking the dolly, which is rated for 320kg, but there’s absolutely no risk of that.
Sanding, again
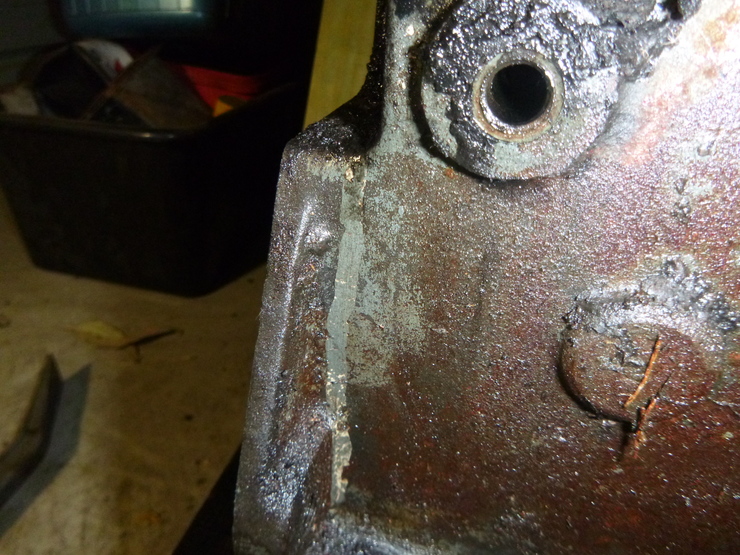
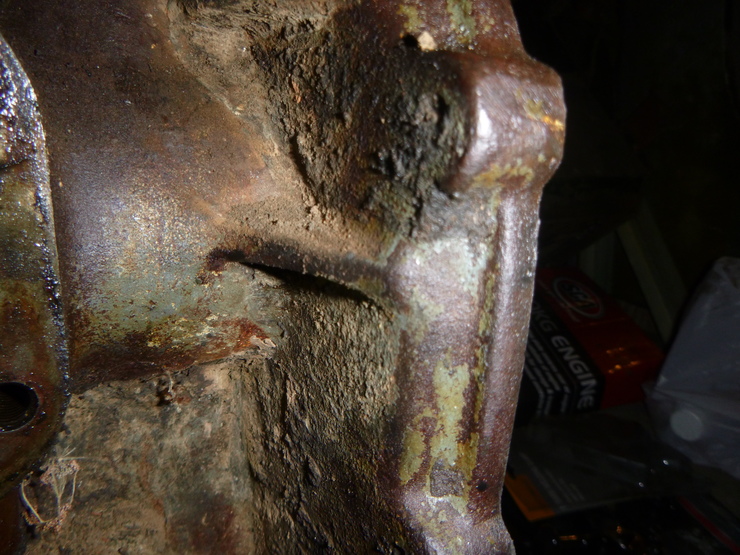
In preparation for painting the engine and all related ancillaries, I’ve started degreasing, wire-brushing, and sanding things. I’ve only got as far as the front cover since there was so much caked-on grease, but it’s coming up nicely considering how bad it looked when I started. I haven’t sanded it yet in the below photos, just degreased and wire-brushed it.
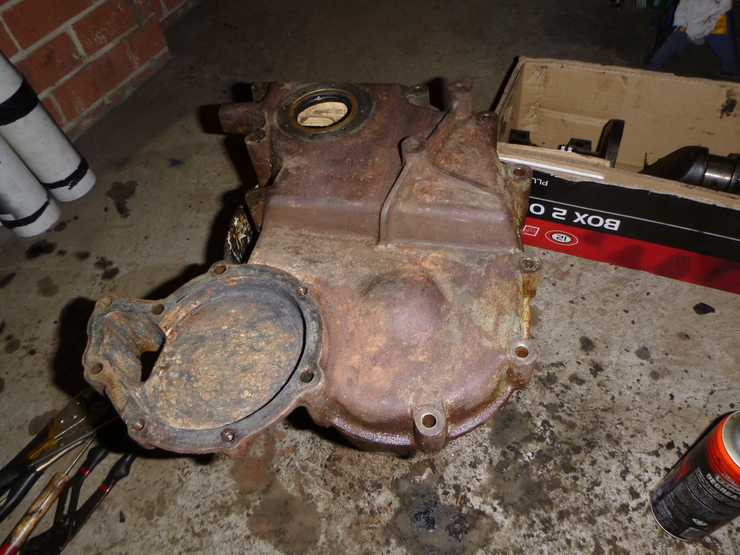
The interior of the front cover was black before degreasing. I haven’t even wire-brushed this, and I’m not going to since it’s come up so nicely. The black grease pretty much just fell off when I went over it with a degreaser-soaked rag.

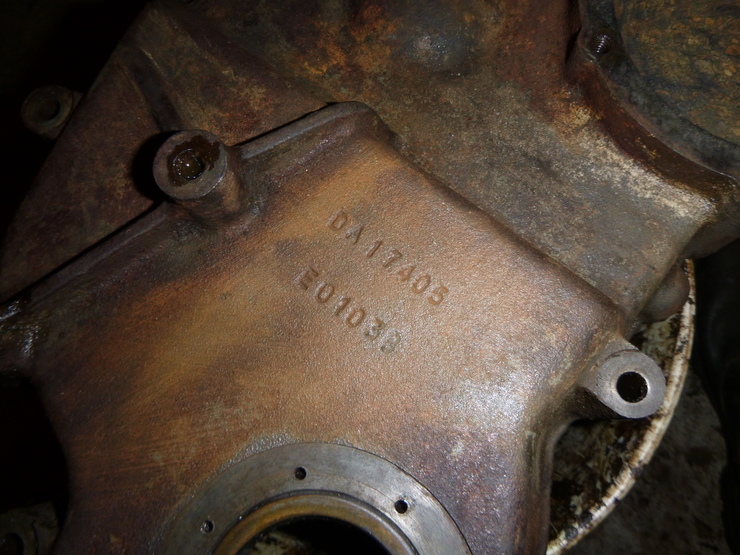
The original stampings are also coming up well.
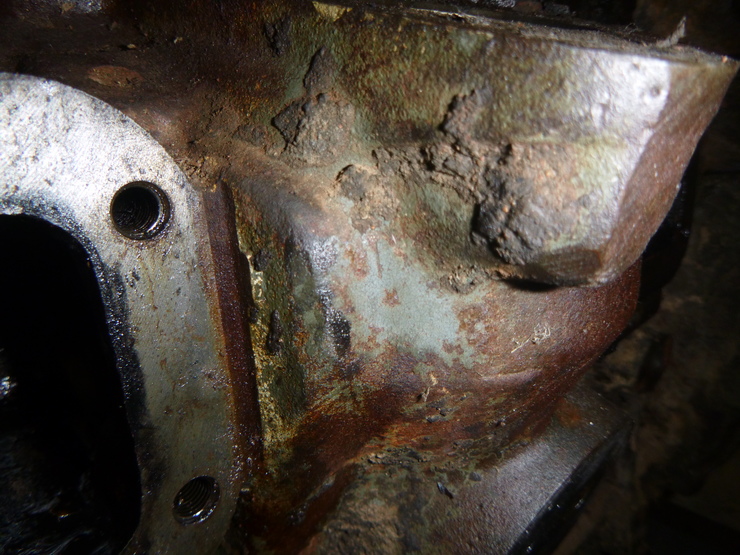
Incorrect paint colours
While degreasing the front cover, I found a few good pieces of original paint, so I thought I’d try matching the custom paint I had mixed from the original colour codes. And, what a surprise - it wasn’t even close!
I initially thought that I might not have an original front cover, so I cleaned up the block to see if I could find anything. Lo and behold, the colours on the block didn’t seem to match the front cover.
I took a few photos for the blog while I got to the bottom of the mystery, but the camera flash revealed something - with better lighting, the colours on the block did, in fact, match those on the front cover. Not only that, but this engine was the famous “Duck Egg Blue”/”Light Admiralty Grey”, not the plain grey of the earlier blocks.
So, now I have to order more engine paint - hopefully the colour code is a bit easier to find. There’s certainly more information about this colour on the internet than the plain grey, so I’m hoping I can get an exact match rather than some educated guesswork.