Land Rover - Springs installed, front axle, hubs and brkaes
Apologies for the long delay between blog posts - it isn’t because I’ve been slacking off! Quite the opposite in fact; I’ve not had the time or energy to go around taking photos at the end of each week and writing a post.
I’ve put aside the wheel/tyre job in my last blog post until I actually need to do them, since I’ve enrolled in a one-day automotive painting workshop and would like to prime/paint the wheels myself after having them sandblasted.
Front axle/springs done
After a nightmare of a time getting all the bushes in, and waiting for various parts to be delivered, I’ve finally finished the front differential/axle casing/springs. The pinion still need a little bit of attention, but only because I’m replacing the oil seal out of caution.
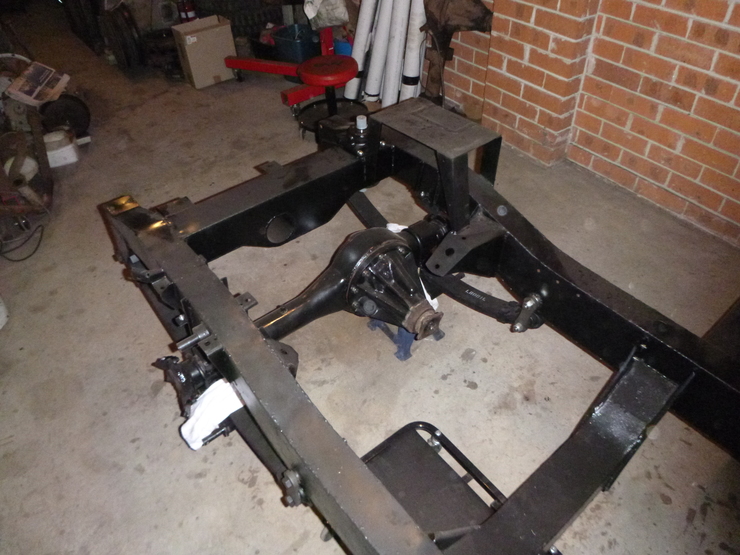
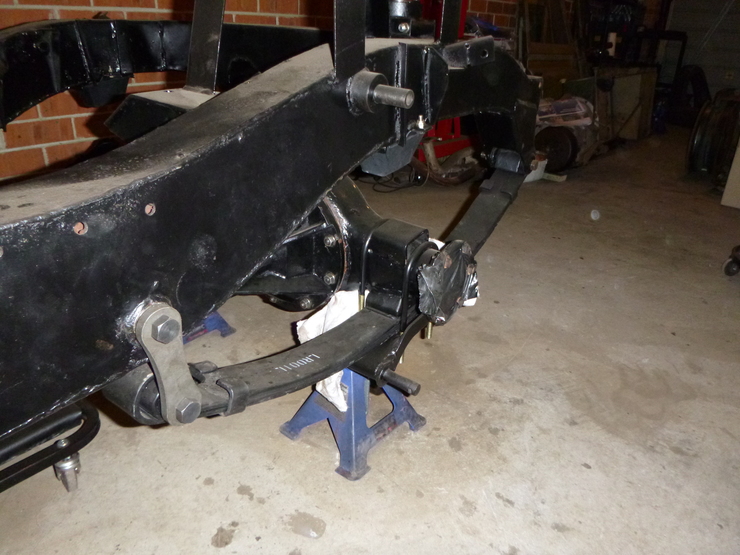
As you might have seen fron the above photos, it really doesn’t take long for a layer of dirt and dust to cover everything, which leads to the next item…
Cleanup
Not a big deal, but one of those things it’s worth spending a few hours on every now and then. I’ve miniaturised the paint booth since I’m no longer painting anything chassis-sized, and moved it to sit on top of the chassis temporarily so I can have some working space.
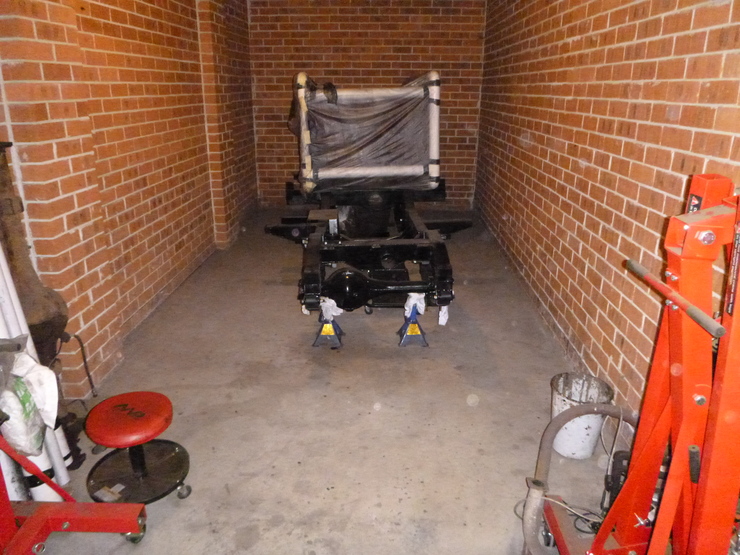
Rear springs installed
The weird black thing behind it is the front “wall” of the paint booth. I ended up having to paint these springs, since the grey was just too different to the shiny black of everything else.
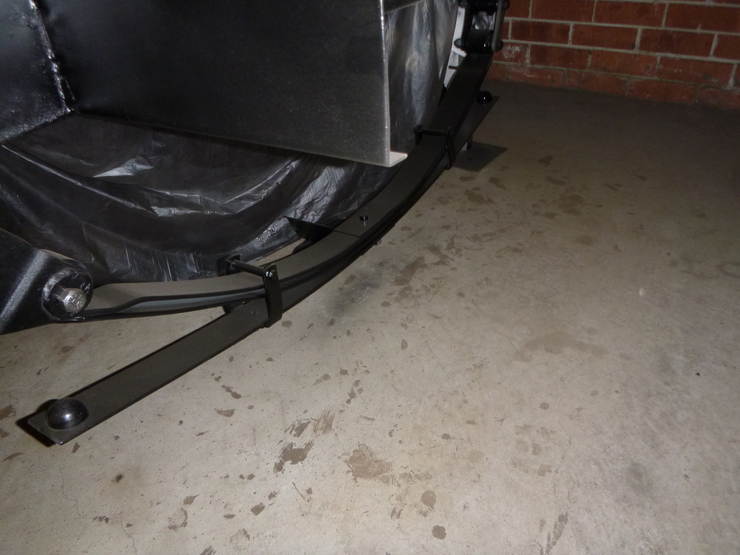
I don’t have a photo, but I’ve also painted all of the U-bolts, brake line protectors, and spring plates.
Rear axle painting
After I’d cleaned up, I took the rear axle and differential apart and made sure everything was in good order. I’m happy with it, although it’s much stiffer to turn by hand than the front differential - still not difficult, though.
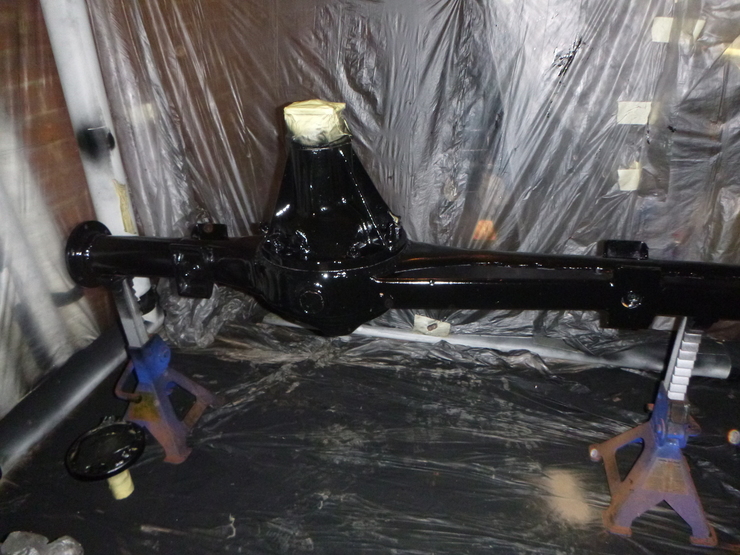
Following that, I moved my spray booth back down off the car and painted the rear axle/differential. I would’ve installed it too, except that I’m missing a rear brake line protector, so I’ll have to wait until that’s delivered.
You can also see at the bottom left some of the other small bits and pieces for the rear axle - visible is a hub bearing sleeve.
Hubs and brakes
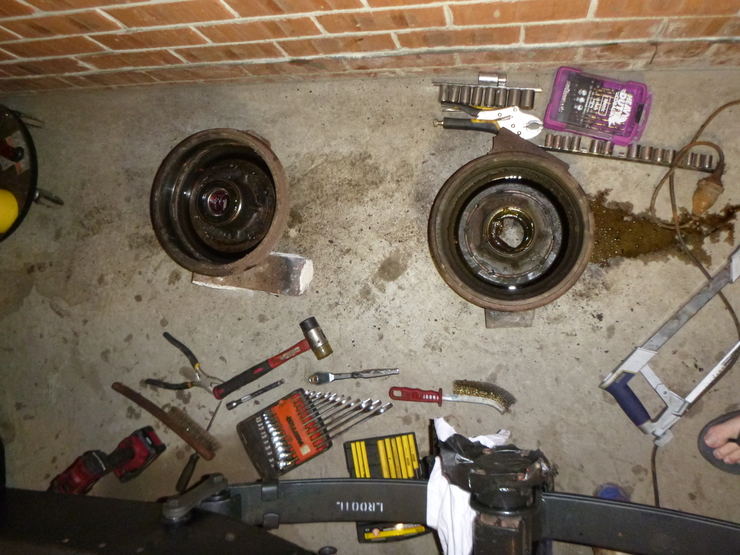
Since I’m waiting on a whole bunch of fasteners and a couple of small parts, I’ve started pulling apart the front and rear hubs, brakes, and ball joints. Most of it is in pretty good nick, except that the rear hubs are stuck fast to the brake drums - pictured is the brake drums soaking in Evapo-Rust. I’m not sure if this will help, but it certainly won’t do any harm. I haven’t tried the front hubs/brakes yet, but my guess it that they won’t be any better.
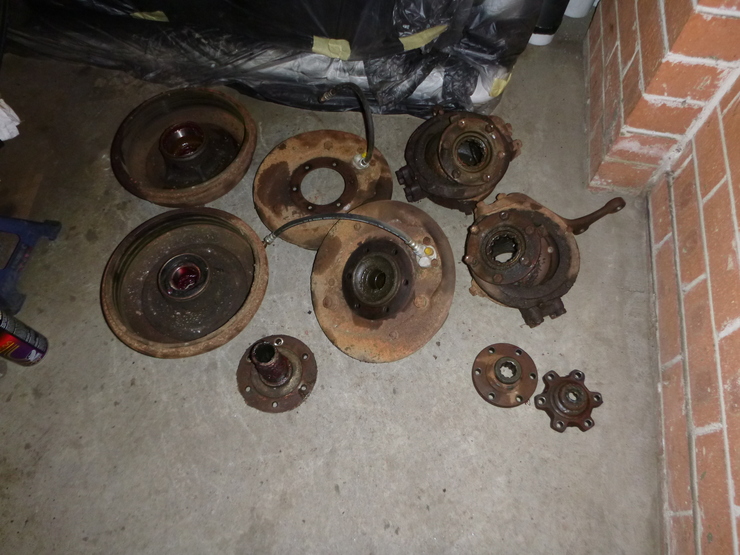
I’ve also got quite an impressive queue of hub and brake parts that need sanding and painting. The rear axle is fairly straightforward…
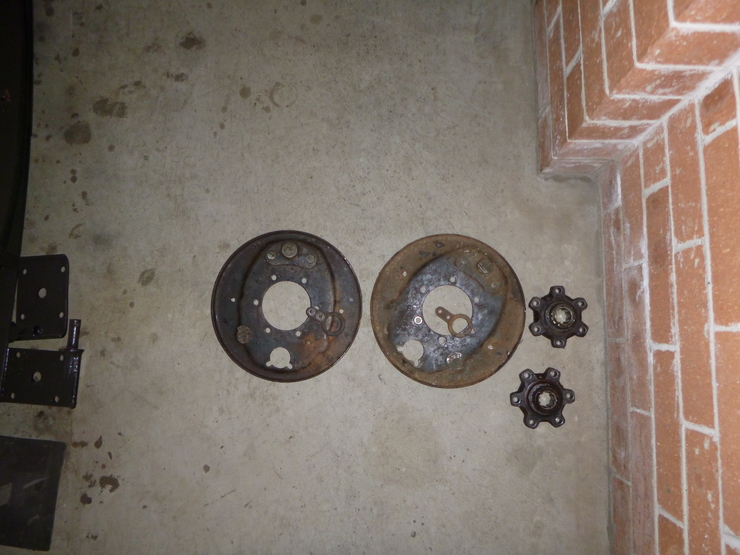
… but the front is far more complex. I still need to pull the ball joints apart, but they seem to be in very good condition. Similar for the front brake backing plates. Interestingly, the driving members for the front hubs (bottom right) seem to be two mismatching parts, so I’ll try to source another original driving member (I assume the star-shaped piece is original, since that’s the shape in the parts manual and also matches the rear ones, but I’ll check.)
