Land Rover - Done painting chassis, differential inspection, new steering relay
Chassis painting done
A milestone for the project - the single largest item (the chassis) is done. Of course this probably won’t be the single most time-consuming item, but I’m pretty pleased nevertheless. It’s come up quite well.
Stripping grille panel; wheels
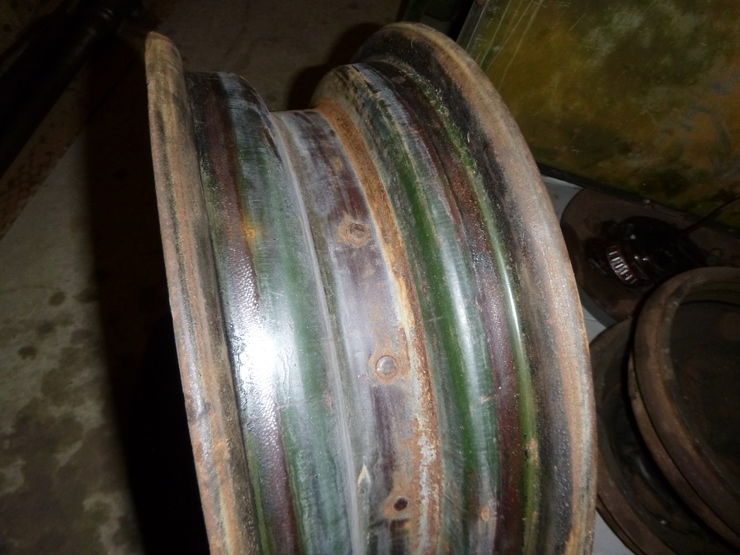
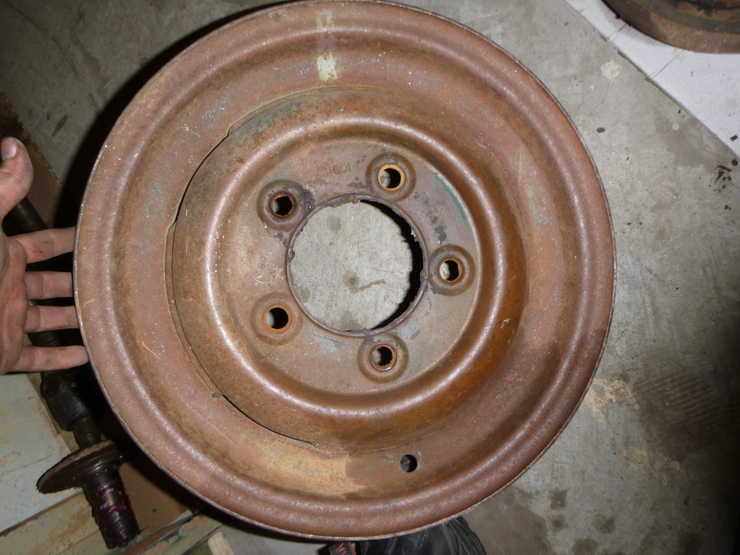
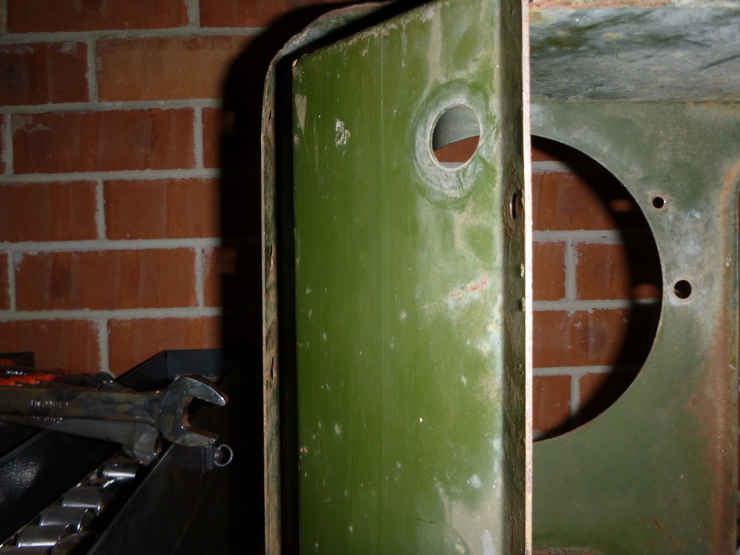
There are a few painted bits and pieces that I’ll need to sort out before the rest of the bodywork - the radiator grille, wheels, and bulkhead. I stripped down the bulkhead in preparation for sandblasting, and I started on the wheels but it turns out that removing the tyres is incredibly difficult - I got one off (of five), but it took me 3 hours. I’m going to have to figure out a better way of doing this.
Happily, while there is some rust, it’s not too bad (similar to the chassis) and I’m hoping that sandblasting and some rust converting primer will get it sorted. I also found a good amount of original paint inside the one wheel I managed to get the tyre off.
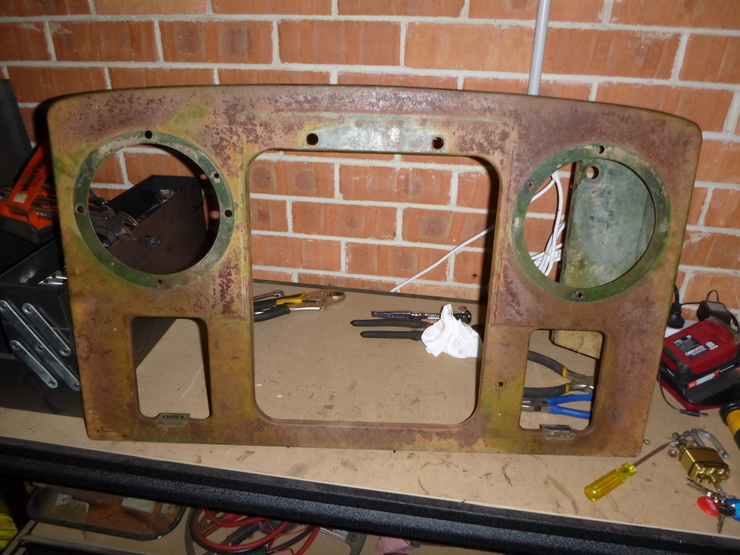
I also found probably the best-preserved area of paint I’ve seen yet, on the back of the grille panel. I don’t think I’ll need to colour-match anything since the Land Rover paint codes are reasonably well-known, but it’s good to have a reference.
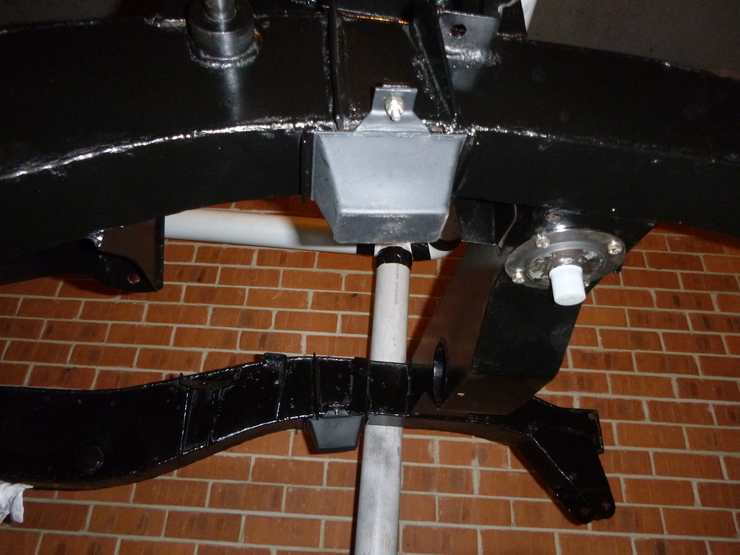
Differential inspection
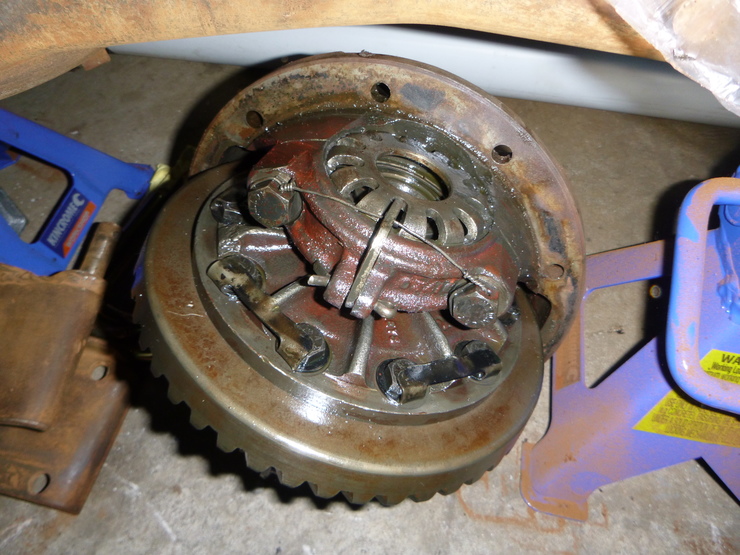
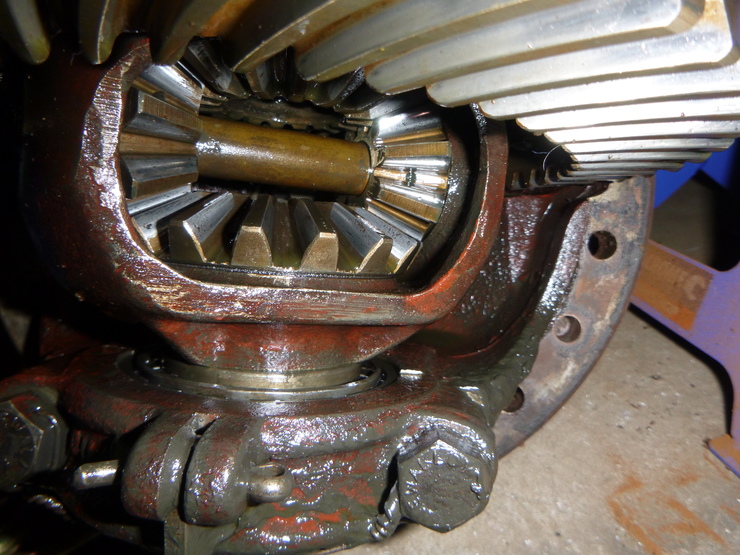
Pulled the front differential apart to see if it needed any work, and it’s in perfect condition. I’ve sanded down the differential case, and I’ll seal it back up once I’ve replaced all oil seals and gaskets just as a precaution. Apologies for the awkward camera angle, the differential is tricky to lift with one hand.
No suspension
I’ve got the springs, but annoyingly, despite claiming they shipped with “all required bushes”, they didn’t ship with the bushes that go into the chassis. So instead, I’ve been spending my time doing lots of sanding, in preparation for another round of painting stuff black.
More sanding
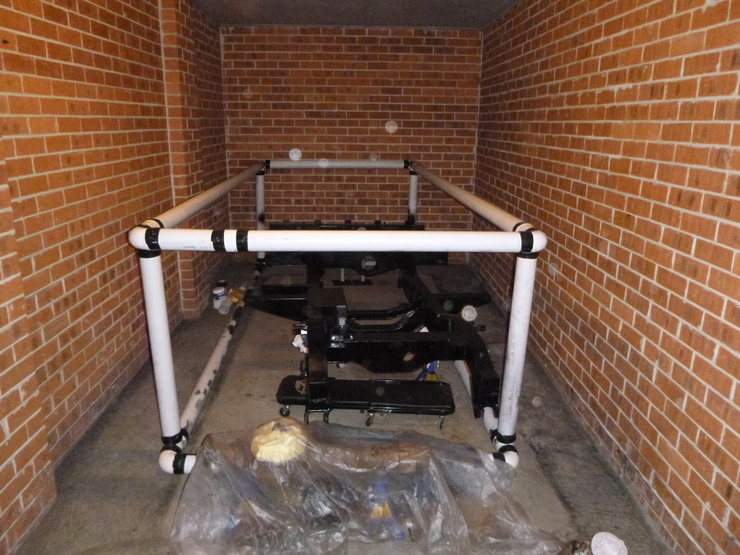
I’ve been getting stuff ready for the next round of black paint, in which I intend to cover the front and rear axles and differentials, spring plates, spring shackles, U-bolts, rear springs, and a few other small suspension bits. A picture of the work area is below, with the stuff I’ve sanded under the plastic sheet to stop dust getting all over it.
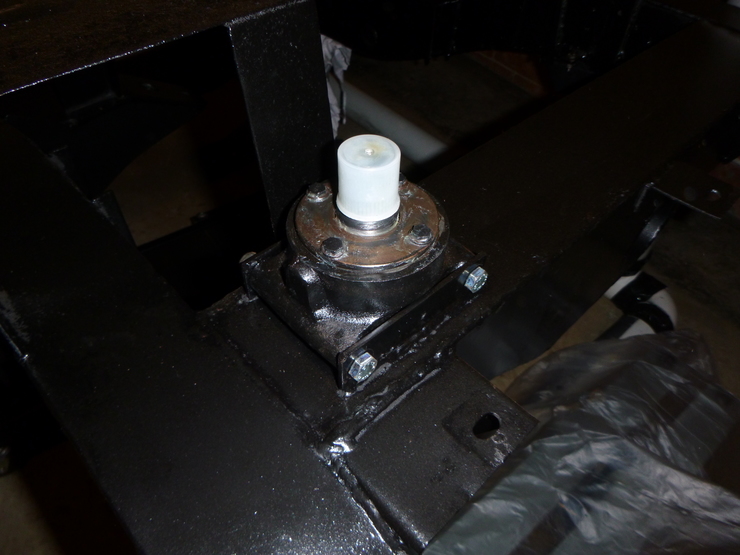
First parts “returning home”
Not a big job, but sort of symbolic - the first parts (steering relay and bump stops) have been reattached to the chassis. I’m not sure why the bump stops show up grey in the photo below, they look about as black as the chassis in real life.
I’m using brand-new bolts, washers and nuts in general, but sticking to the original sizes, no matter how painful. There are five different imperial standards used on the car (UNF, UNC, BA, BSF, BSW), so it’s a bit time-consuming to make sure the correct fasteners are used everywhere. I’ve also heard rumours of some metric fasteners, but I’m yet to come across one.