Land Rover - Gearbox removal, more stripping down
A pretty big week this week - not as big as I hoped though. A few bits and pieces took way longer than I anticipated.
Meta
Some words about the photos - they all have alt text, so if you’re not sure what you’re looking at, hover your mouse over them. Also, I know that some of them have really bad “floaties” in the top-right corner, I’ve triple-checked that the camera is clean but I think it’s the flash picking up atmospheric dust. I might see if I can get a little air filter thing.
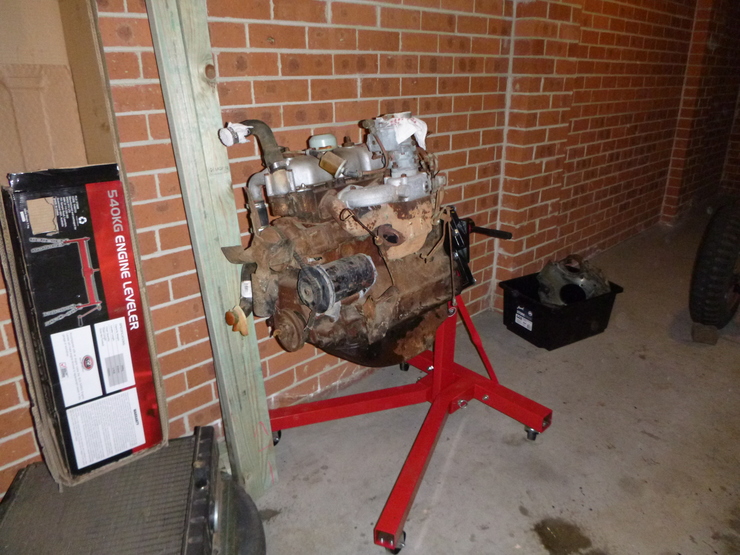
Engine on stand
Had to get a few bolts made up of the right grade and length, but the engine is finally on the stand. Good to put the crane away and reclaim some space. You can also see the flywheel housing in a storage box in the background here:
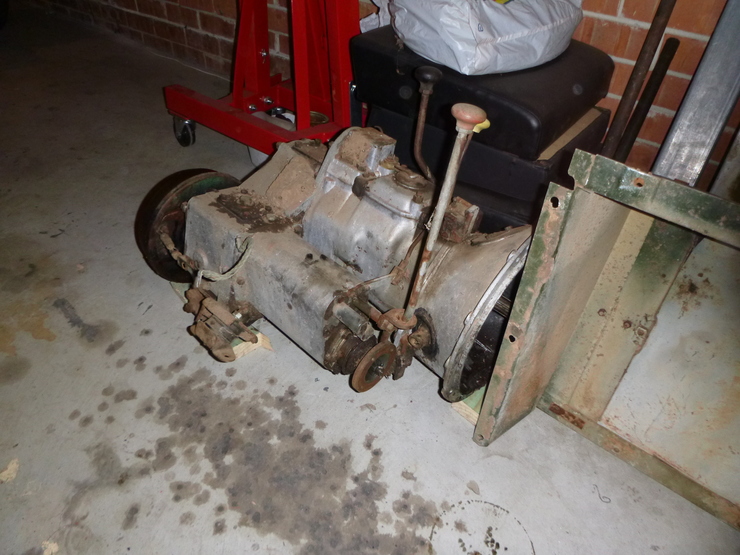
Gearbox removed
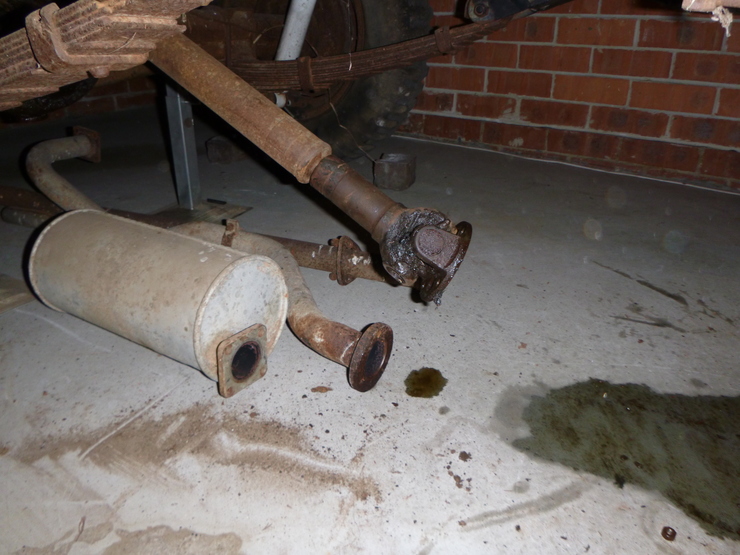
The last really heavy bit, which is good. The prop shafts were one of those things that took way longer than I thought - the bolts are in a really annoying location, and were very tight.
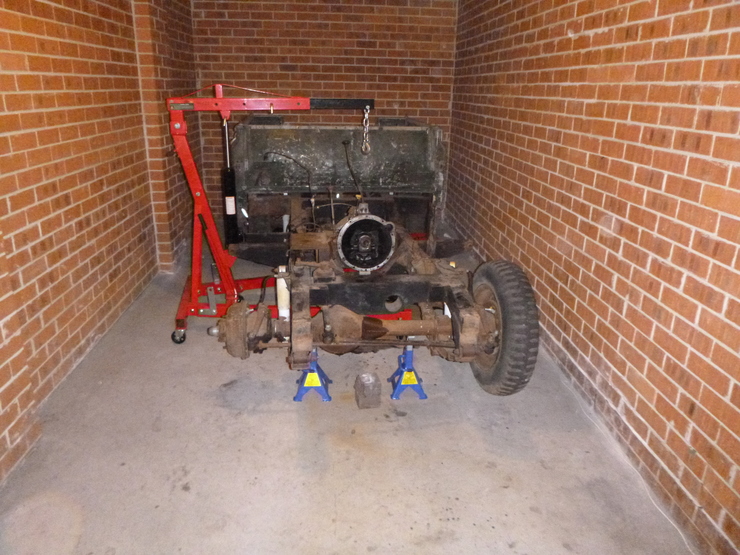
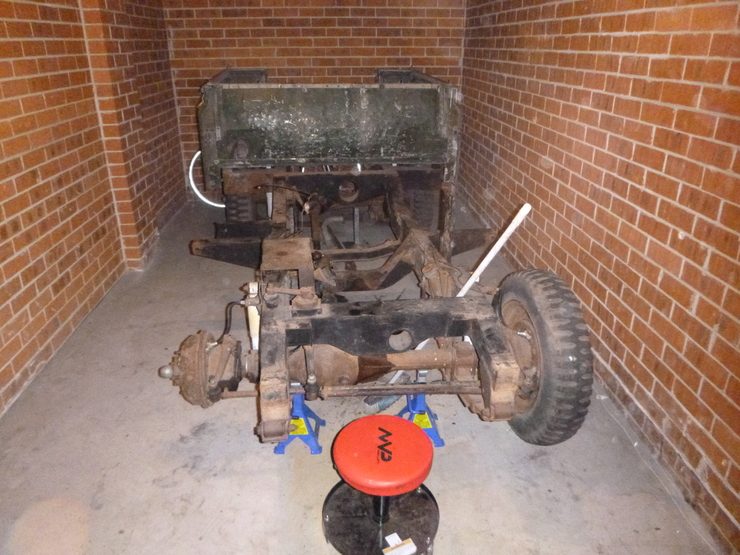
Here’s one end of a propshaft - the bolts are in those little gaps between the buly parts of the universal joint, you can just see the holes if you zoom in.
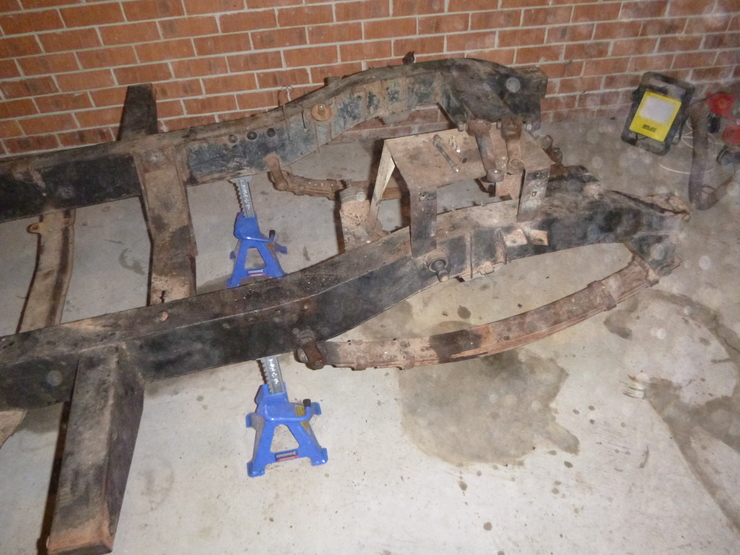
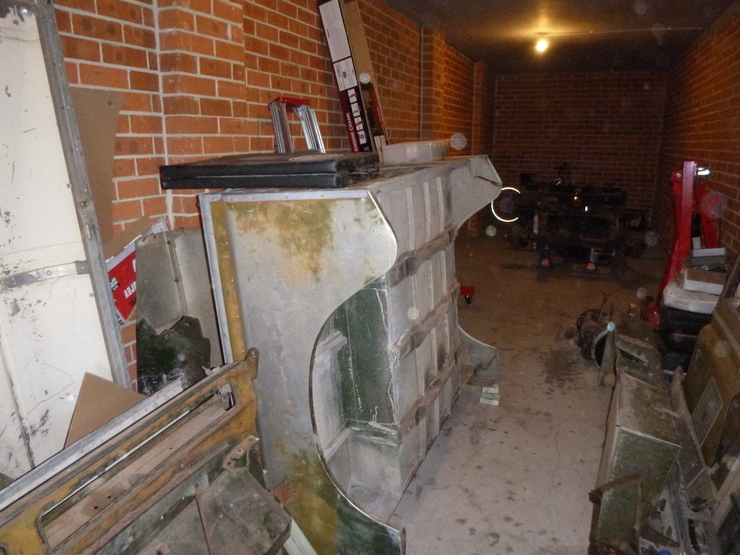
Rear tub removed
This was a big milestone for stripping down the car - the last piece of bodywork! I ended up having to use the engine crane again, but it didn’t have the height to go over the centre of the tub while the car was on axle stands. So, I suspended one corner from the crane and lifted the other corner by hand. Went pretty uneventfully in the end, and the chassis is looking much more bare without it. The garage, however, is getting very crowded.
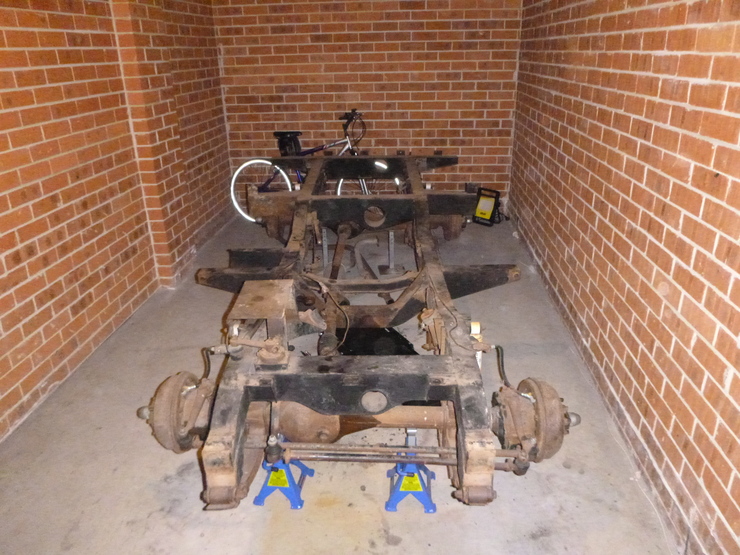
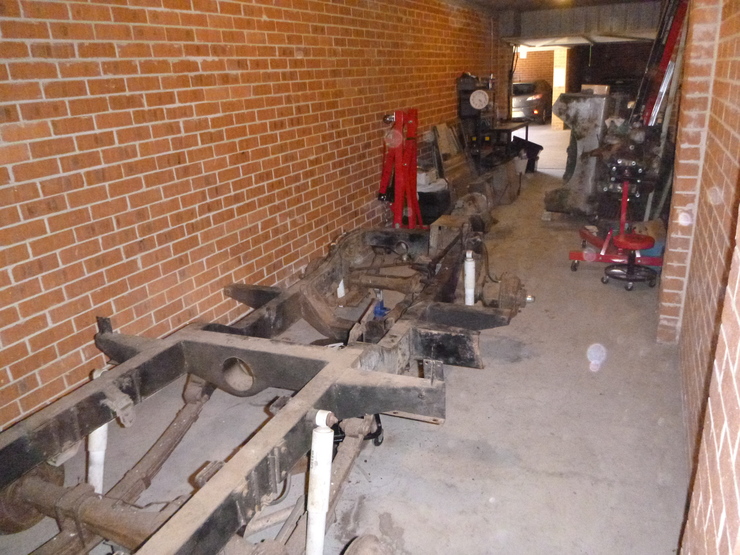
Steering mostly removed
Except for the relay. I’ve drowned it in WD40, so we’ll see how that goes tomorrow. These are somewhat famous for being hard to remove, and even the workshop manual recommends basically hitting it with a hammer. Still, the ball joint removal tool certainly got a workout on the tie roads and drag link, which went relatively easily.
Also a word of advice to anyone removing the short arms from the steering relay
- the job is ten times easier if you remove the securing bolts completely, it isn’t enough to have them loose (even thought I had them extremely loose).
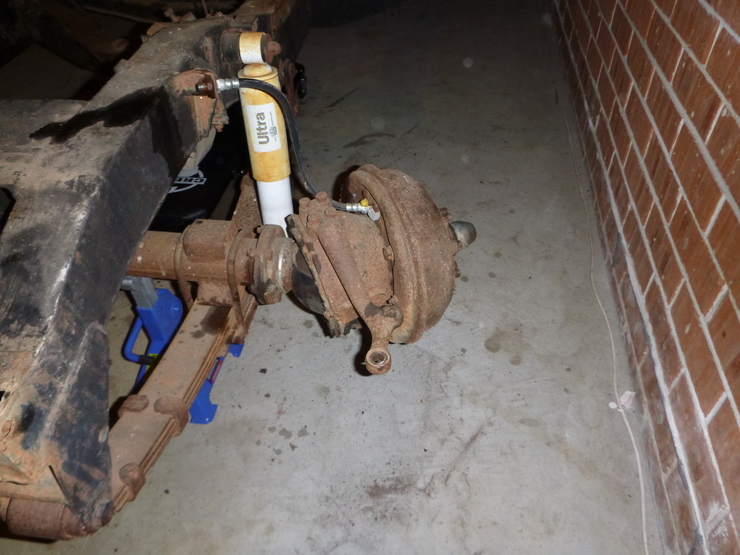
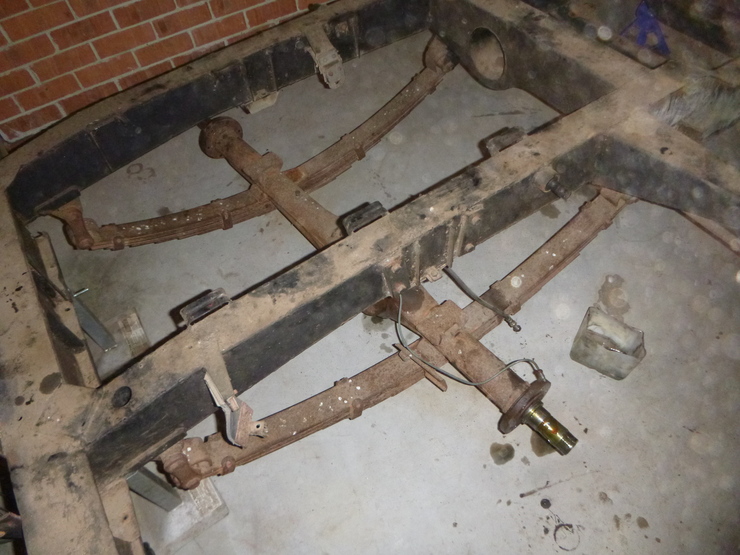
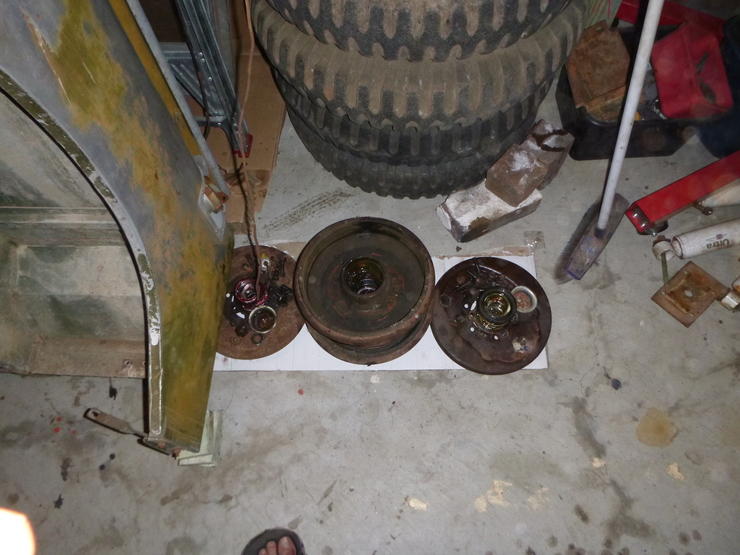
Hubs, ball joints, brakes and stub axles removed
Another one of those jobs that took way longer than anticipated - in this case, a day and a half. Most of the problem is just that everything is really tight, but I’m glad I had a giant two-inch socket lying around for the hub fixings - they’re not meant to be so tight. I guess almost sixty years is a long time for something to just sit there. Happily, all of the grease was in good condition and there doesn’t seem to any corrosion in the internal bits.
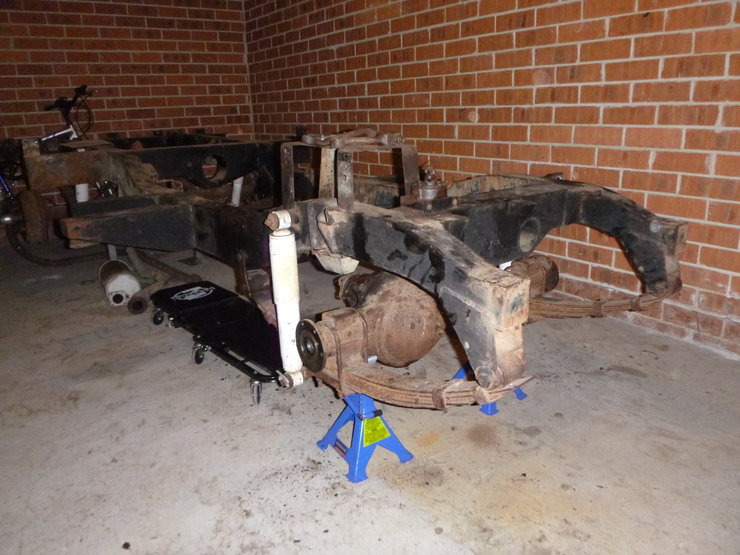
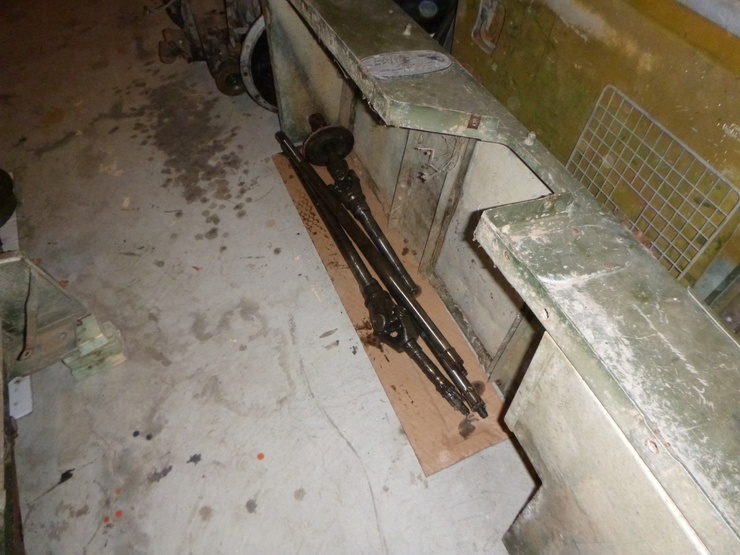
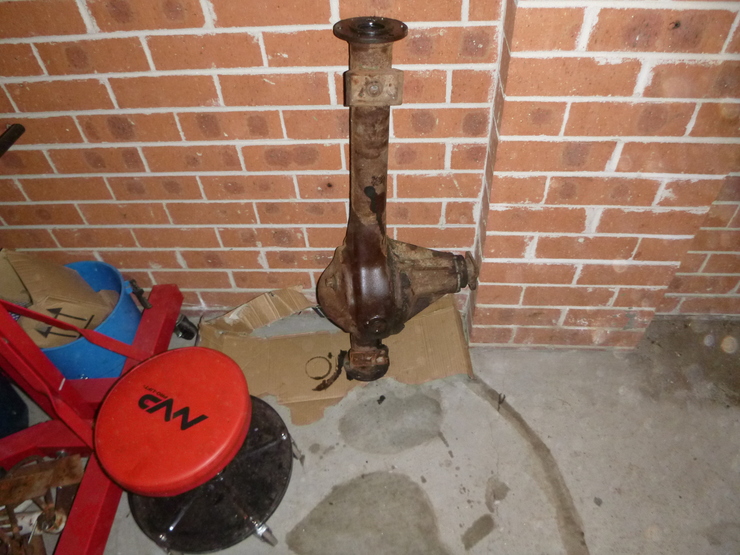
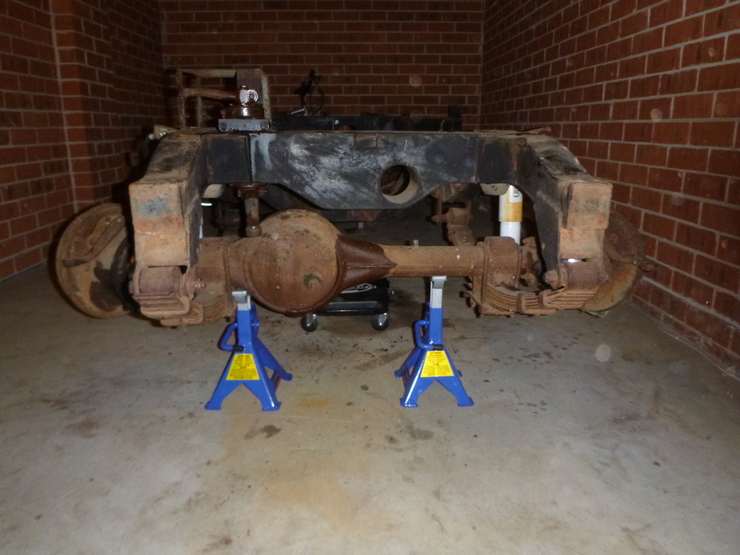
Axle casings mostly removed
Again, this took much longer than I anticipated. This time it was because there were a total of 32 nuts holding the U-shaped shackles over the axle to the suspension, and every single one was rusted on. This was further complicated by the threads being extremely long and occasionally bent. I ended up having to use a deep-wall 19mm impact driver socket with a breaker bar, after destroying a 3/4” socket - yep, the chrome vanadium steel wasn’t quite strong enough.
The chrome molybdenum impact driver socket worked great, but it was still pretty slow going, with me having to pull the breaker bar as hard as I could for a quarter-turn at a time over threads that were two inches long in some cases. Ended up taking a whole day just to remove those nuts. Anyway, that’s enough complaining - the axles are basically out. The rear axle isn’t attached, it’s just sitting on the suspension, waiting for the last of the brake fluid and differential oil to drain overnight.
