Land Rover - Engine removal, continued stripping down
Removing petrol tank and exhaust
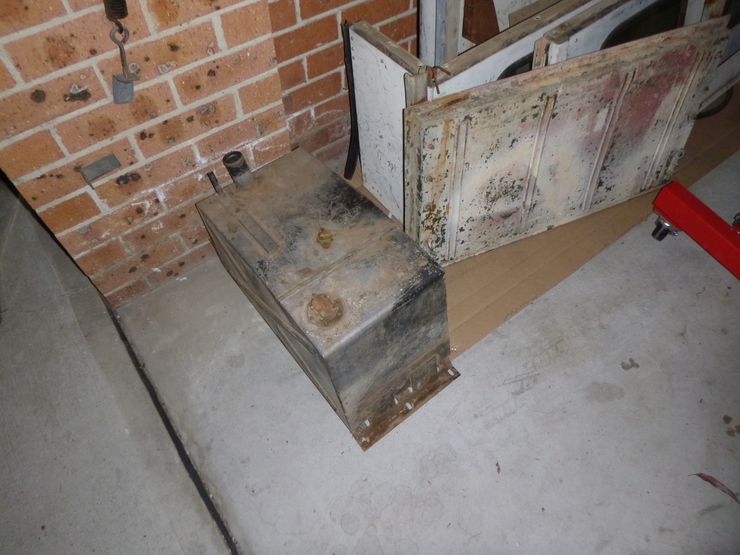
Not too exciting, but it had to happen at some point so I did them this week. The petrol tank came off very easily, although it released a heap of dust and dirt onto the garage floor from the wedge-shaped gap between the front of the tank and the chassis outrigger.
I’m probably up for a new first exhaust pipe - as expected, the heat has rusted this part far more quickly than anywhere else on the car. Not pictured is the massive amount of black powdery gunk that came out when I removed the exhaust pipes - I mostly managed to clean it up, but it left a slight black trail in the concrete where I swept it out. I probably have some sort of cancer now; it’s basically highly concentrated exhaust gases.
Frame for bulkhead
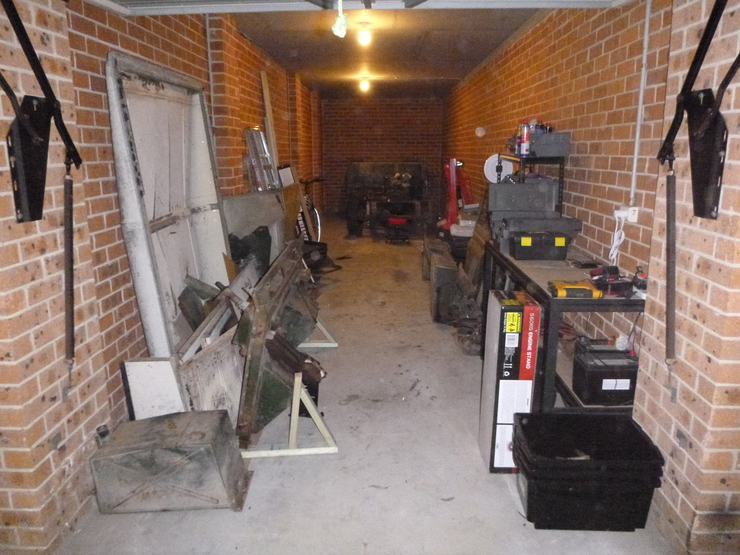
Not a big deal, and my woodwork is terrible - but here it is, the frame for the bulkhead. I’ve taken a distance shot so you can see where it sits in the garage, I was pleased with how little room it took up. You can see it on the left, with the triangular wooden frames - just behind the petrol tank.
Engine removal
The big moment! There were certainly some complications here, not least of which was the fact the the chassis was too high for the crane to clear the front crossmember at maximum lift. This had me stumped for about an hour - it might have been possible to lift it over with two people, but in the end I removed the sump and oil pickup, and only had to lift the flywheel housing at the back of the engine - it only need about five more centimetres of lift, which was much more feasible to do by hand.
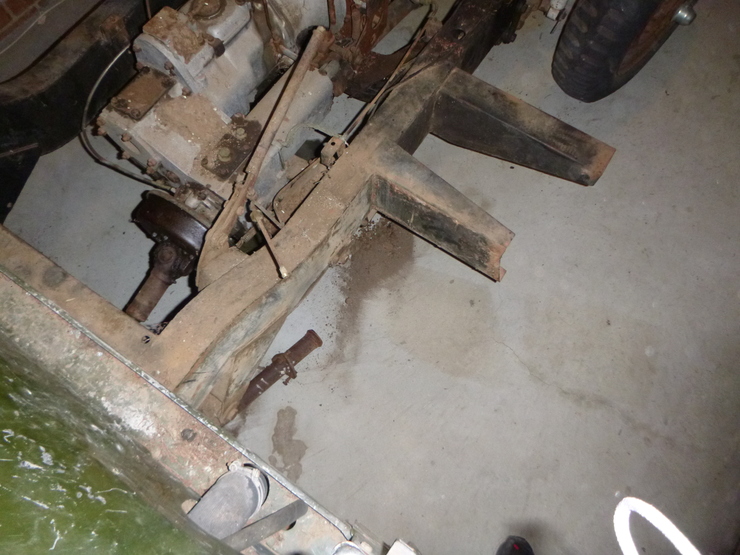
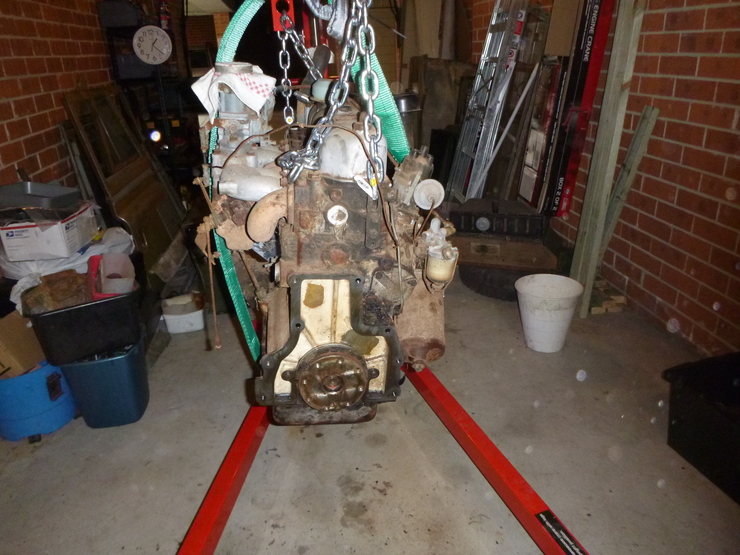
I refitted the sump and oil pickup immediately afterwards, which is why all the photos still have the sump on the engine. This first picture, though, is before I cleaned up - I thought I drained the engine of oil, but removing the sump caused a bit more to leak onto the floor. Still, the cardboard I put down seems to have got most of it, and the rest should come off with some degreaser and sawdust. You can also see the slightly-too-high front crossmember at the very bottom of this shot:


Clutch, flywheel, and flywheel housing removal
This took a surprisingly long time, and was a little bit tricky, so I’ll be posting some tips for anyone that needs to attempt this in the future. After I got the clutch out, I was completely baffled at how to get the flywheel off - even after removing the eight bolts that held it on, it was stuck on fast. I could just about get a lever in the holes for the starter motor and the timing marker, but this didn’t do the trick. What I ended up doing was re-inserting the clutch bolts (but not the clutch) and levering it off from the front. As an aside, it weighs about 20kg - it’s perfectly feasible to catch it if it falls off. Just be careful of the starter ring teeth.
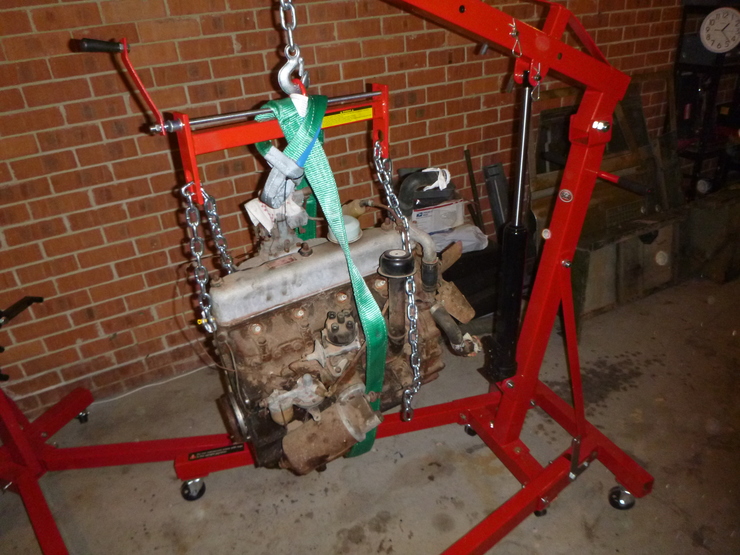
The flywheel housing was comparatively easy - I was amazed how light it is for such a large chunk of metal. Tomorrow I plan on getting some bolts made so I can get the engine on the pictured engine stand, instead of relying on the crane. You can see the redundant fixings here in case something fails - I’ve attached the chain at an extra two mounting points (the engine has two built-in hooks already), as well as a sling and an axle stand underneath. I wouldn’t rely on any of these things individually, but hopefully the combination is enough in case something fails. Like I said last post - the engine crane was $200, so it’s a little bit “guilty until proven innocent”.
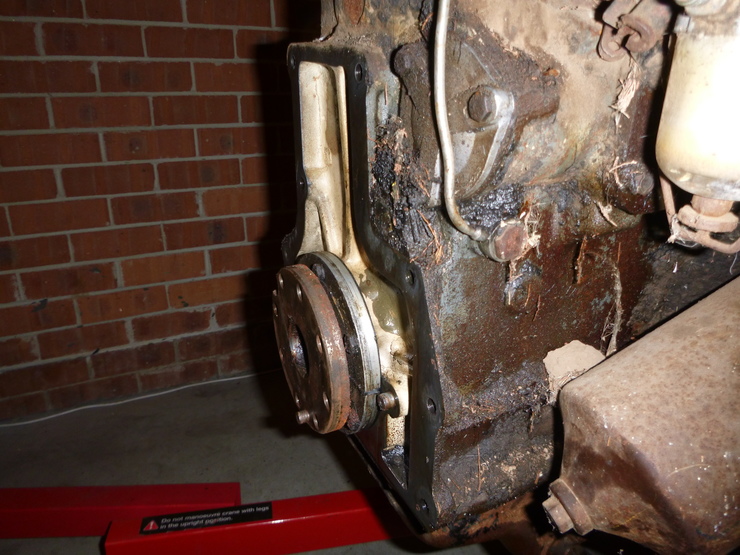
All of these pictures are without the clutch, flywheel, and flywheel housing.
This photo shows a close-up of the rear of the engine - amazingly, there’s still some of the original paint on there under the 60-odd years of caked-on dirt, grime and wasp nests.