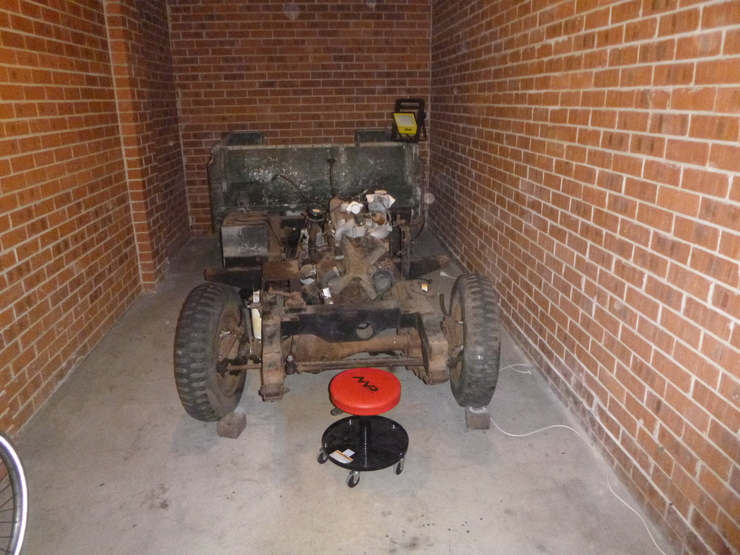
Land Rover - Continued stripping down
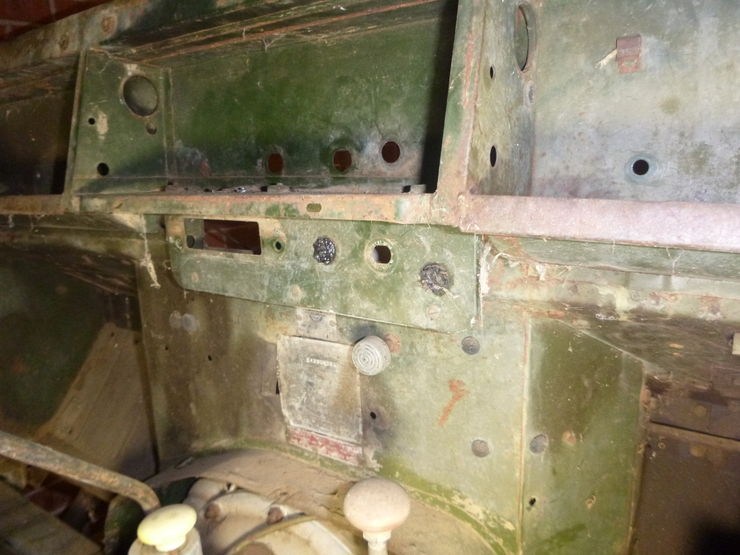
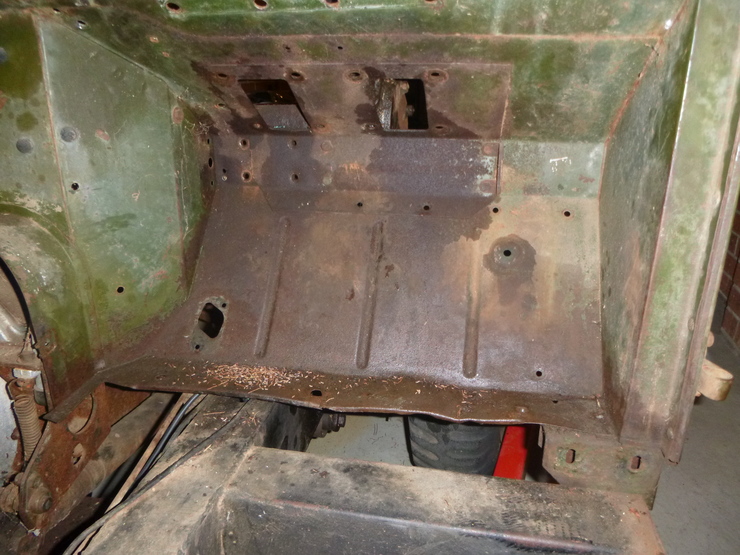
Removing stuff from the bulkhead
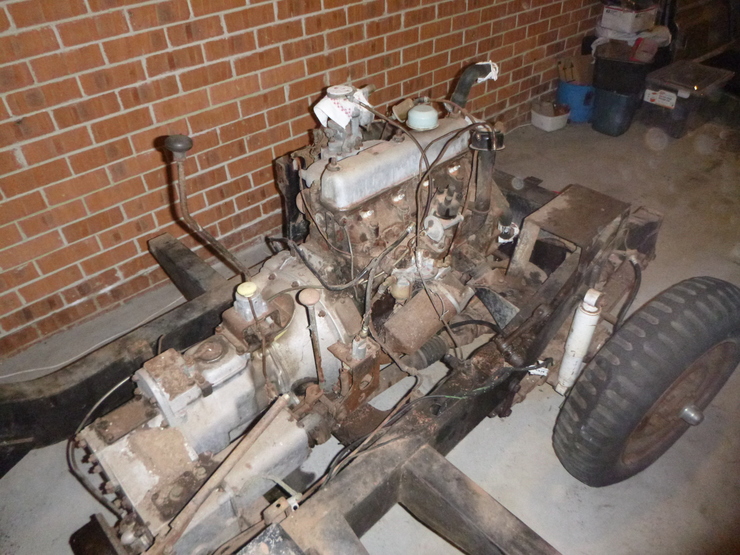
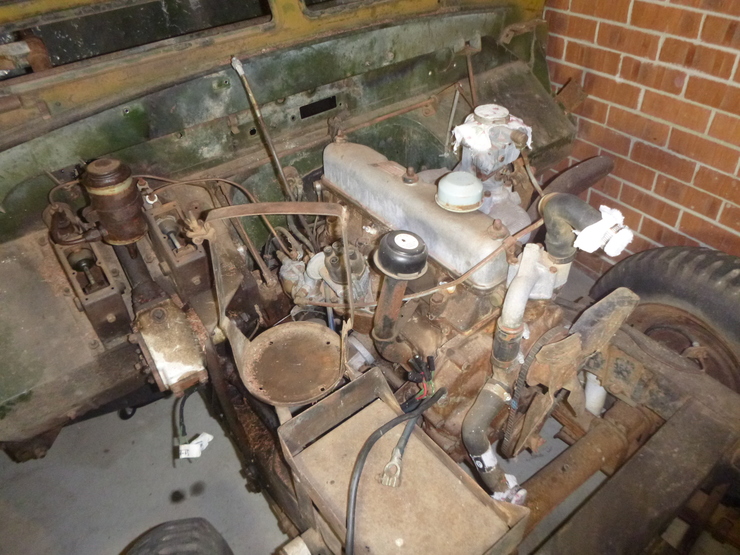
The plan for the weekend was to remove the bulkhead, which meant I needed to disconnect the brakes, clutch, accelerator, electrics, hand throttle and choke from the bulkhead. I also figured it would be useful to remove the exhaust pipe header. This was all relatively uneventful, although I spilt an annoyingly large amount of brake fluid - I got most of it into a jar, but it gets everywhere, so although I only spilt a small amount, everything was covered in a thin veneer of brake fluid when I was done. Not much fun to clean off.
Removing the starter switch has so far defeated me - luckily it doesn’t need to come out, but I’d prefer it to be. The issue here is that the black button at the front unscrews from the shaft, but it’s extremely tight and the shaft is slippery - so there’s no way to keep the shaft from turning with the button.
The steering was also not a lot of fun - see the next section.
As an aside, I’m amazed at how well the tyres stay up. The manufacture date is 1981, and they’ve had a hard life (left sitting in the sun for 30-odd years). I’ve only ever pumped them up twice, once when I first got the car, and again when I moved it to Sydney.

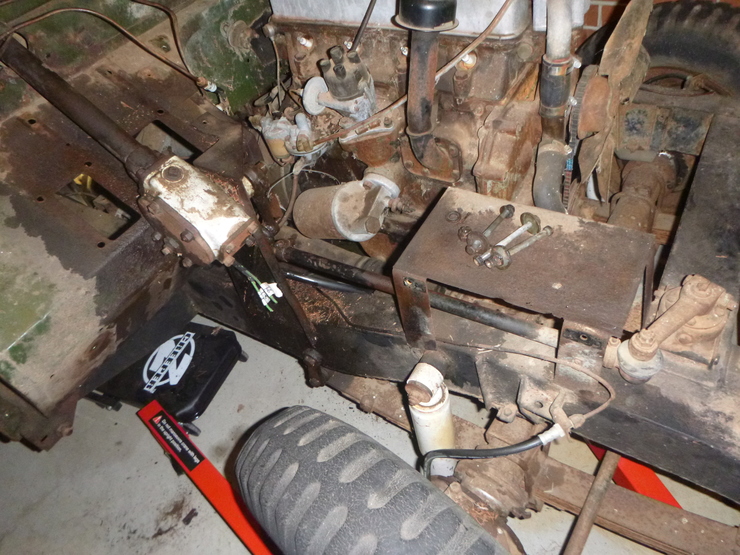
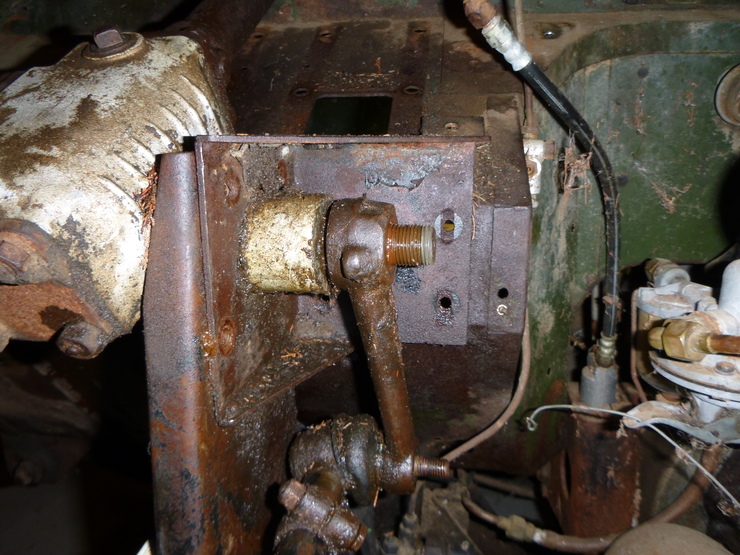
Steering drop arm
The only part I had left before I could unbolt the bulkhead and lift it off was the steering. I was concerned about this all week, and those concerns were justified - I spent a solid 3 hours trying various combinations of my ball joint separator tool, a mallet/chisel, a sledgehammer, and clamps, but to no avail. What got me unstuck was a second-hand $20 tie rod end/pitman separator kit, second-hand on a classifieds website. I could only pick it up on Sunday night though, so everything from here on was done in under 2 hours. The first picture is the drop arm, attached at both ends - followed by the results after using the “pickle fork” tool (and some taps with a mallet).
Bulkhead removal
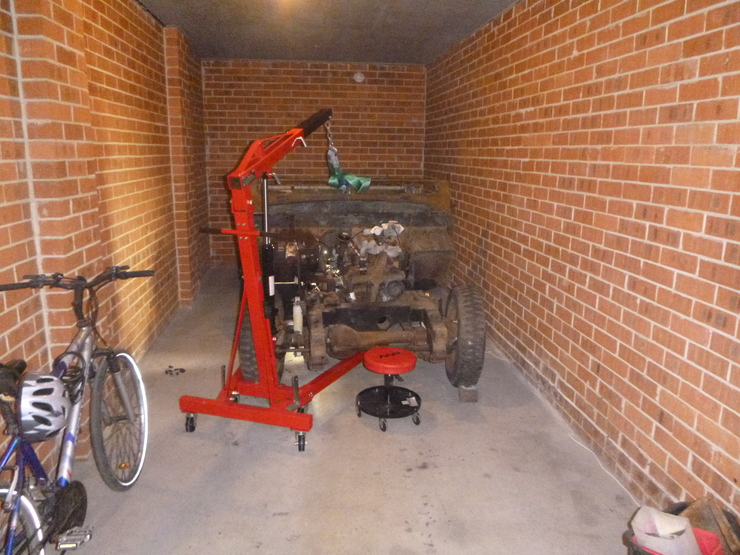
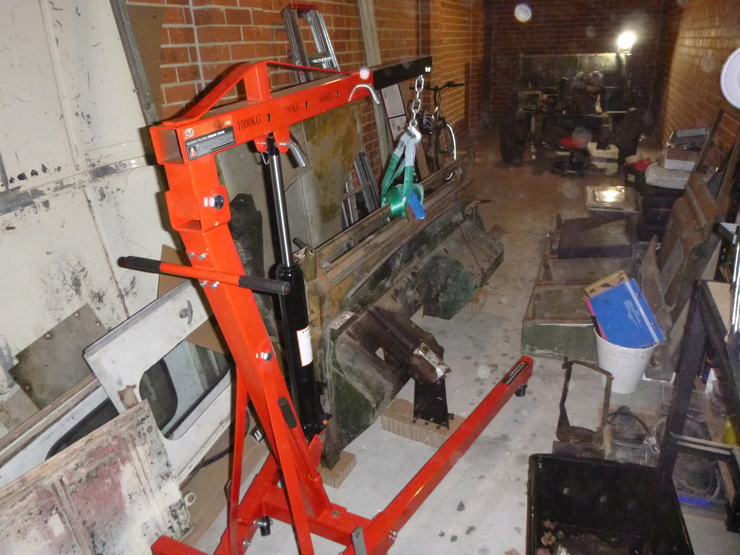
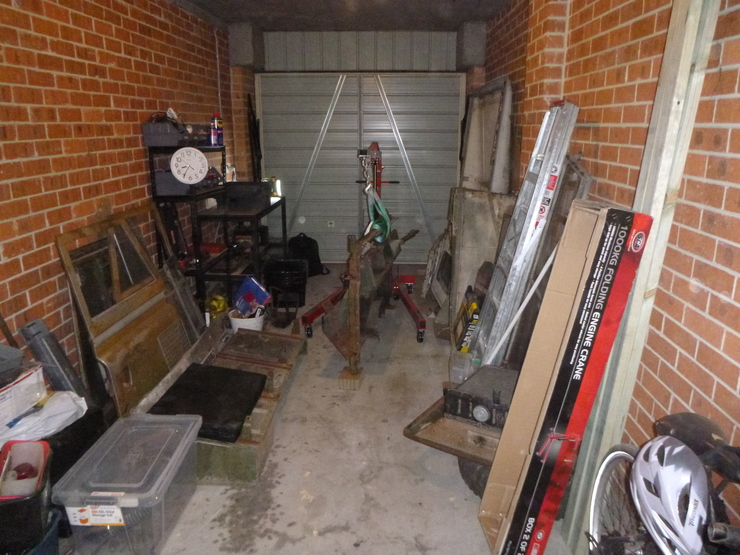
Finally, after close to a week of removing everything attached to it, the bulkhead came free. Lifting it off was another step I was worried about, but the engine crane did a superb job - it lifts surprisingly high, especially on the lowest (250kg) setting. For the time being, I’ve got the bulkhead sitting on 3 very strong pieces of cardboard, and my first task next week is to make a timber jig to properly support the bulkhead. The engine crane is only there in case it tries to fall over during the night or if I bump into it - it’s sitting entirely on the cardboard right now.
I had some reservations about a $200 engine crane (even if it was marked down from $400), but so far it’s been great - the legs are low enough to get under the car easily, the lift height and horizontal range are good, and the hydraulic pump is easy to control (especially on the way down, which is probably more important.) It’s very handy that it folds up, too, given the space I’m working in.