Electrical bits (mostly) moved
Over the long weekend, I finished removing all of the electrical bits and laying them out on the tarp in my bedroom. The idea is that I can get a power supply and test things out/replace wires/repalce components much more easily.
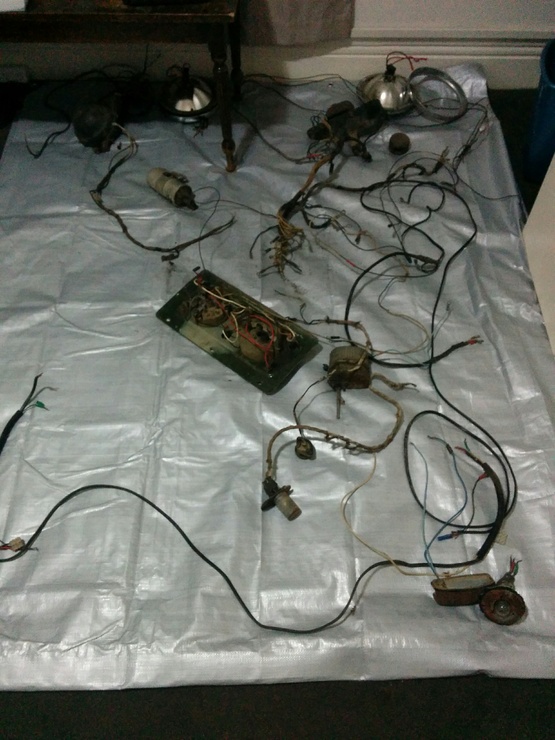

The only bits that are missing from this photo are the distributor and HT leads (since I already know I need to replace them), and the headlamp wiring harness (which I’ll get to later).
Unfortunately, I forgot Monday was a public holiday, so when I started looking for places to buy batteries, I realised they would all be closed. This actually turned out to be a good thing, since one of the electrical engineers on my team at work suggested getting a battery charger or a 12v power supply instead. I’d prefer a 12v power supply since it’s unlikely this will be the last time the Land Rover needs electrical work (Lucas electrics are not famous for their quality). I also don’t want large amount of hydrogen (from recharging the battery) indoors. The situation here is TBC, I still need to look at prices for stuff.
I also need to figure out how to make a wiring harness - I like the idea of the heat-shrink ones, so once I’m done testing I’ll get a few pieces and start playing with it.
People often ask me why it takes so long to do stuff with the Land Rover, and the answer is one of two things:
- Tools, or
- Rusted crap.
Tools are a problem since the bus to Bunnings is quite slow and infrequent, and I left a lot of my tools in Narrabri. I expect this to become less of a problem as time goes on.
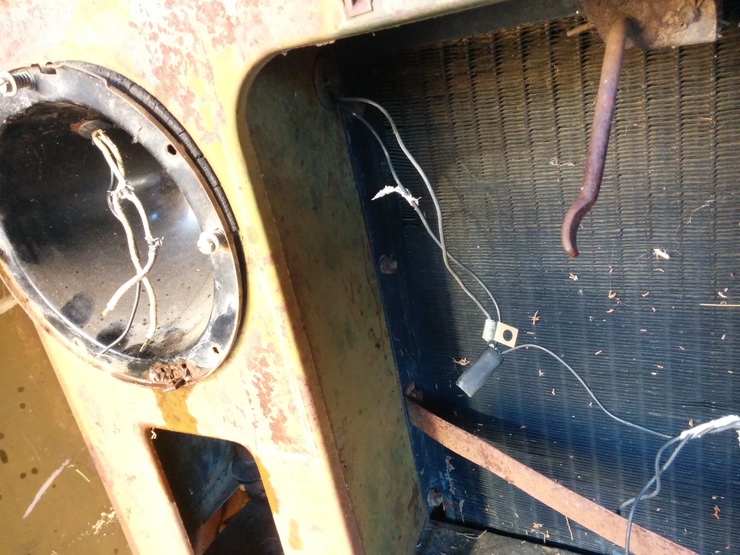
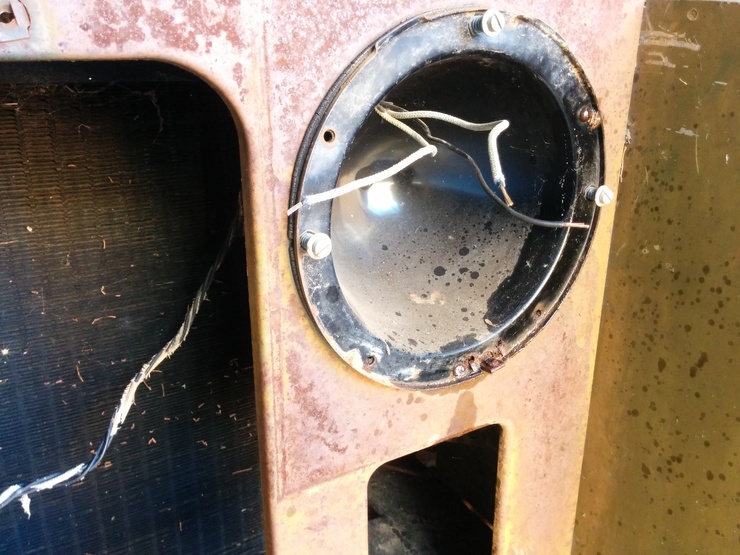
The issue of “rusted crap” is permanent though, and I came across a great example when removing the headlights. Of the 6 screws around both headlights (3 each), the metal has softened and the nut has rusted on for three of them. (Yep, screws with nuts - no, I don’t know why either.) These were particularly bad, since it was literally impossible to get anything behind them to hold the nut still. They proved resistant to a screwdriver, impact driver, vice grips, and a chisel. I think I’ll have to drill them out, but my drill is in Narrabri so now I’m going to have to replace it. I took the pictures below so I’d have a reference for what the wiring harness looks like, but you can see the damaged screws.